Help and guides / Venue owners
On the day, mark table guests as arrived, see who is still expected, and know what the other options in the list do.
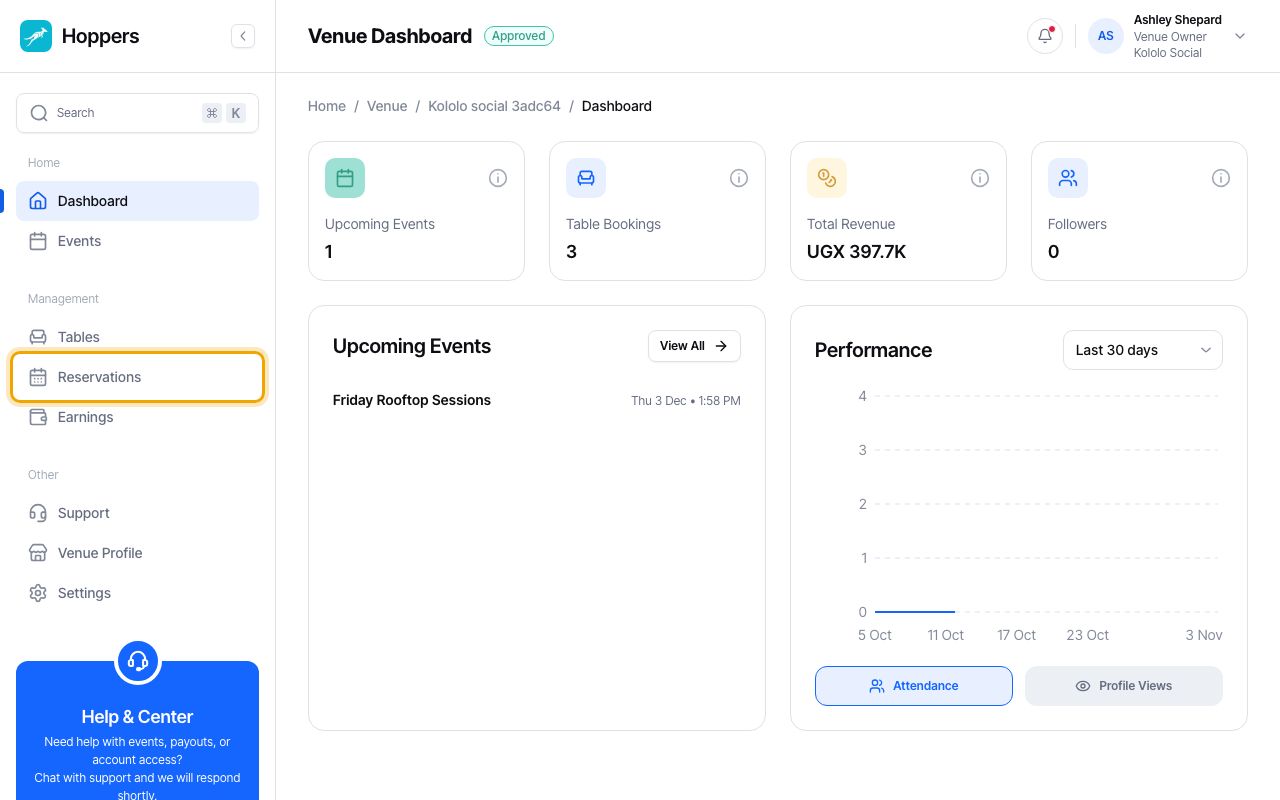
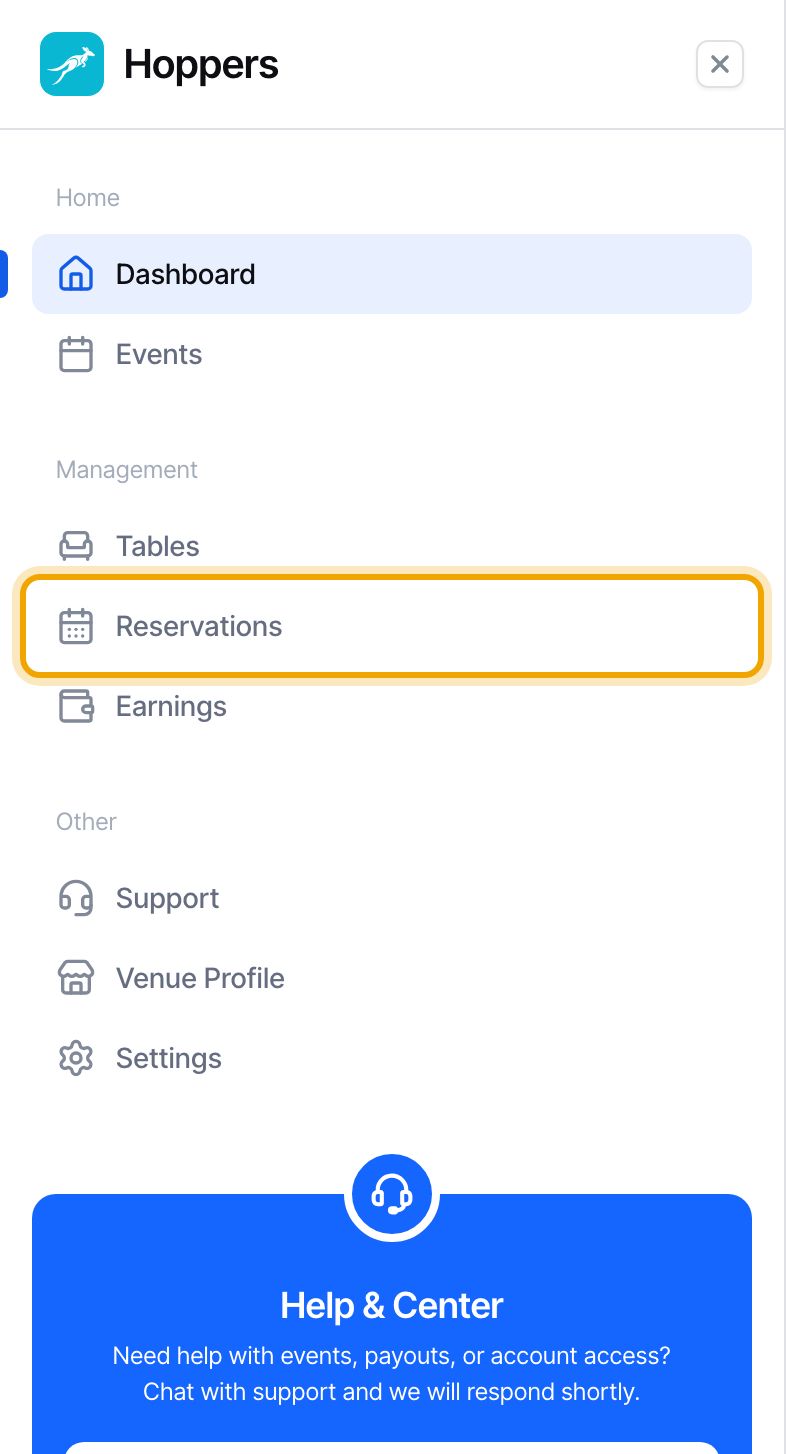
Sign in to the Hoppers dashboard. In the menu on the left, select “Reservations”. On a phone, tap the menu icon at the top left first.
“Reservations” is greyed out until the Hoppers team has approved your venue owner account.
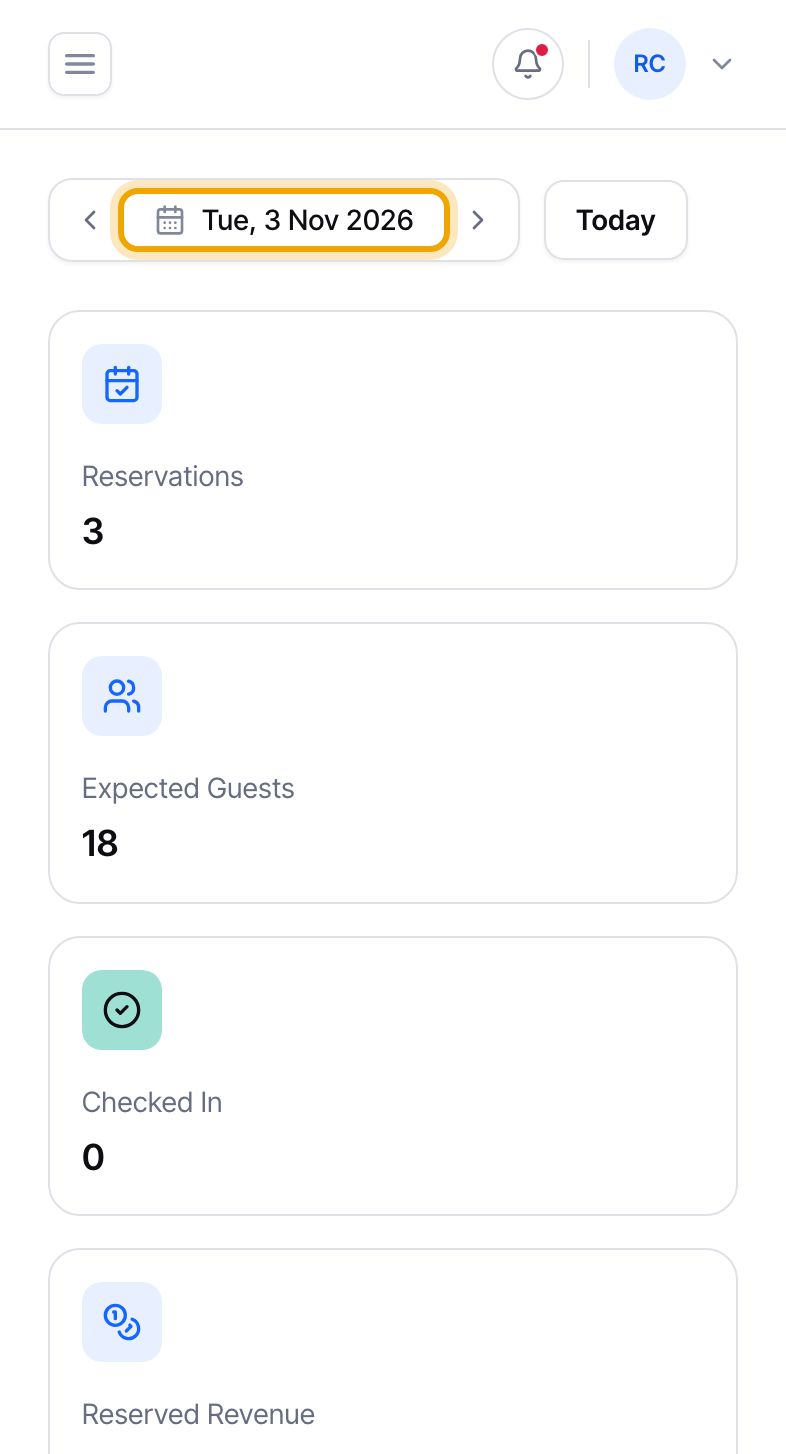
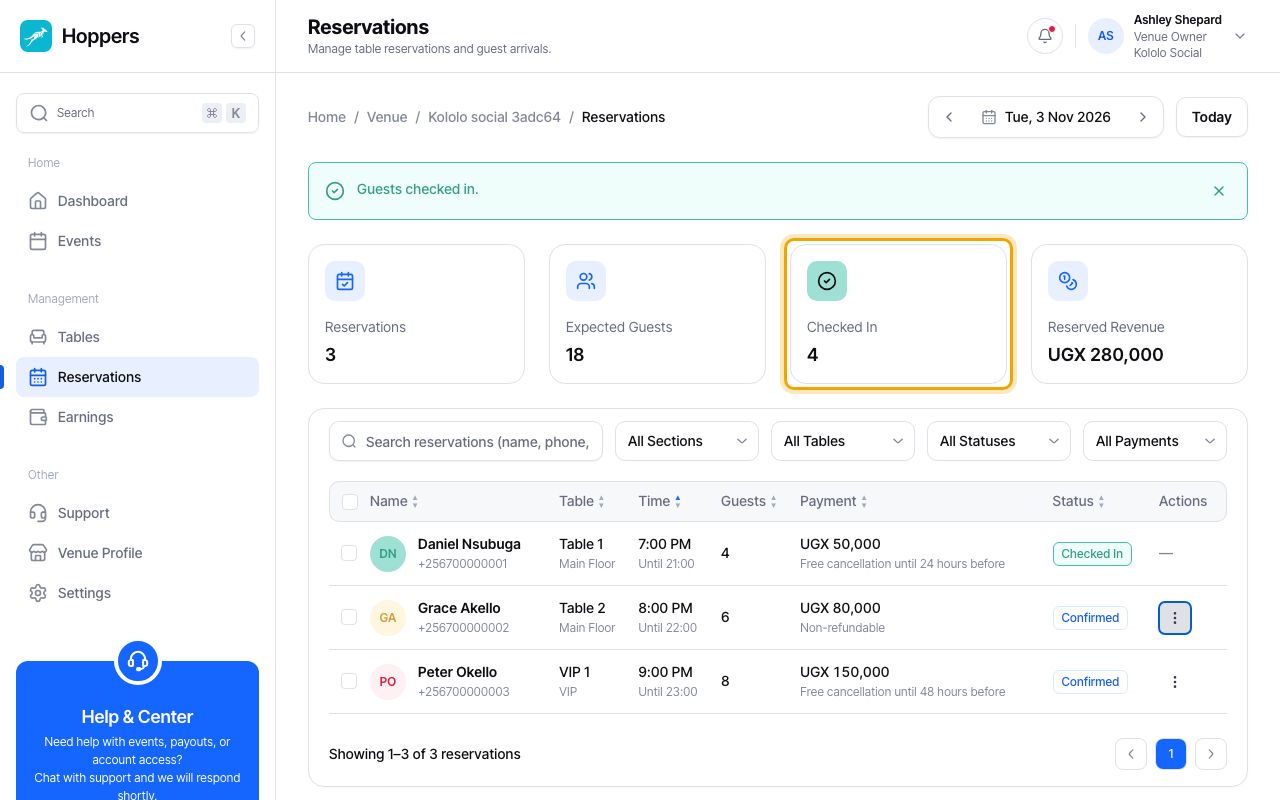
The page opens on today. The counters at the top (“Reservations”, “Expected Guests”, “Checked In” and “Reserved Revenue”) and the list below all describe the day shown. Use the arrows to move one day, select the date to pick another, or select “Today” to come back.
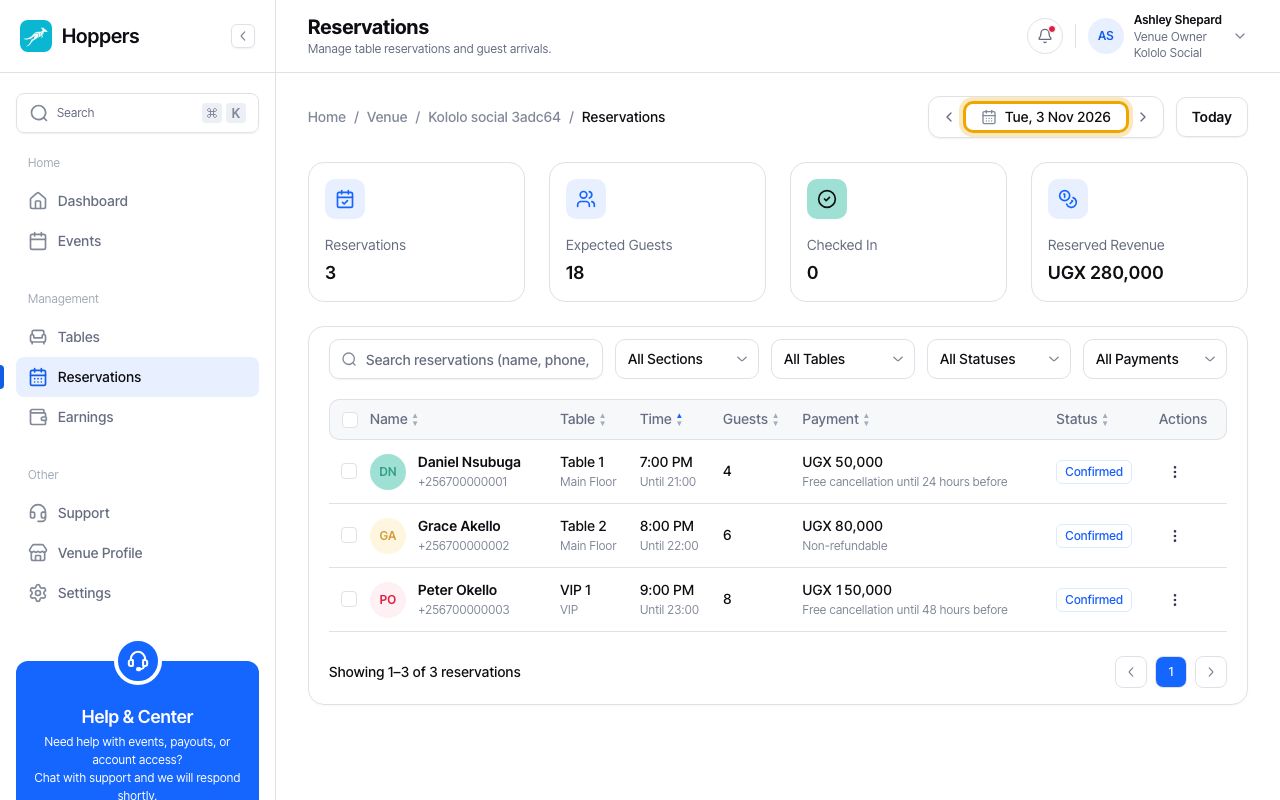
Type the guest’s name, phone number or table in the search box. The dropdowns next to it filter by section, table, status and payment.
Only a “Confirmed” reservation can be checked in. A “Pending” one is not confirmed yet. For a guest who reserves with a fee, that usually means their payment has not gone through.
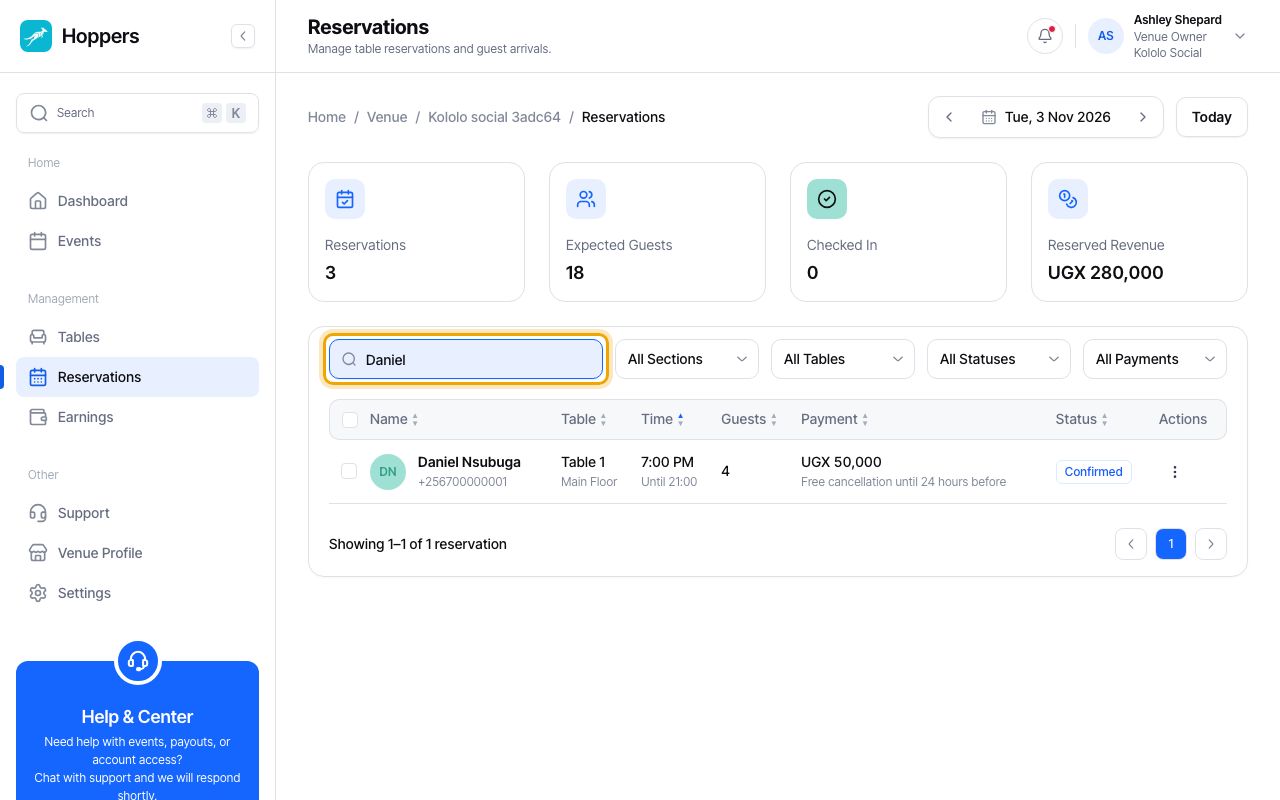
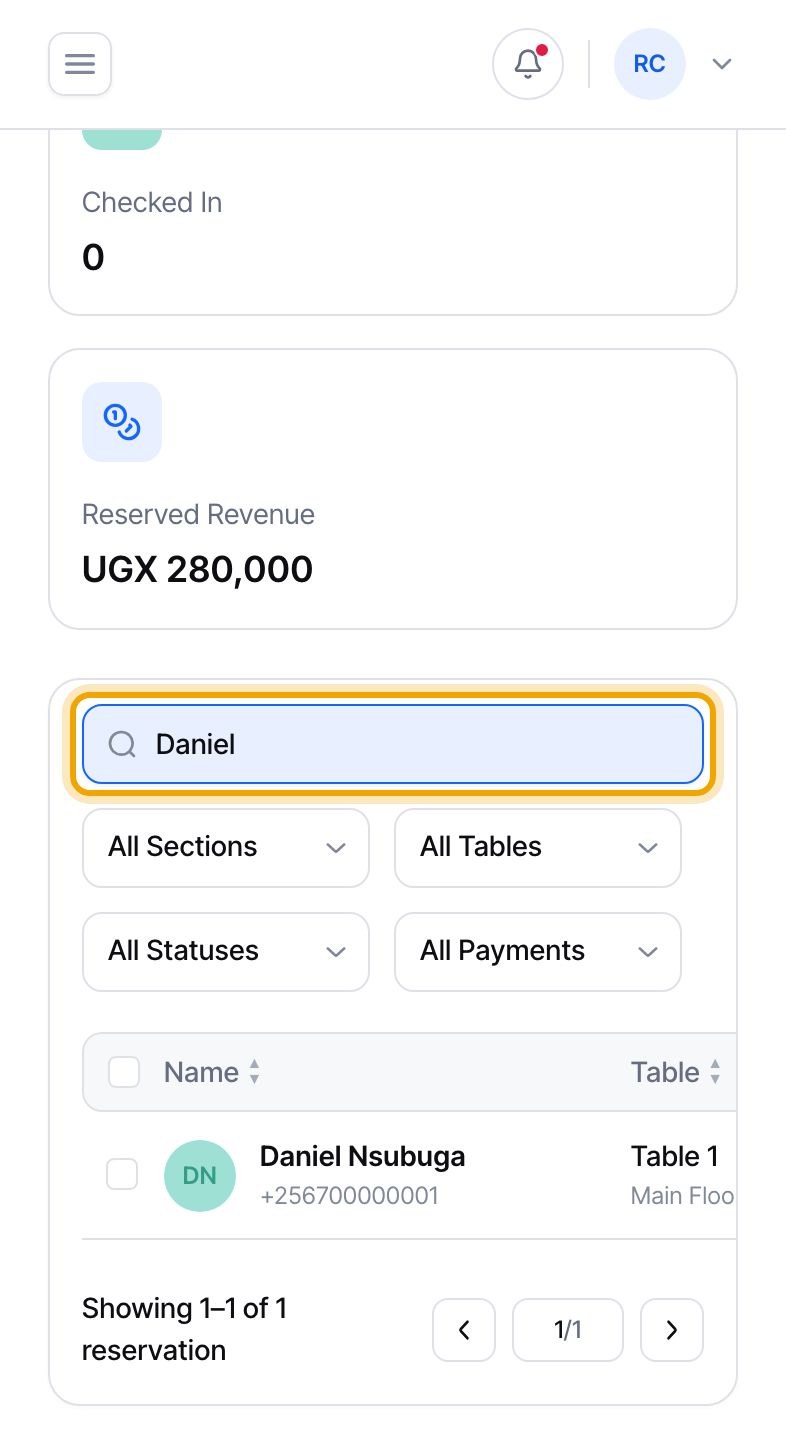
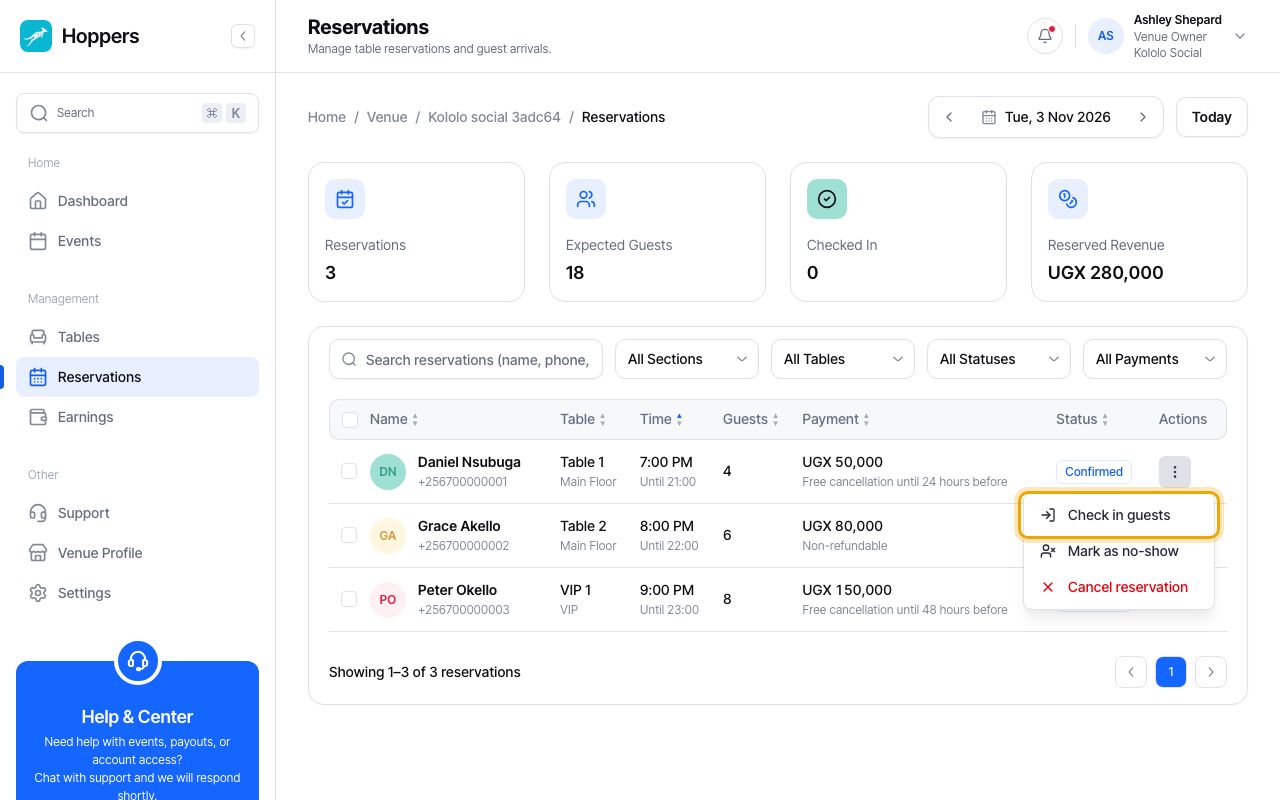
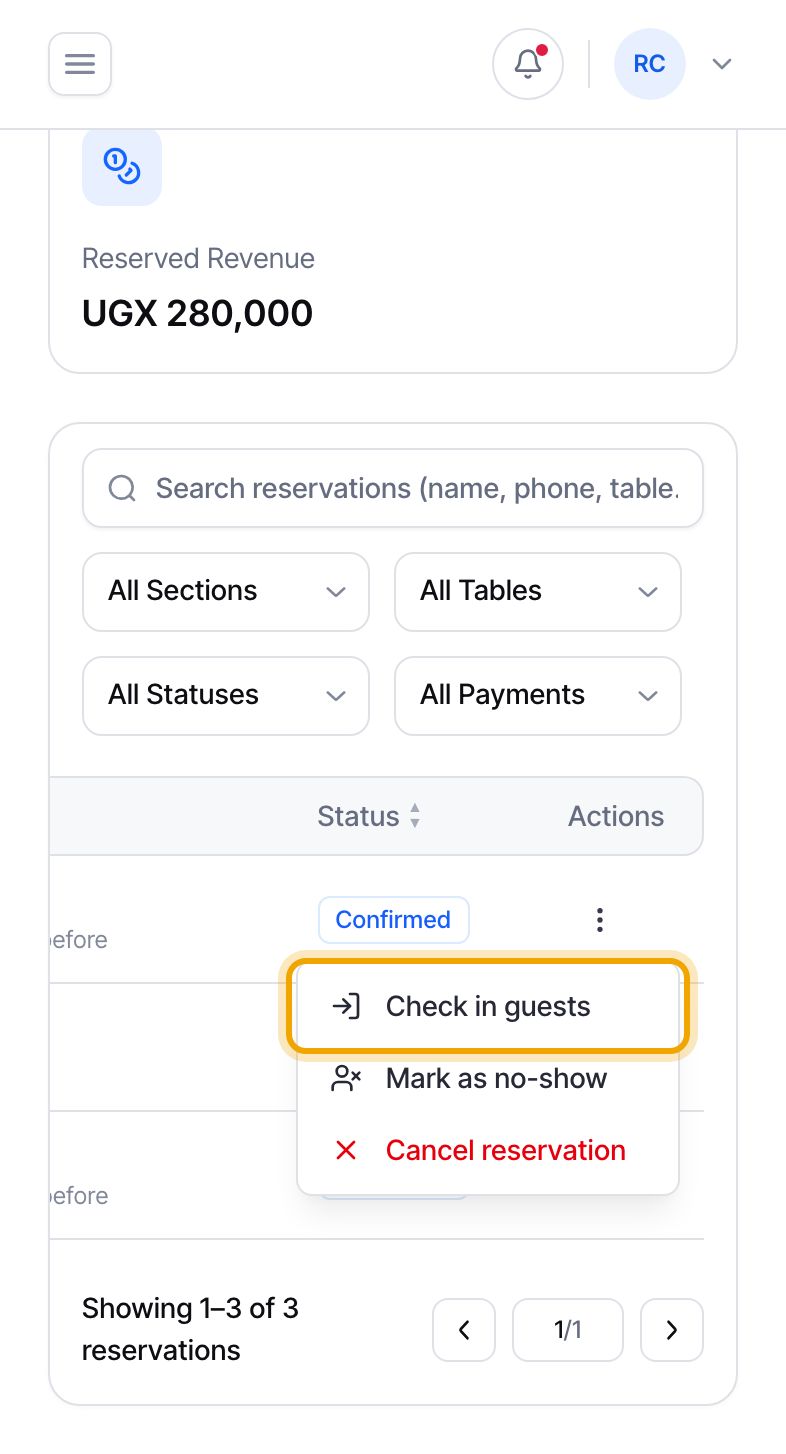
At the end of the guest’s row, select the three dots (“More actions”), then choose “Check in guests”. On a phone, slide the table sideways to reach the dots.
A green “Guests checked in.” message appears and the status changes from “Confirmed” to “Checked In”. Checking in is a record for you. The guest is not sent a message.
Once a row says “Checked In”, its menu has no more options.
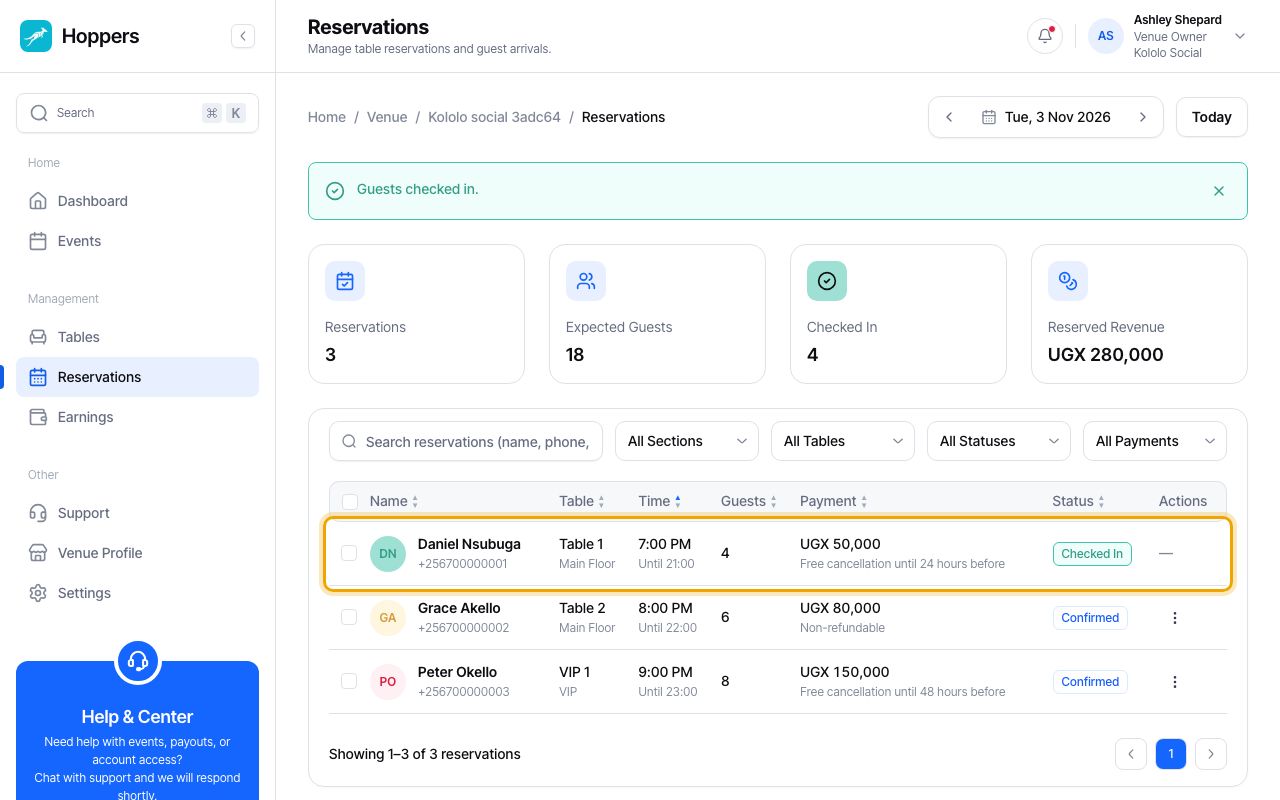
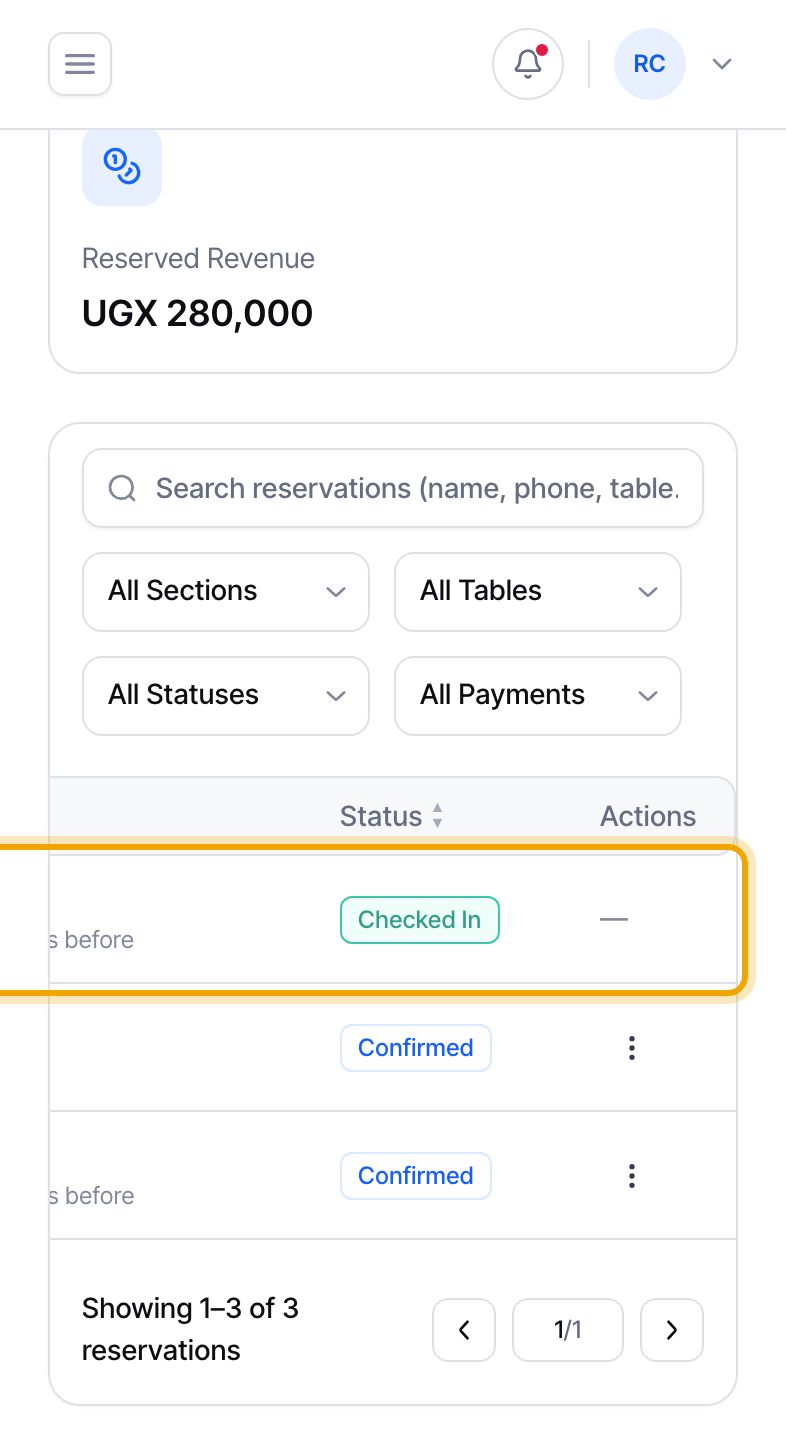
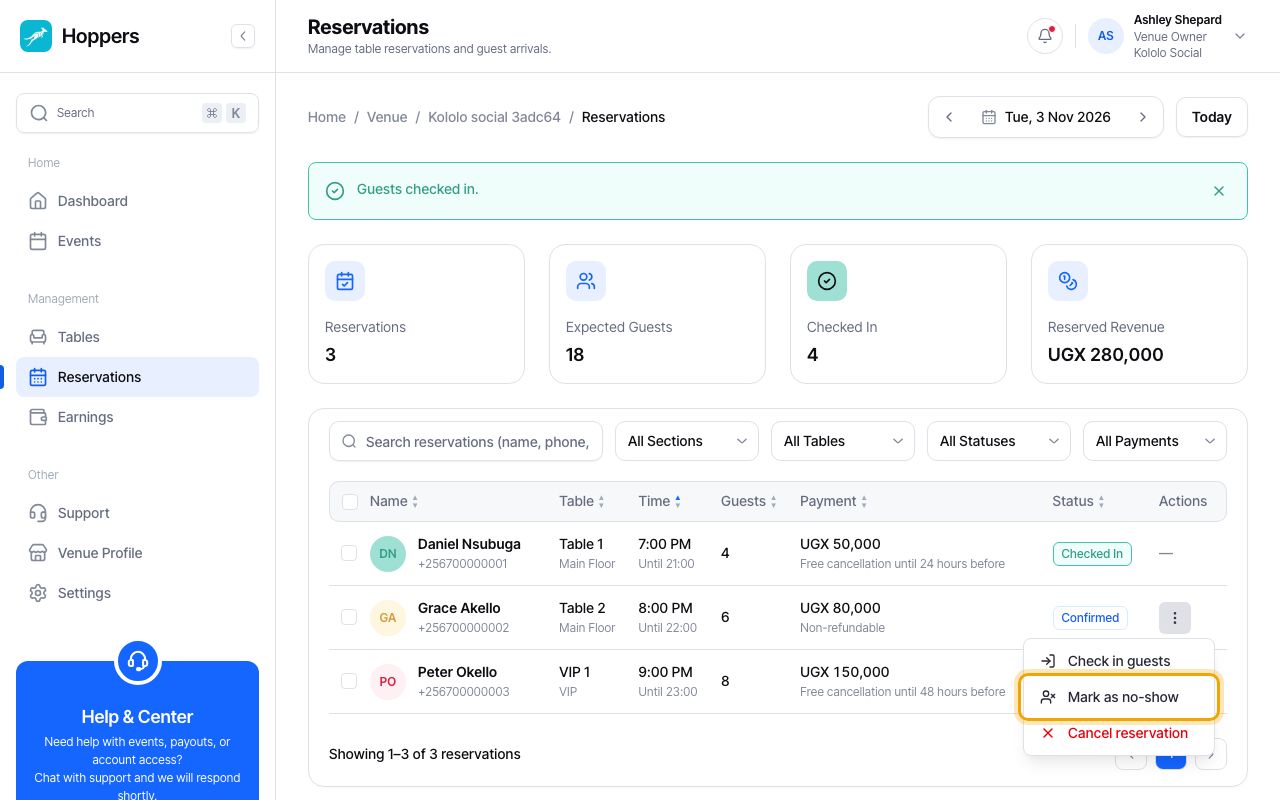
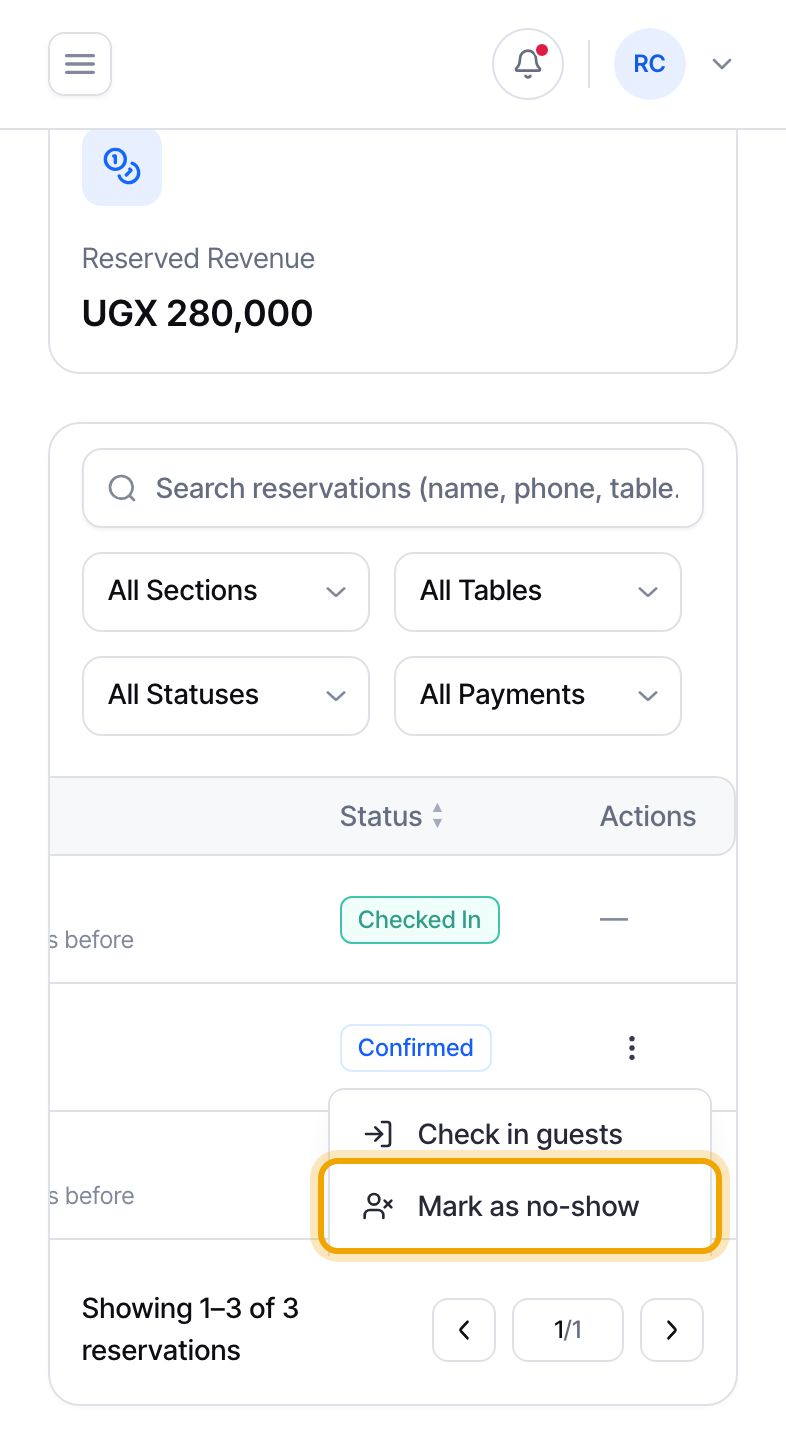
The same menu offers two more choices for a confirmed reservation. “Mark as no-show” is for guests who never arrive, and it frees the table again. “Cancel reservation” cancels the booking. If the guest had paid, you are asked to confirm a full refund with “Cancel & Refund”.
Both options change the guest’s booking, so check the name and table first.
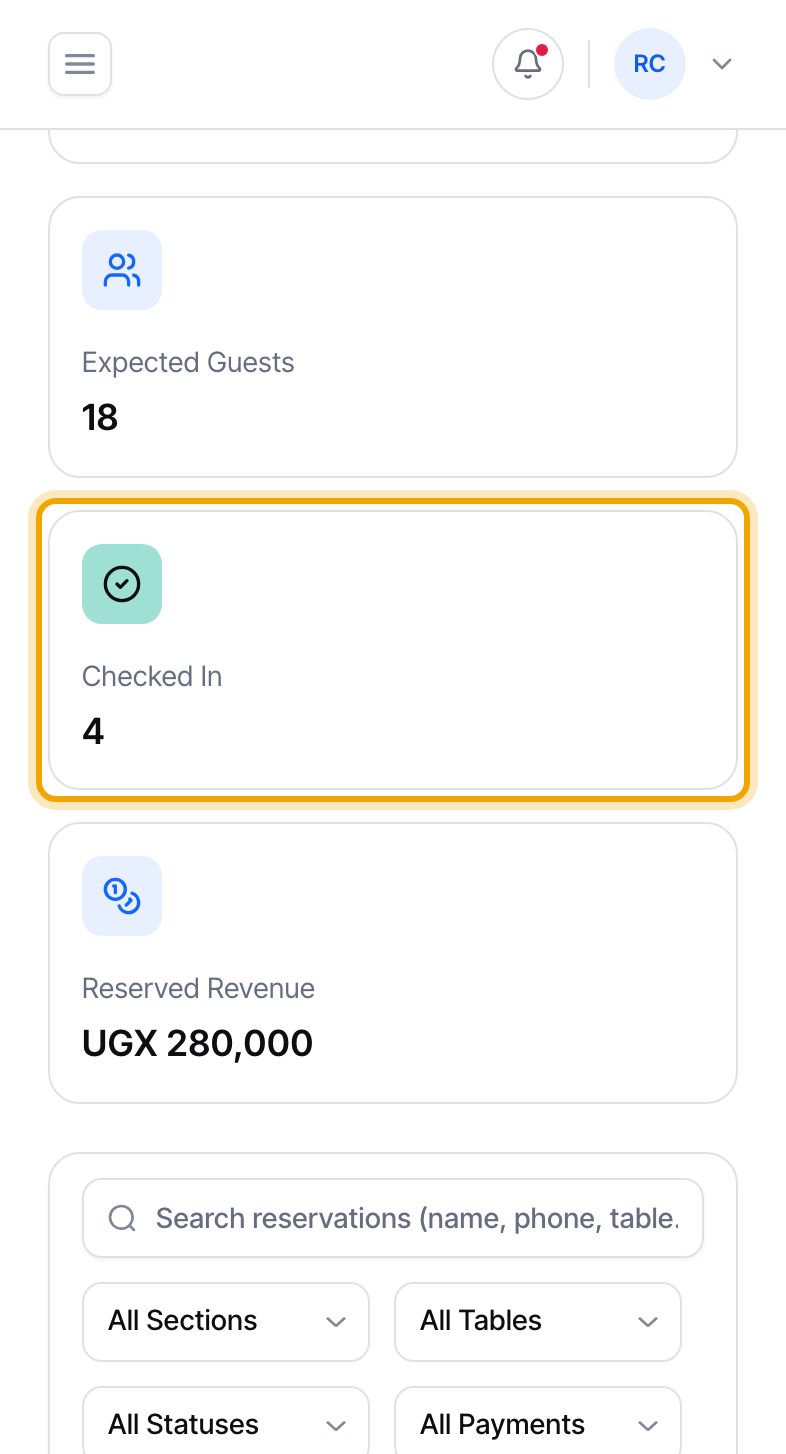
Back at the top, “Checked In” now counts the guests who have arrived. It adds up the people in each party, not the number of bookings, so a table of four checked in counts as 4. “Expected Guests” counts everyone still expected or already seated.
This page is for table reservations. Tickets for events at your venue are not checked in from the venue dashboard. The event organizer checks them in by scanning each ticket’s QR code at the door.
