Help and guides / Venue owners
Add your tables and reservation fee, see how guests reserve and pay, and find out what comes out of each payment and what you are owed.
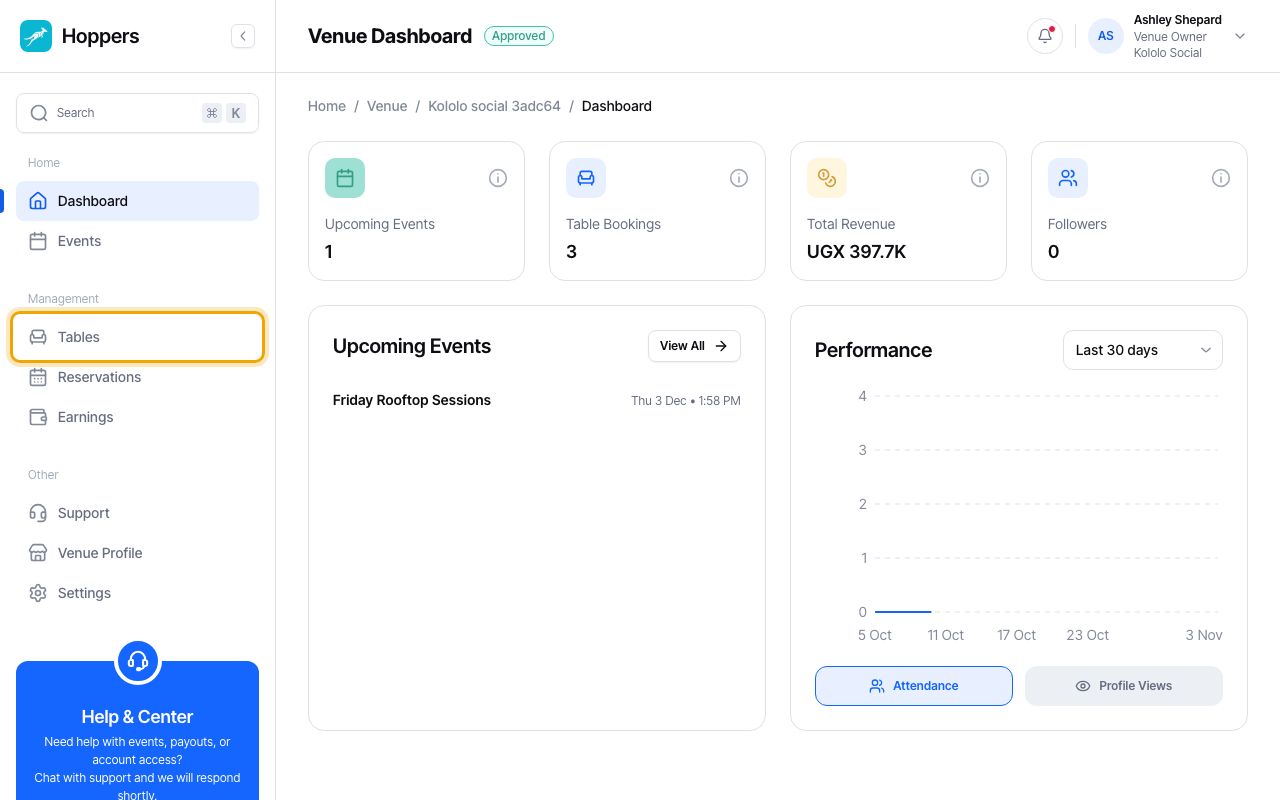
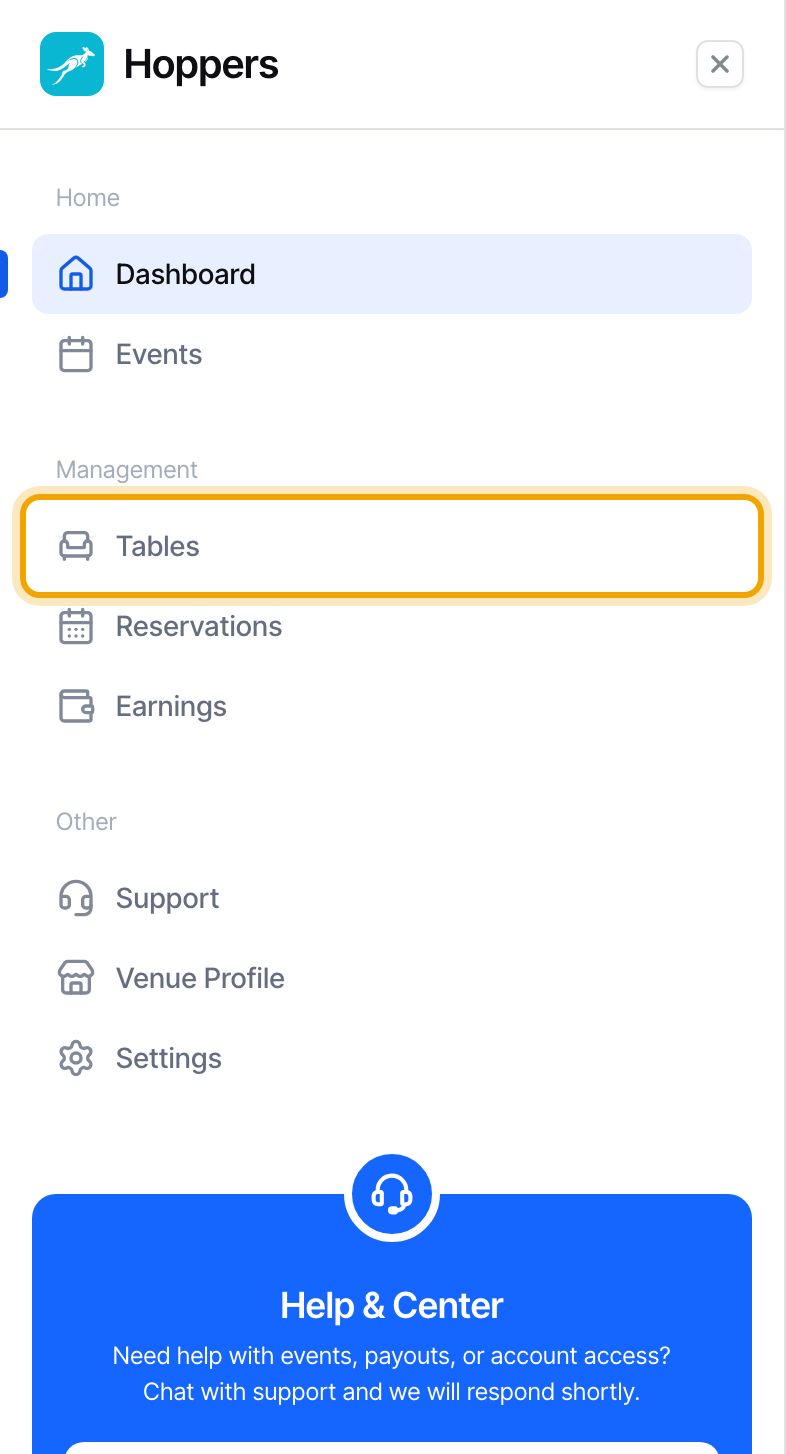
Sign in to the Hoppers dashboard. In the menu on the left, select “Tables”. On a phone, tap the menu icon at the top left first.
“Tables” is greyed out until the Hoppers team has approved your venue owner account.
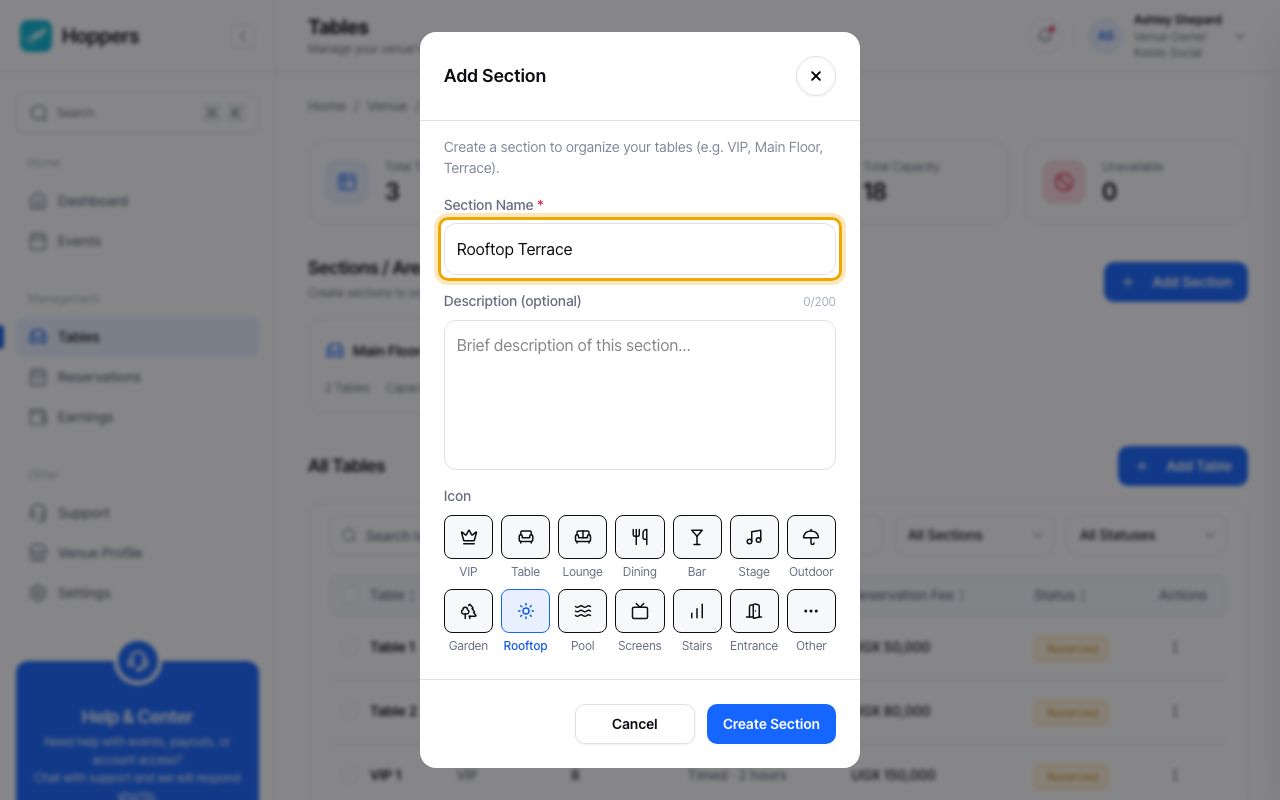
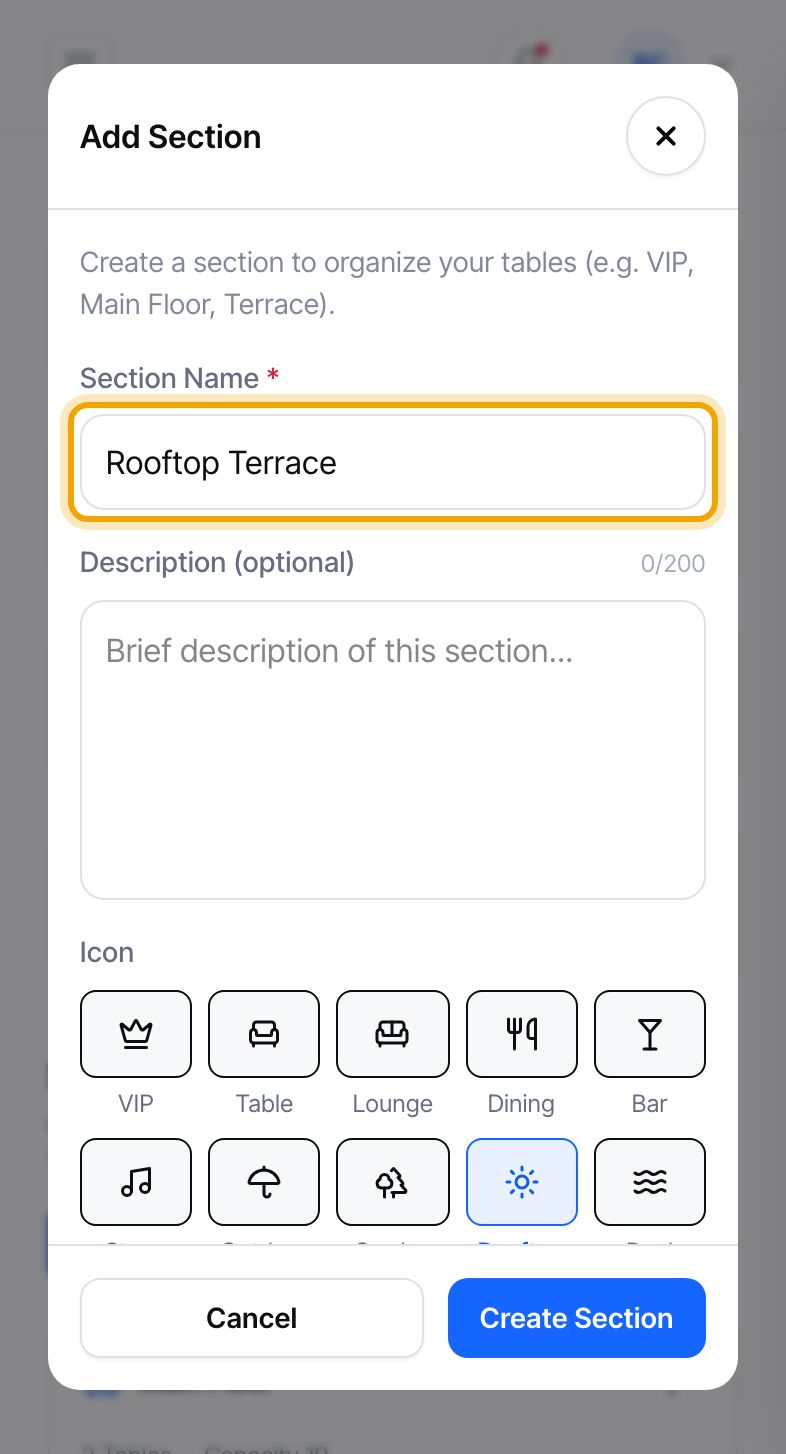
Sections group your tables, for example VIP, Main Floor or Terrace. Select “Add Section”, type a “Section Name”, choose an icon, then select “Create Section”. A green “Section created successfully!” message confirms it.
A description is optional. You can rename a section later from the three dots on its card.
Select “Add Table”. Enter a “Table Name” such as Rooftop 01, the “Capacity” (how many people it seats) and choose its “Section”. Under “Booking Duration”, choose “Timed” if each booking holds the table for a set time, then pick the “Duration”. Choose “Whole session” if one booking keeps the table for the rest of the night.
Need many alike tables? Tick “Add multiple tables”, then give a “Table Name Prefix” and a “Number Range”.
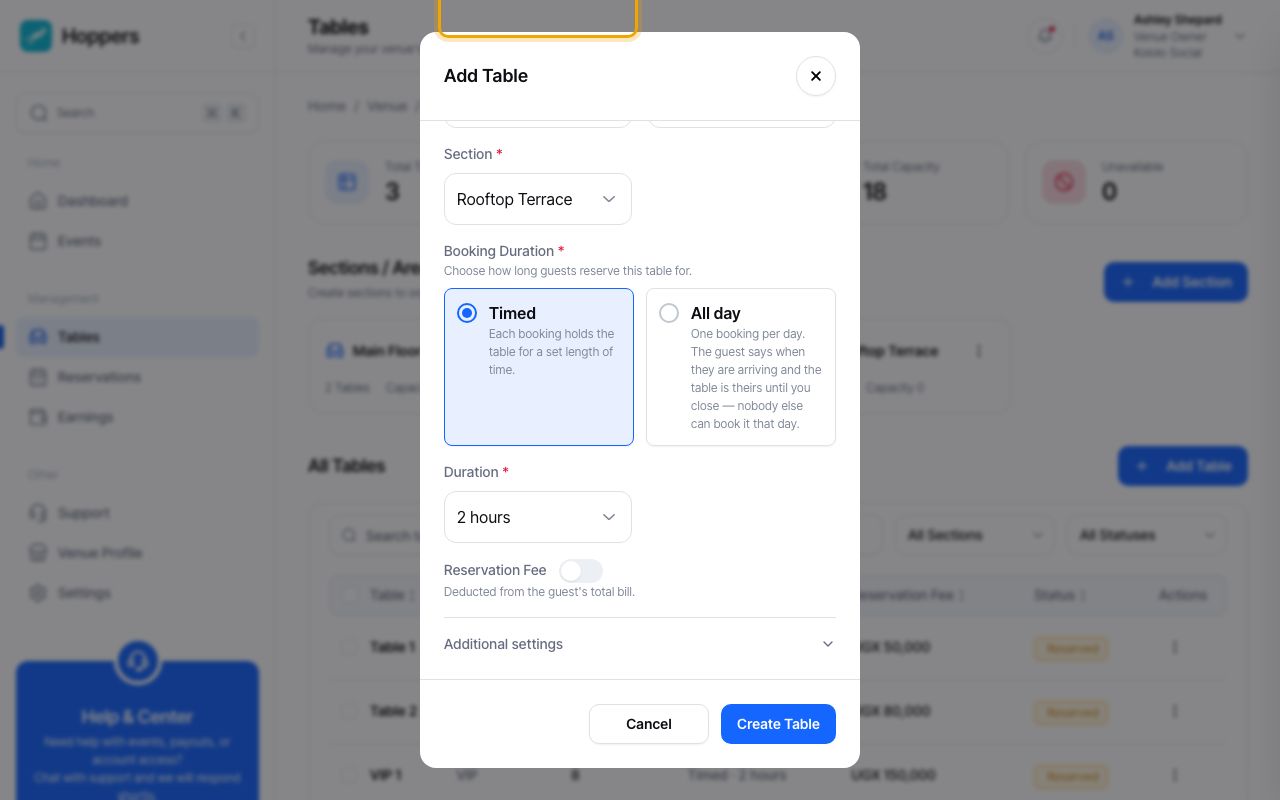
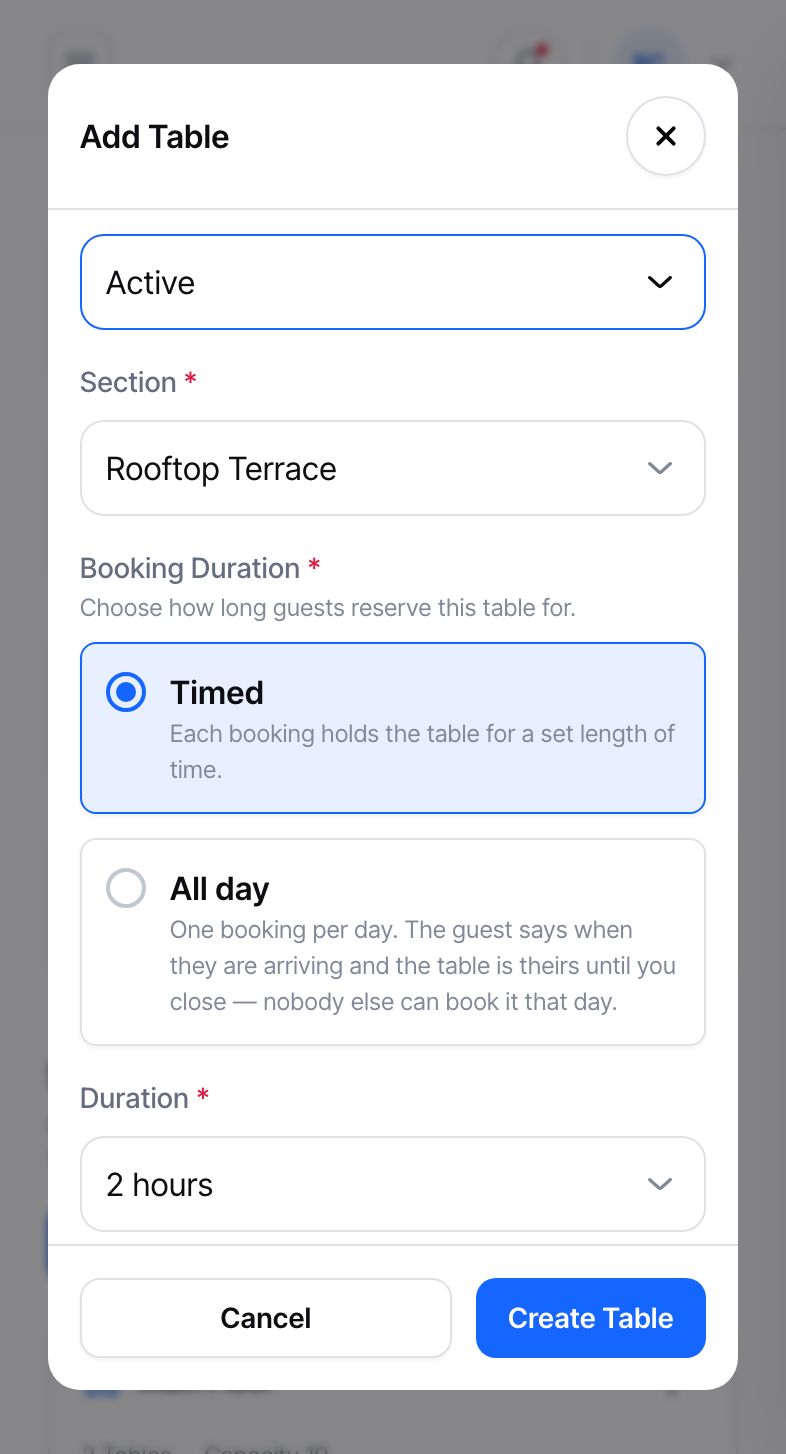
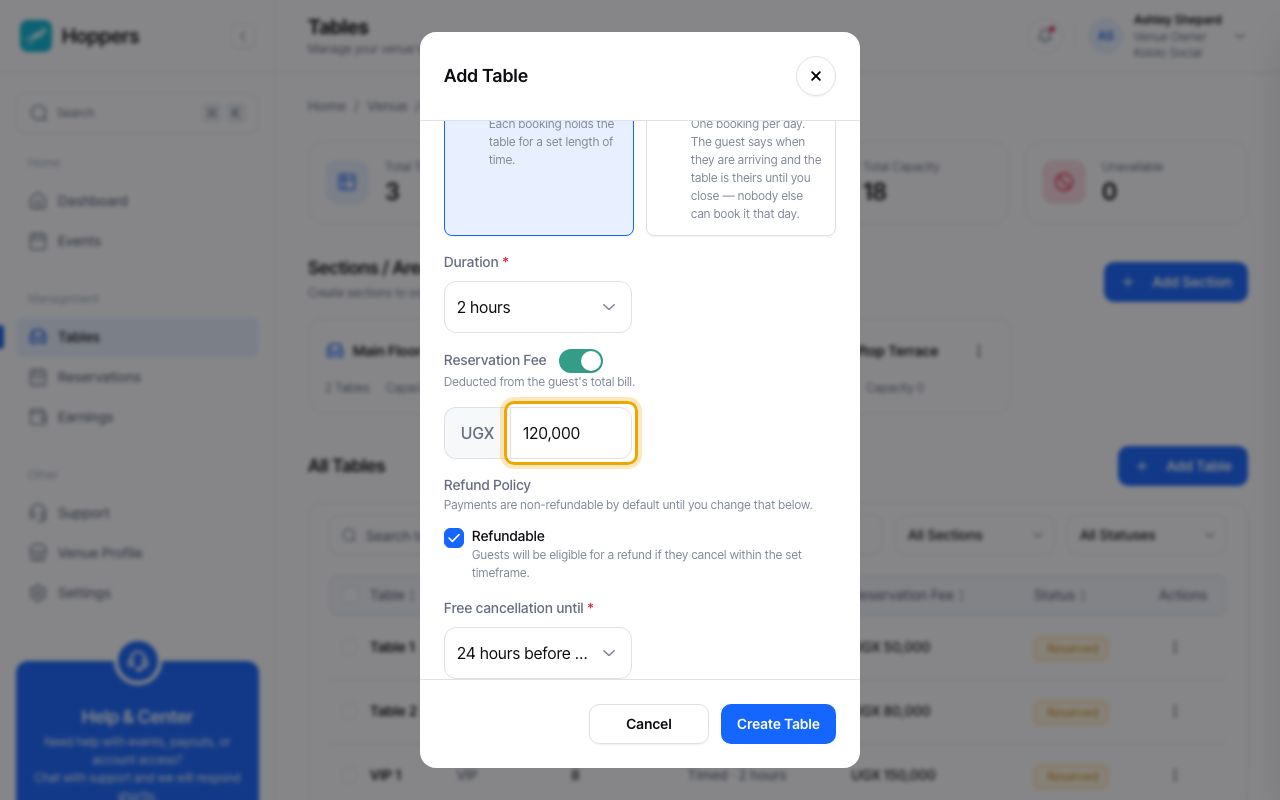
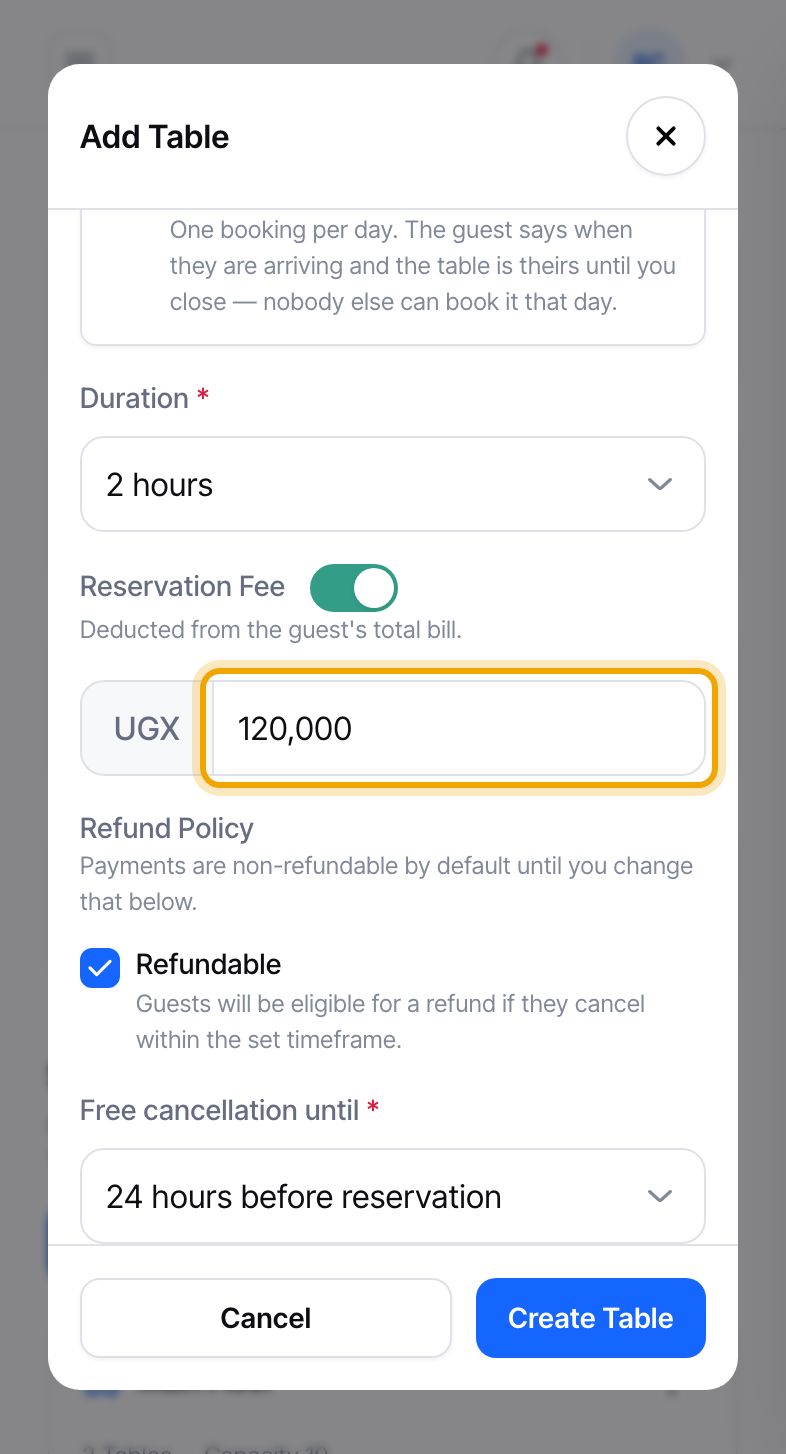
Switch on “Reservation Fee” and enter the amount in UGX. This is what a guest pays in the Hoppers app to hold the table, and it is taken off their bill when they get to the venue. Payments are non-refundable unless you tick “Refundable” and choose “Free cancellation until”, for example 24 hours before the reservation.
Leave “Reservation Fee” switched off and the table is free to reserve.
Select “Create Table”. A green “Table created successfully!” message appears and the table shows in the “All Tables” list with its fee. Once your venue is approved, guests choose the table and their arrival time in the Hoppers app and pay the reservation fee there. The table is held while they pay, and when the payment goes through the reservation shows as “Confirmed” on your Reservations page.
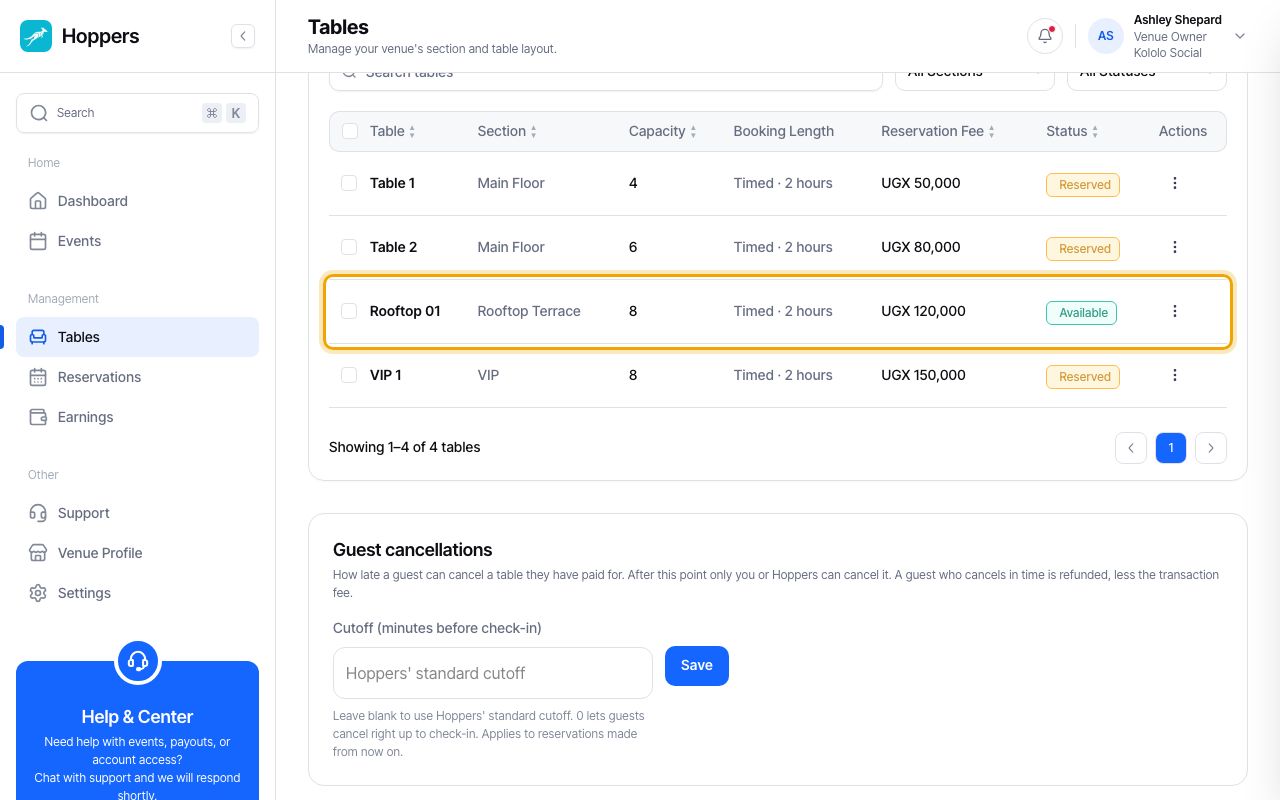
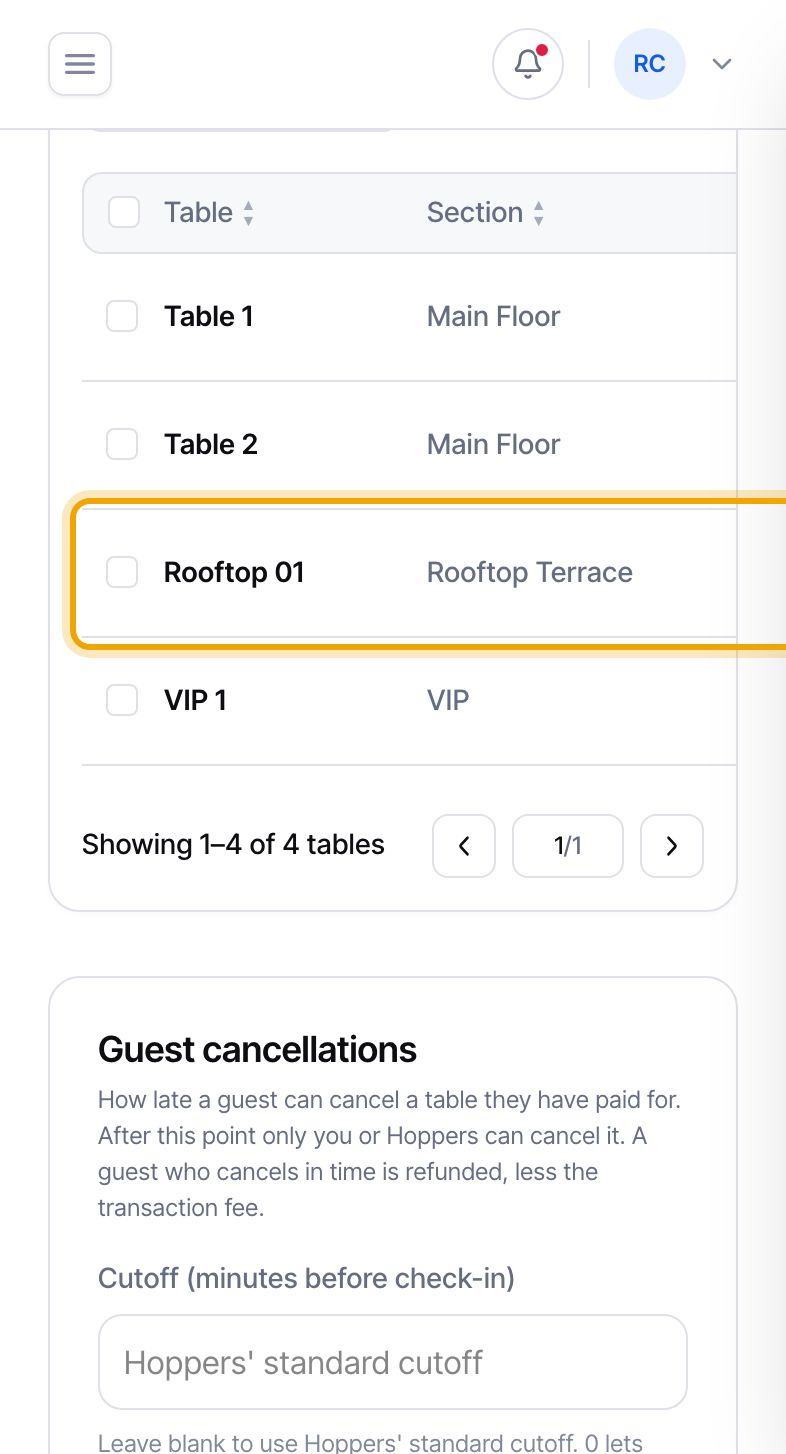
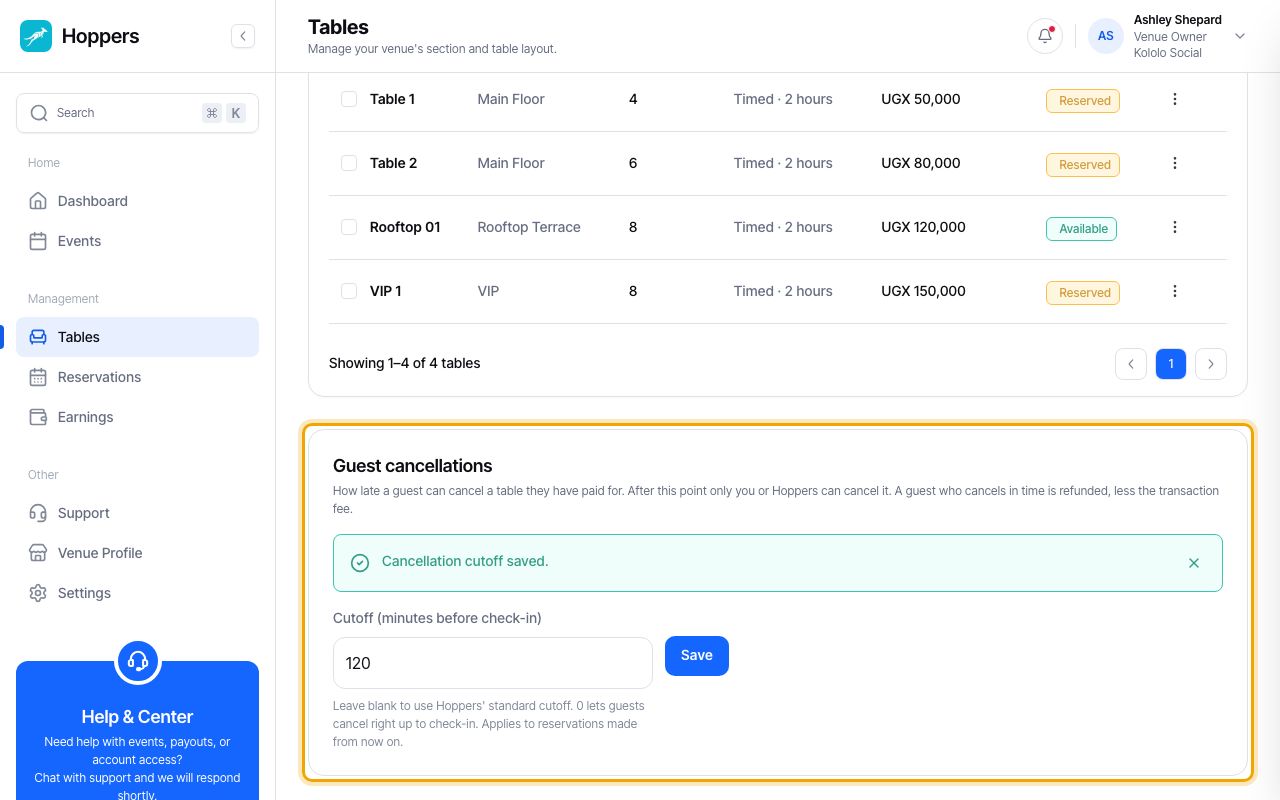
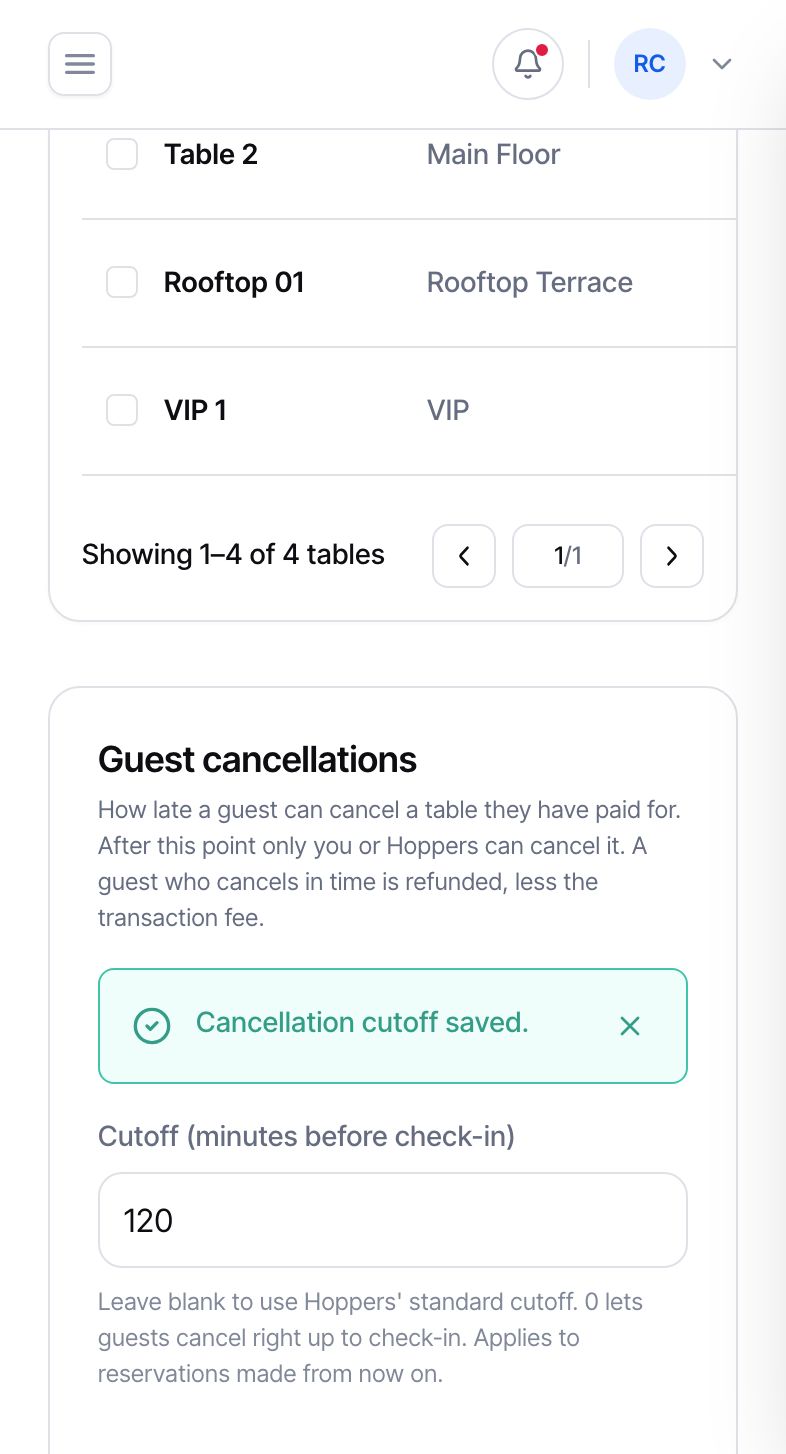
At the bottom of the Tables page, under “Guest cancellations”, enter “Cutoff (minutes before check-in)”, for example 120, and select “Save”. After that point only you or Hoppers can cancel a paid table. A guest who cancels in time is refunded, less the transaction fee.
Leave it blank to use Hoppers’ standard cutoff. Enter 0 to let guests cancel right up to check-in. A change applies to reservations made from then on.
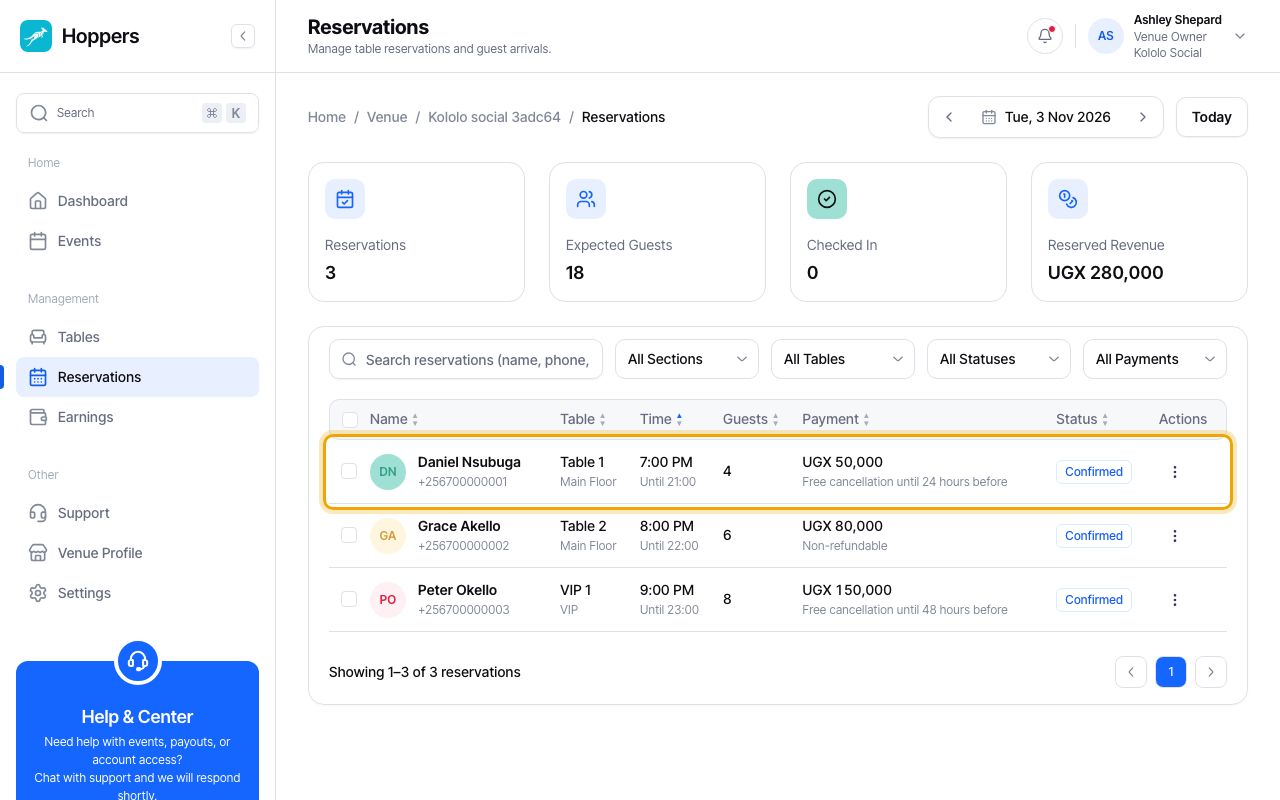
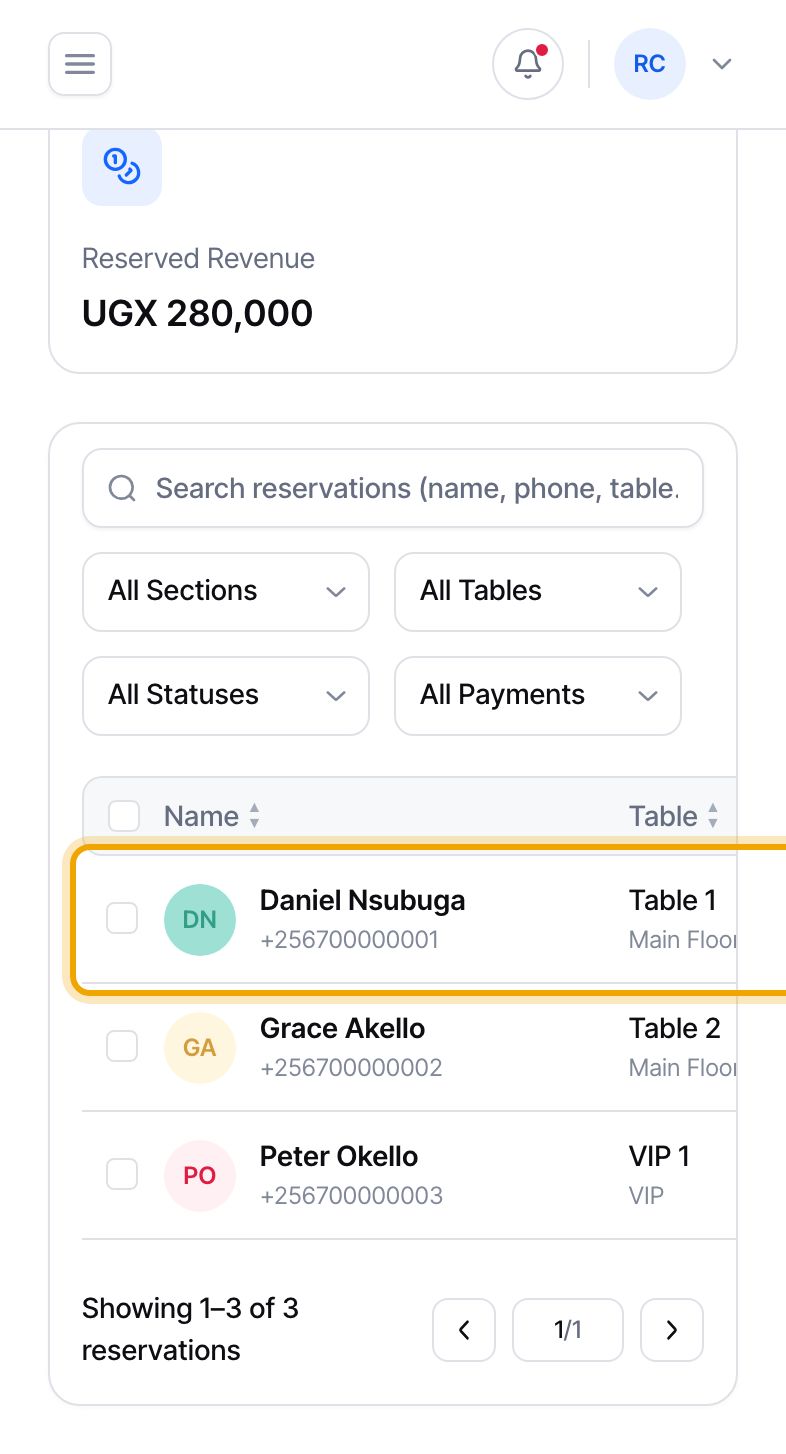
Select “Reservations” in the menu. Each reservation shows the guest, table, arrival time, party size and the reservation fee under “Payment”, with the refund rule below it. A paid reservation has the status “Confirmed”. Use “Filter by payment” to show only “Paid” or “Unpaid”.
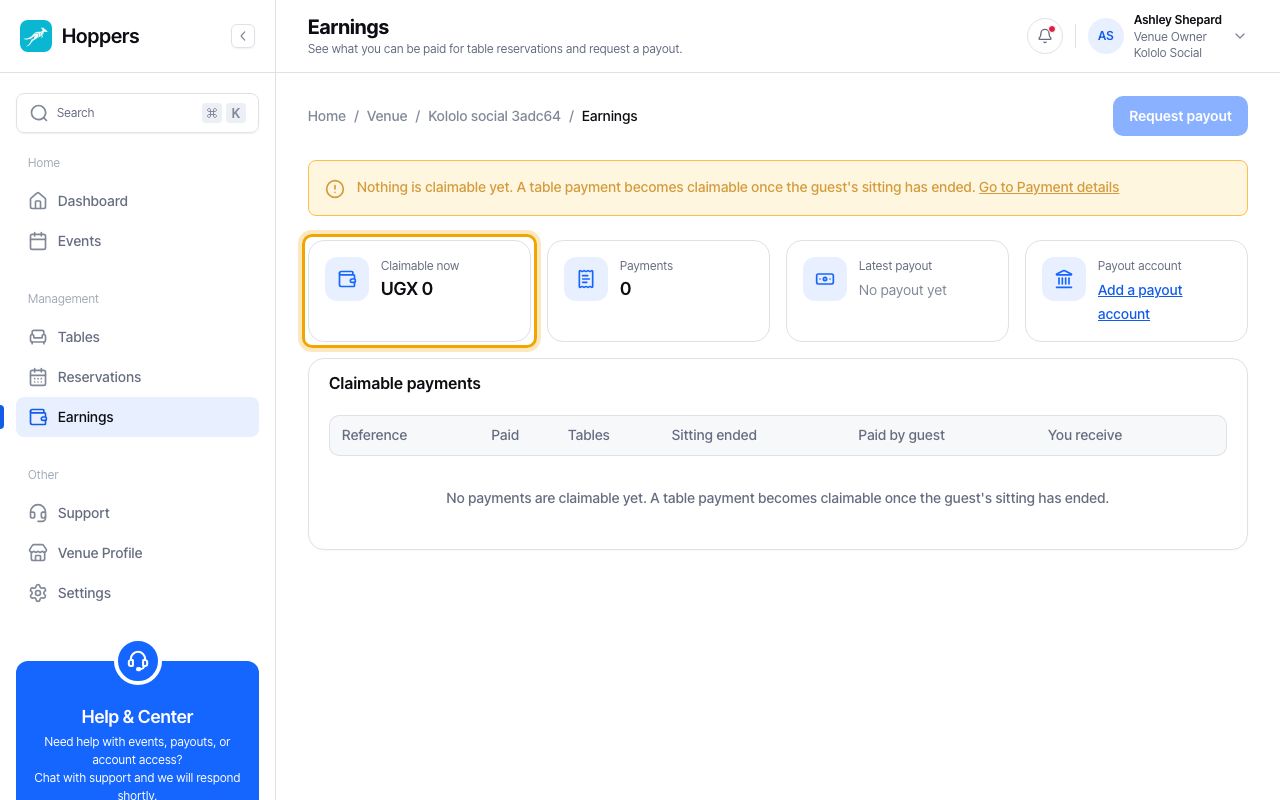
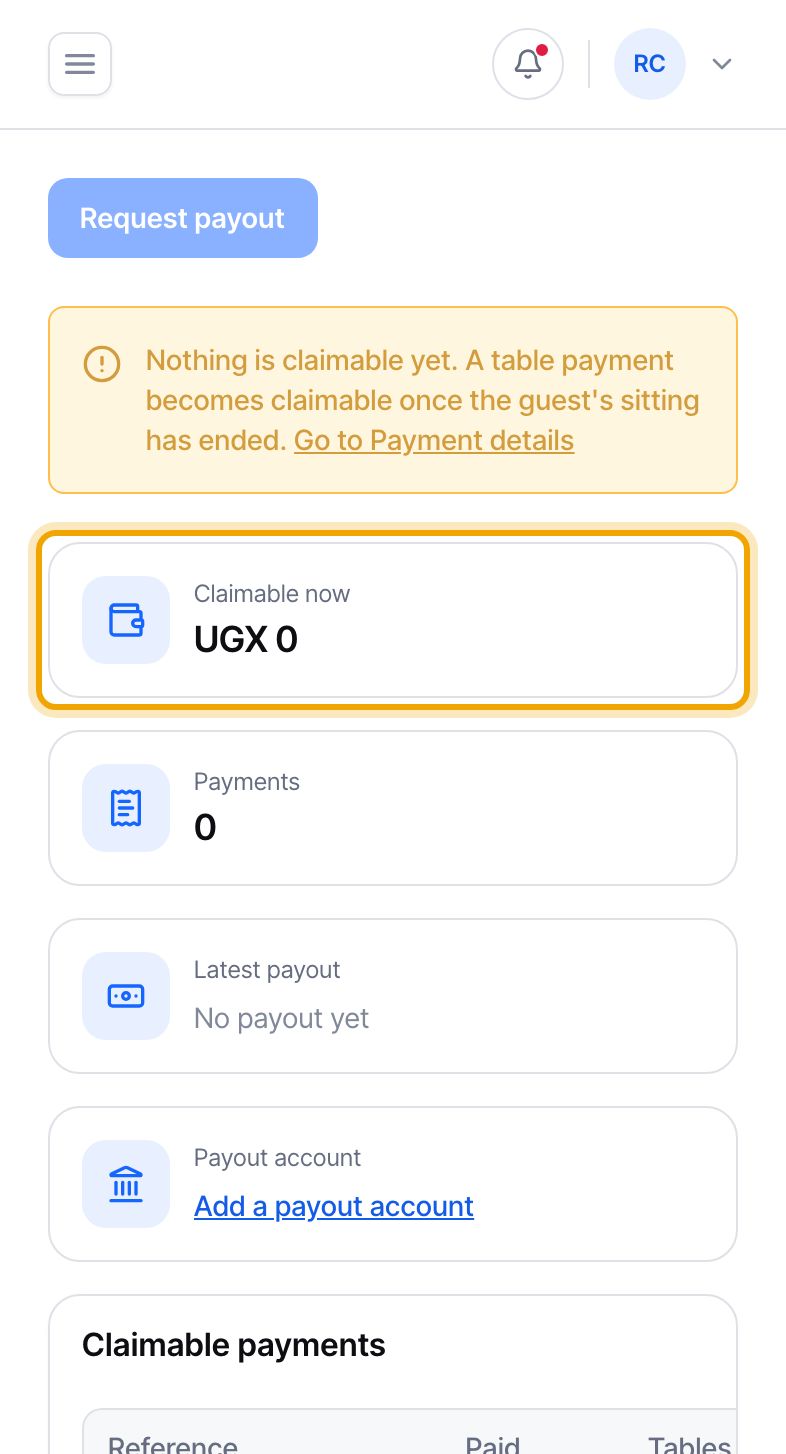
Select “Earnings” in the menu. “Claimable now” is what you can be paid for table reservations, after fees. A payment becomes claimable once the guest’s sitting has ended, and then appears under “Claimable payments” with what the guest paid (“Paid by guest”) and what you get (“You receive”). Select “Request payout” to be paid.
Event ticket sales at your venue are not on this page: that money belongs to the event organizer.
Fees come out of the reservation fee only, never out of the rest of your guest’s bill. Two things are taken off: the payment provider’s charge and Hoppers’ commission, which can be a percentage and a flat amount. What is left is what you are owed. If a service fee applies and your venue has agreed to cover it, that is taken off too. Otherwise the guest pays it on top. The rates are set by Hoppers and can be different for your venue, so for your own rates ask Support.
If you cancel a paid reservation, or free its table, the guest is refunded in full and the amount drops out of what you are owed. If a guest cancels in time, they are refunded less the transaction fee.
Payouts go to the mobile money or bank account you add in Settings, under “Payment details”. For payout timing, contact Support.
