Hoppers
VenuesList your eventGet the app
Hoppers

Discover, plan and experience the best events across Uganda.

Get it onGoogle Play
Download on theApp Store

Discover

  • Browse events
  • This weekend
  • Free events
  • Places to go out
  • Categories

For organizers

  • Sell tickets
  • Pricing
  • Create account
  • Sign in

For venues

  • List your venue
  • Create account
  • Sign in

Company

  • About
  • Contact
  • FAQ
  • Help
  • Privacy
  • Terms

Cities

  • Arua
  • Entebbe
  • Fort Portal
  • Gulu
  • Hoima
  • Jinja
  • Kampala
  • Lira
  • Masaka
  • Mbale
  • Mbarara
  • MTN MoMo
  • Airtel Money
  • Visa
  • Mastercard
  • Instagram
  • TikTok
  • Snapchat

© 2026 Hoppers Ltd. All rights reserved.

  1. 1Get set up

    • Create your venue owner account
    • Set up your venue profile
  2. 2Take reservations

    • Table reservations and payments
  3. 3On the night

    • Check in guests
  4. 4Track how you are doing

    • Read your venue dashboard

Help and guides / Venue owners

Set up your venue profile

Add your photo, address, contact details and social links so guests can find your venue and you can submit it for approval.

  1. 1

    Open your Venue Profile

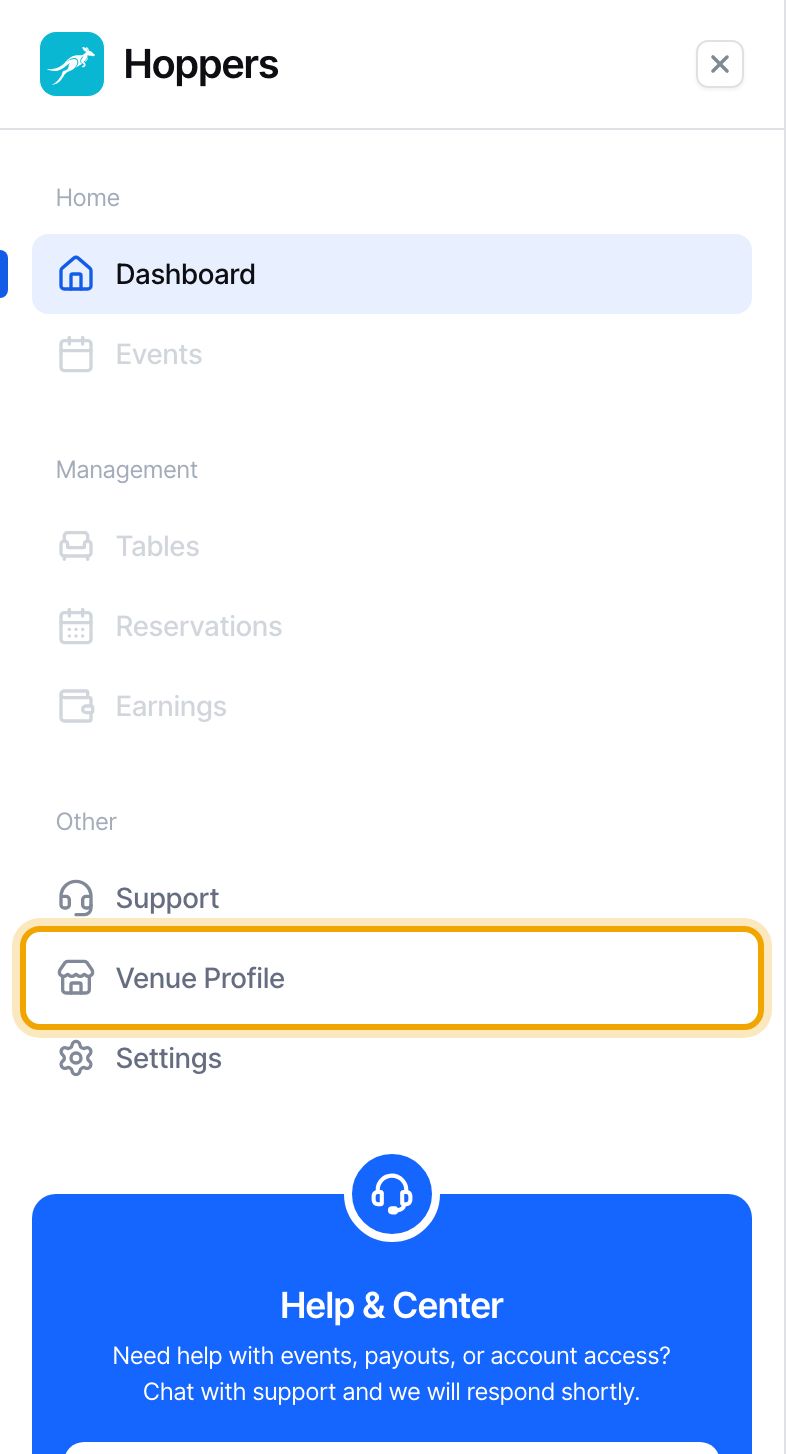
    Sign in to the Hoppers dashboard. Your dashboard shows a blue note asking you to complete the required fields. In the menu on the left, select “Venue Profile”. On a phone, tap the menu icon at the top left first.

    The badge at the top of the page says “Incomplete” until every required field is filled in.
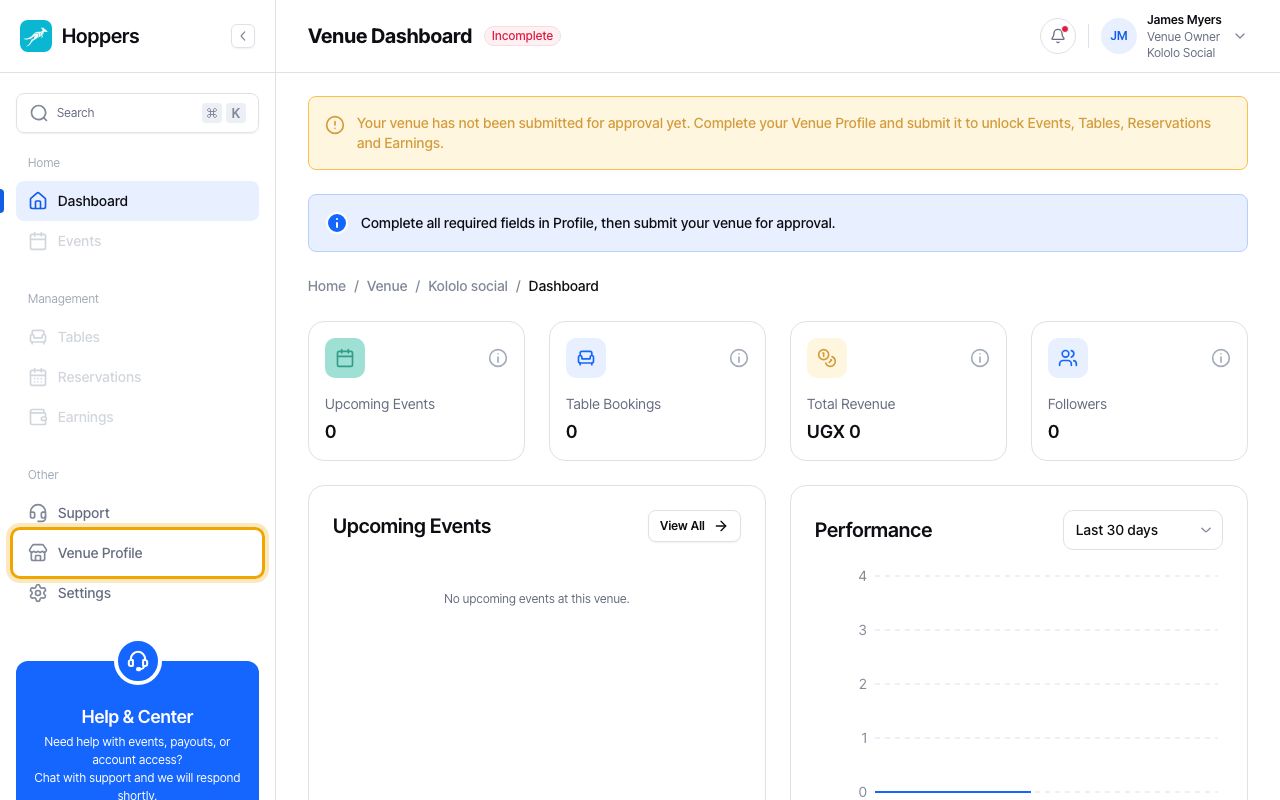
    Open your Venue Profile: Hoppers dashboard on a computer
    Open your Venue Profile: Hoppers dashboard on a phone
  2. 2

    Add a profile picture

    Under “Profile Picture”, drag a photo in or select “Browse”. This is the main photo guests see for your venue. Use a JPG, PNG or WEBP file up to 5MB.
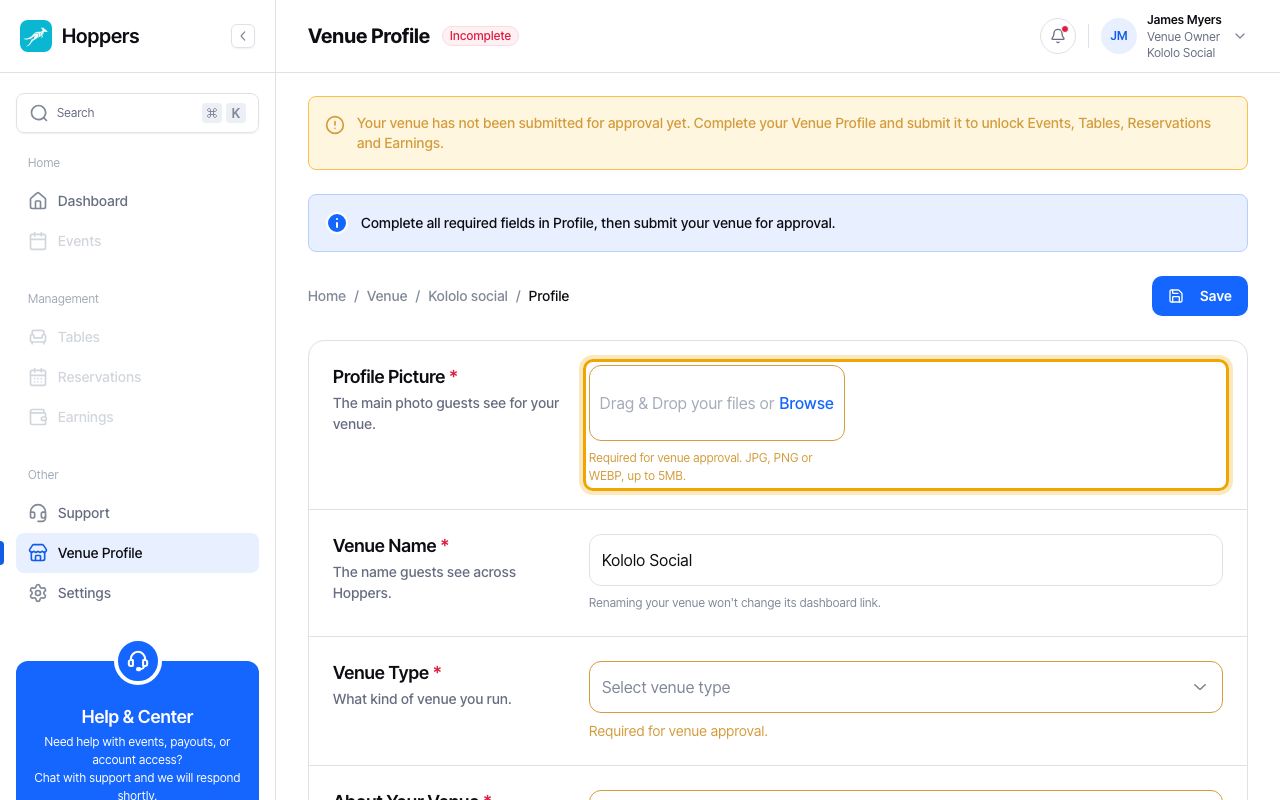
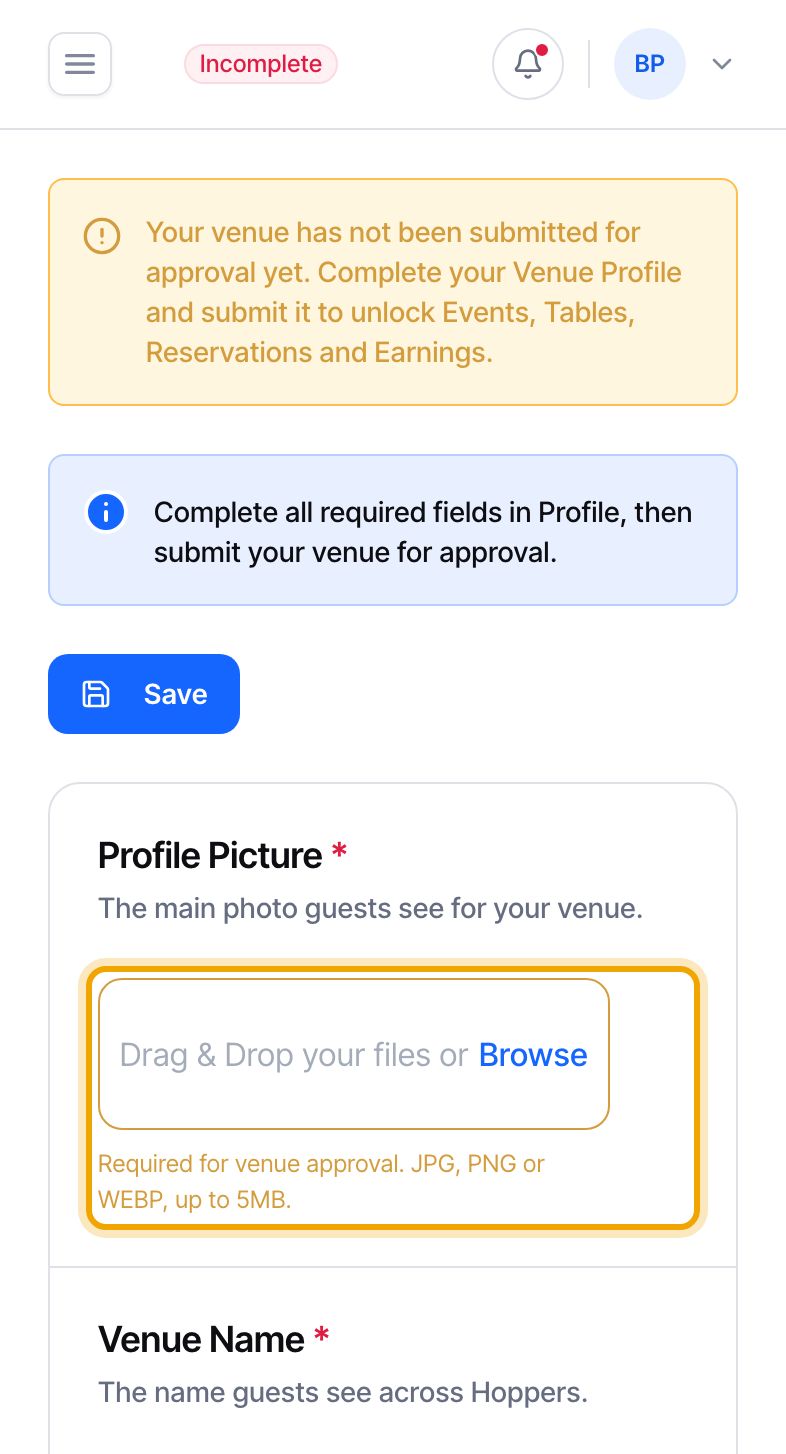
    Add a profile picture: Hoppers dashboard on a computer
    Add a profile picture: Hoppers dashboard on a phone
  3. 3

    Check your name, type and description

    Your venue name is already filled in from sign-up, and you can edit it. Choose your venue type, then write a few sentences under “About Your Venue” about the atmosphere and what makes it special.

    Fields marked with an amber “Required for venue approval” note still need an answer. You can save a half-finished profile and come back to it.
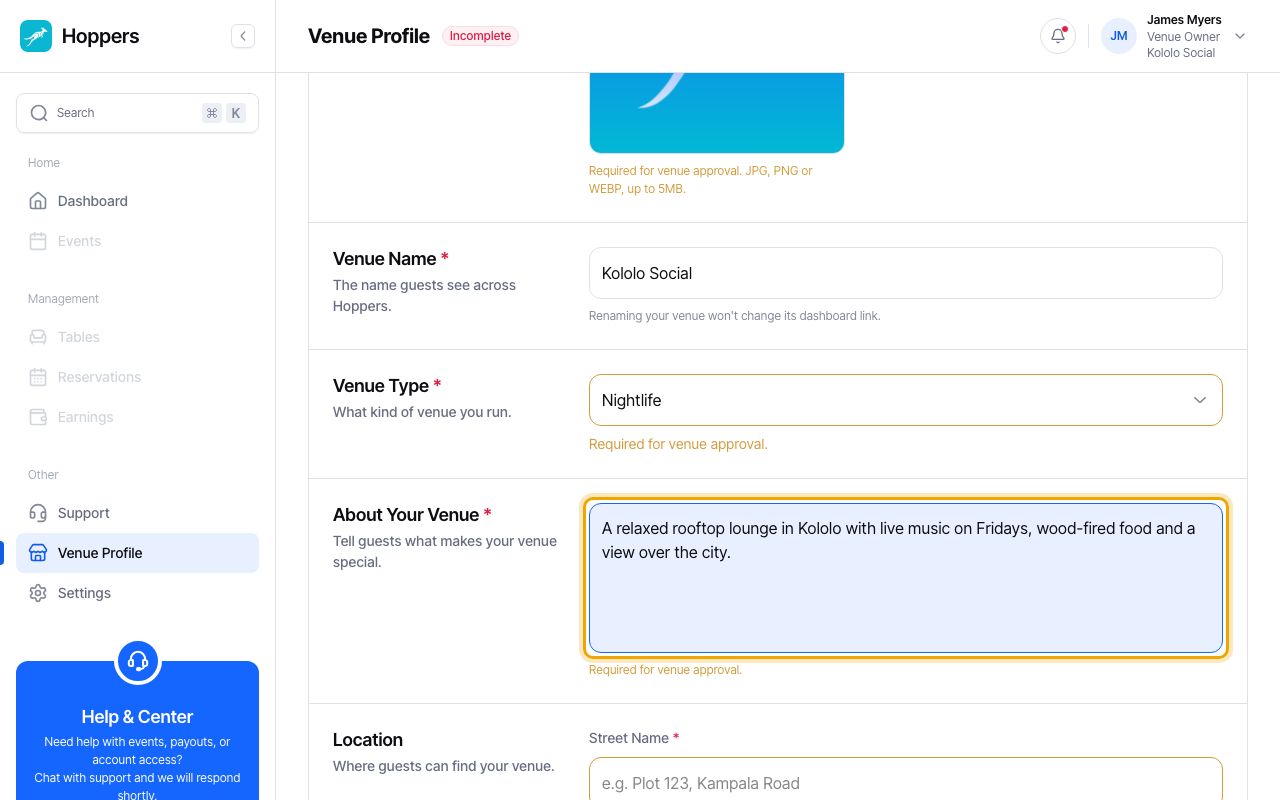
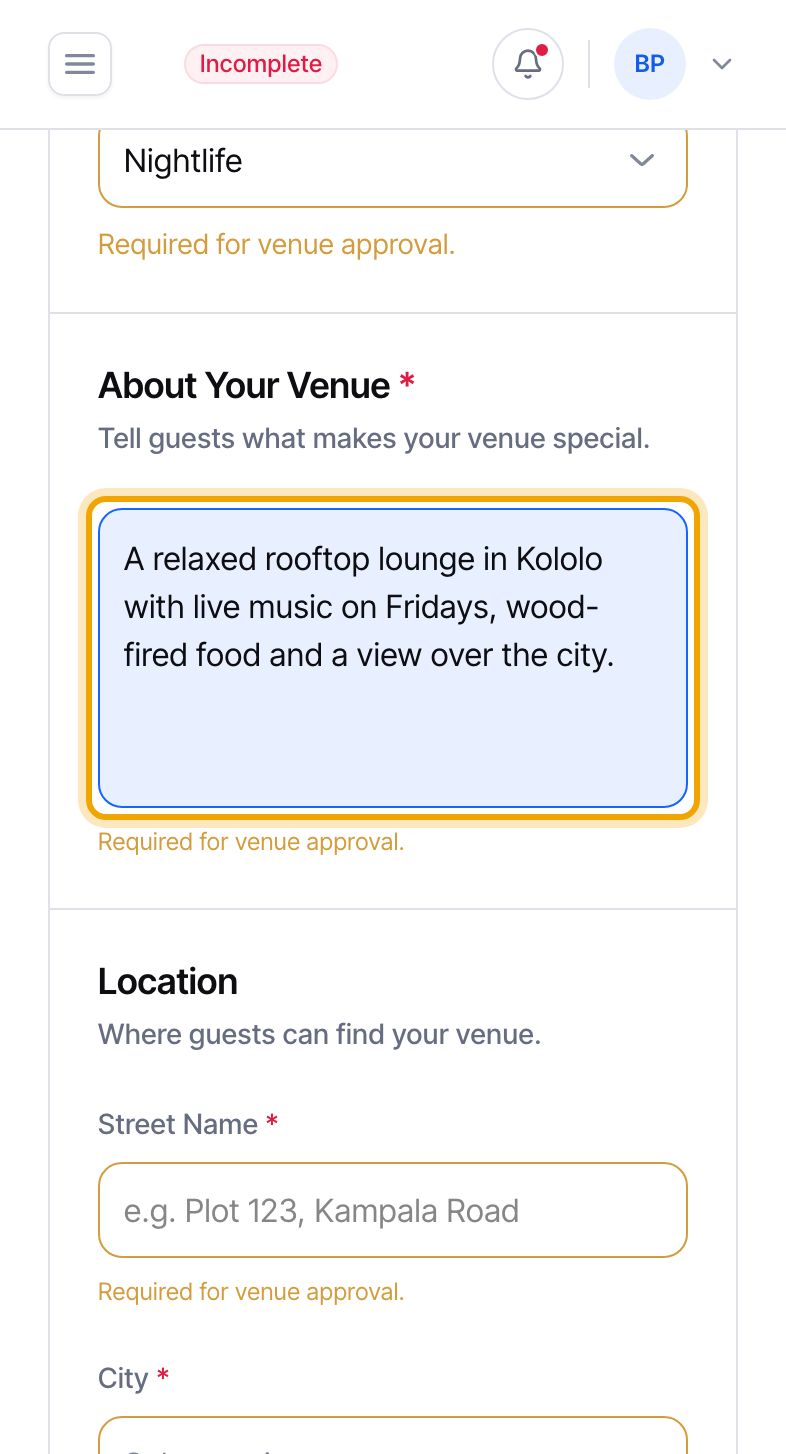
    Check your name, type and description: Hoppers dashboard on a computer
    Check your name, type and description: Hoppers dashboard on a phone
  4. 4

    Tell guests where you are

    Enter your street name, choose your city, and add your suburb. Then paste a Google Maps link to your venue under “Directions to venue” so guests can navigate to you.
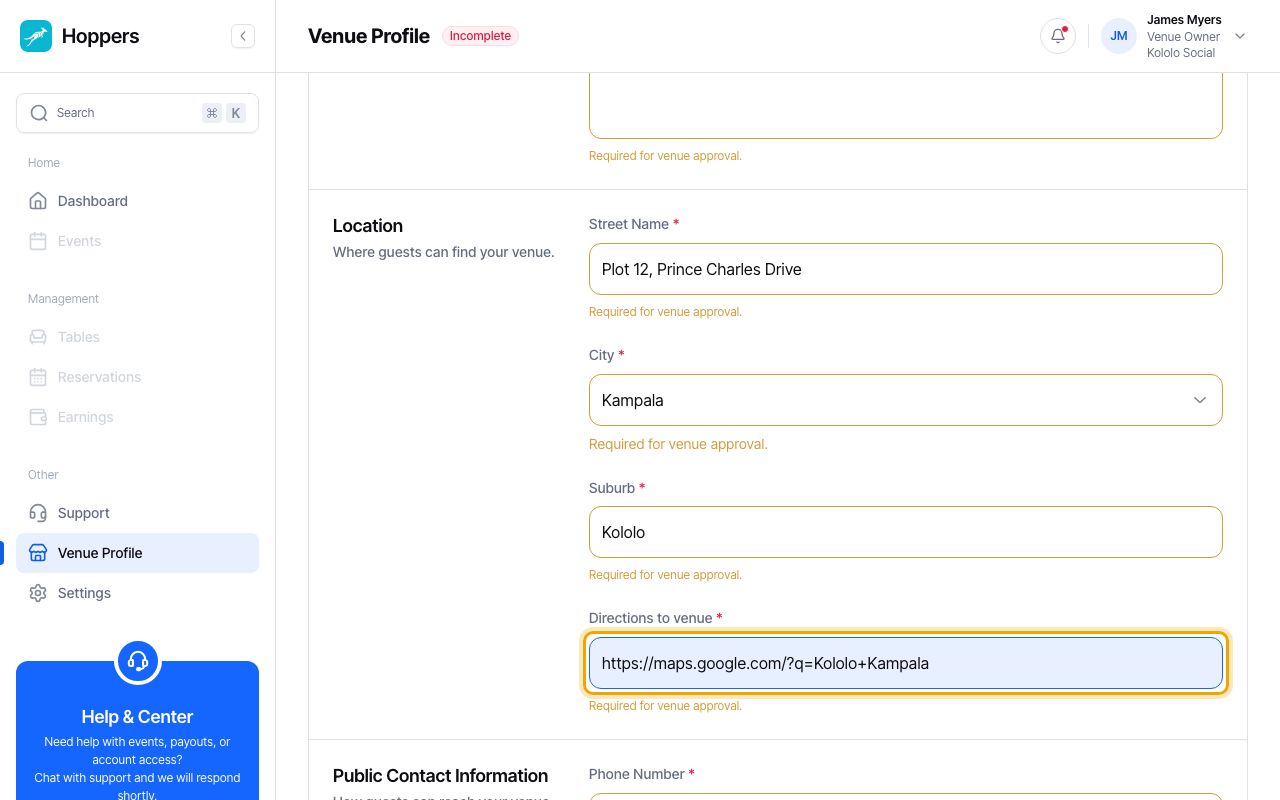
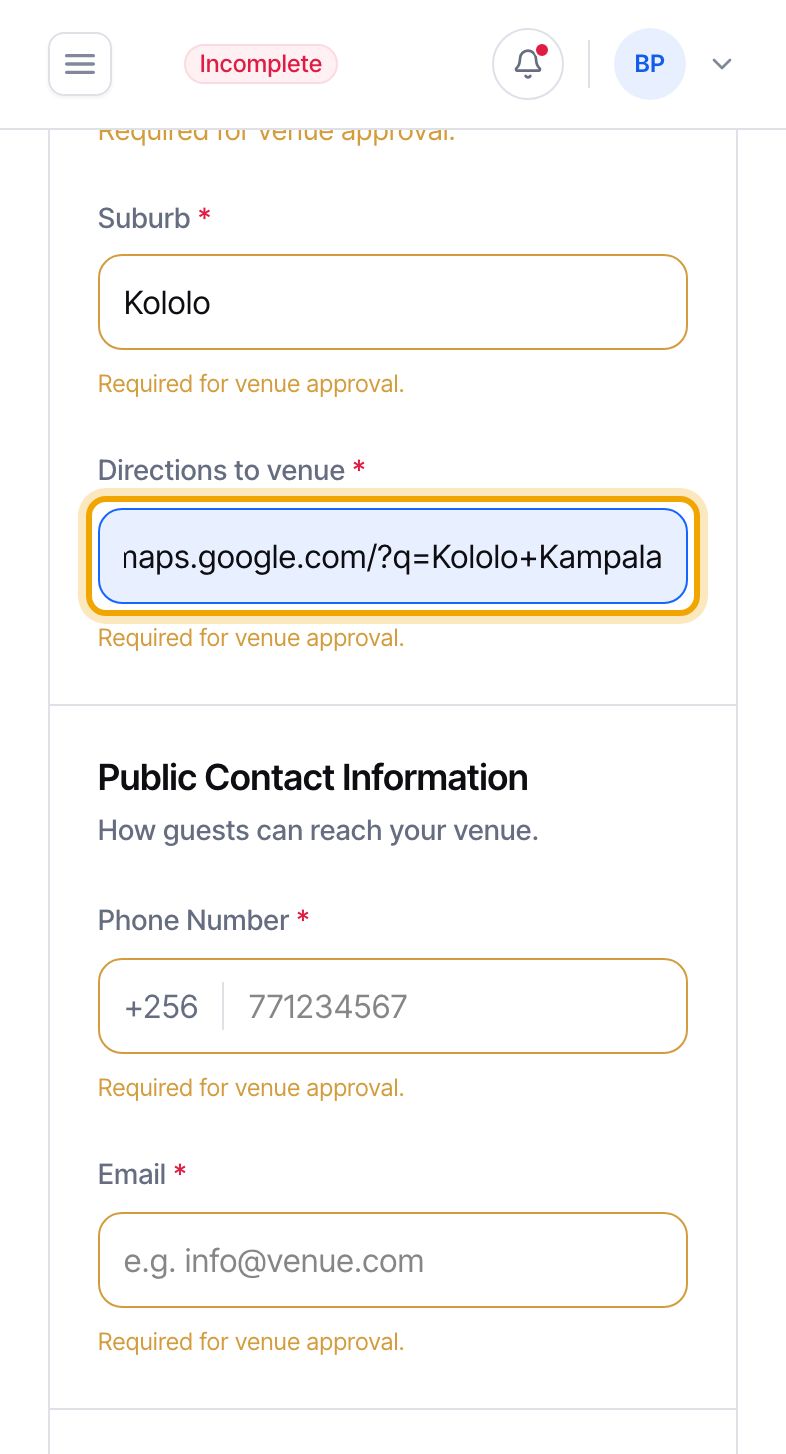
    Tell guests where you are: Hoppers dashboard on a computer
    Tell guests where you are: Hoppers dashboard on a phone
  5. 5

    Add your public contact details

    Enter the phone number and email address guests can use to reach your venue. Type the phone number without the leading zero, for example 771234567.
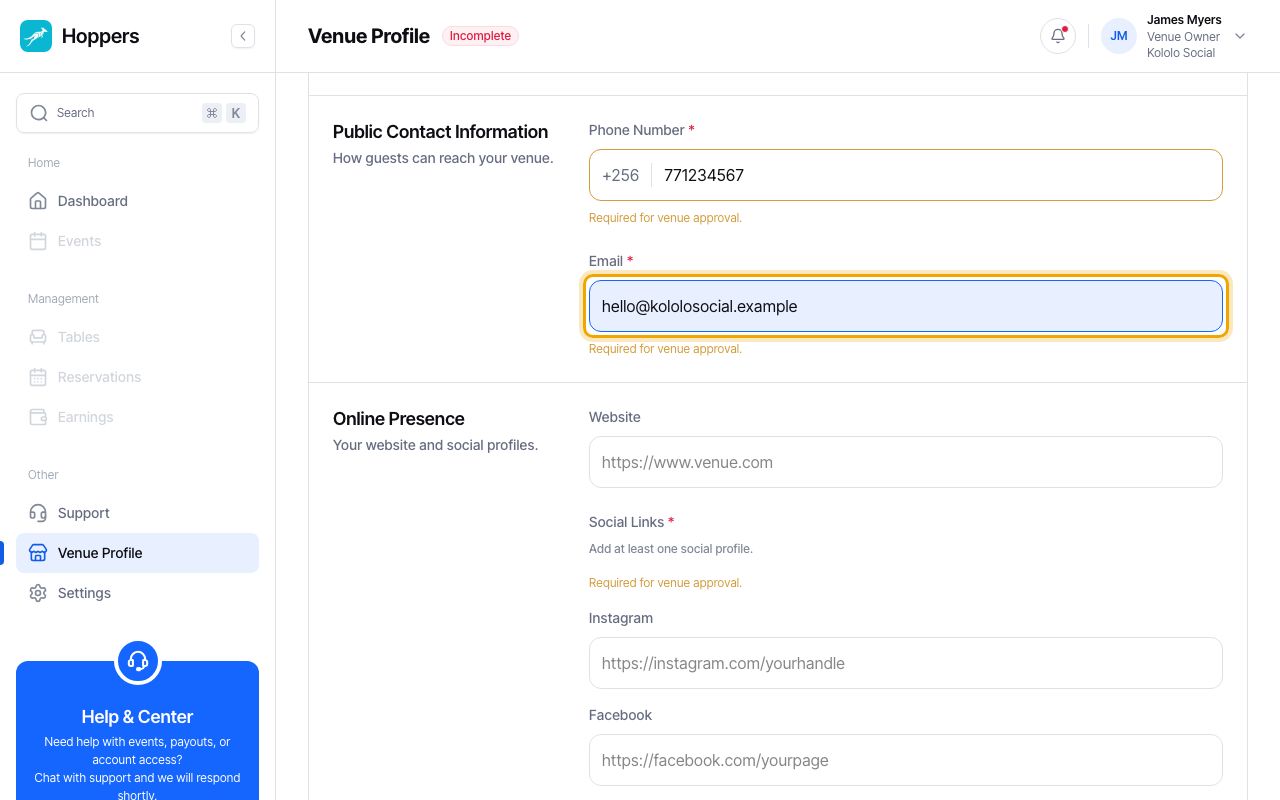
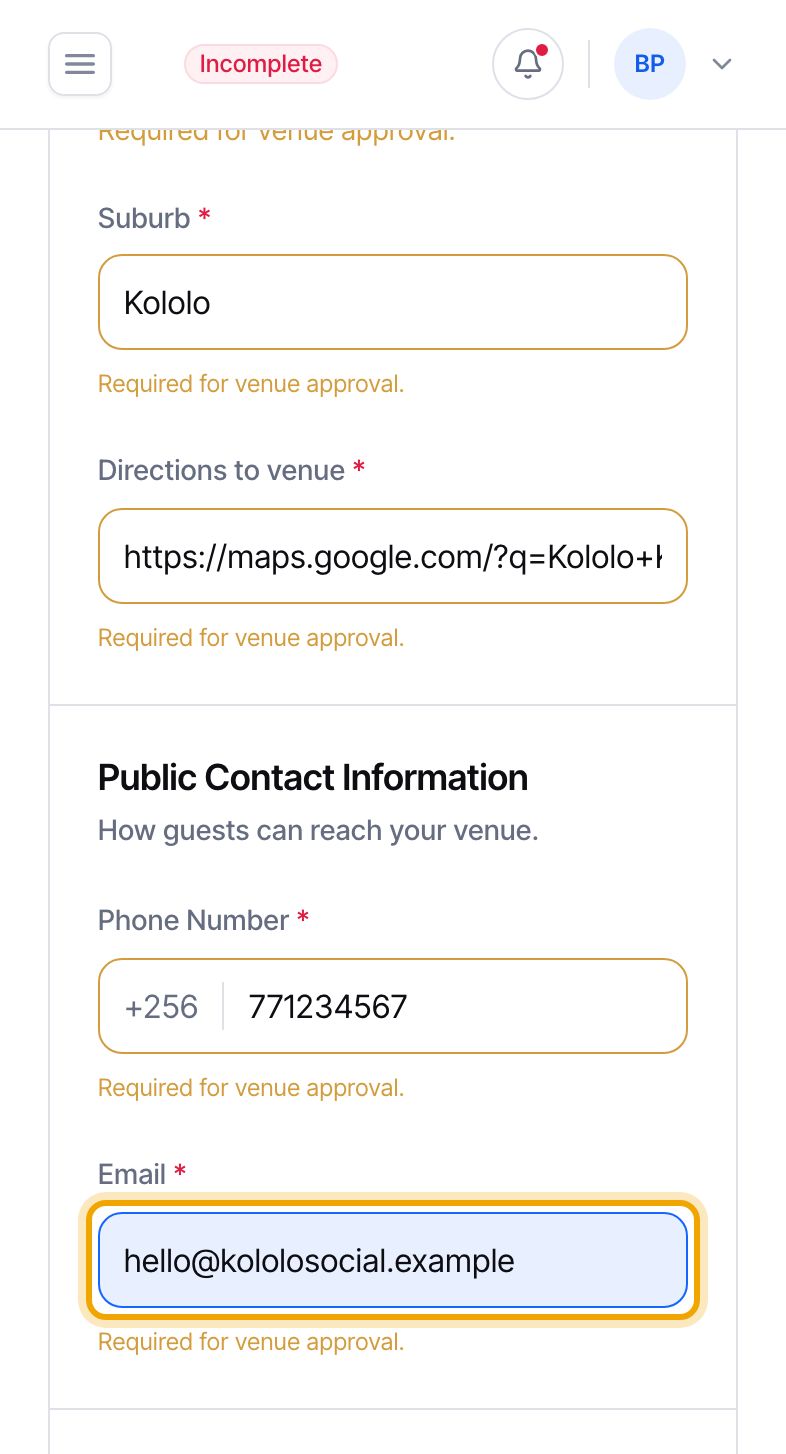
    Add your public contact details: Hoppers dashboard on a computer
    Add your public contact details: Hoppers dashboard on a phone
  6. 6

    Add your social links

    Under “Online Presence”, add your website if you have one, and at least one social profile such as Instagram or Facebook. You will use one of these accounts to verify that the venue is yours.
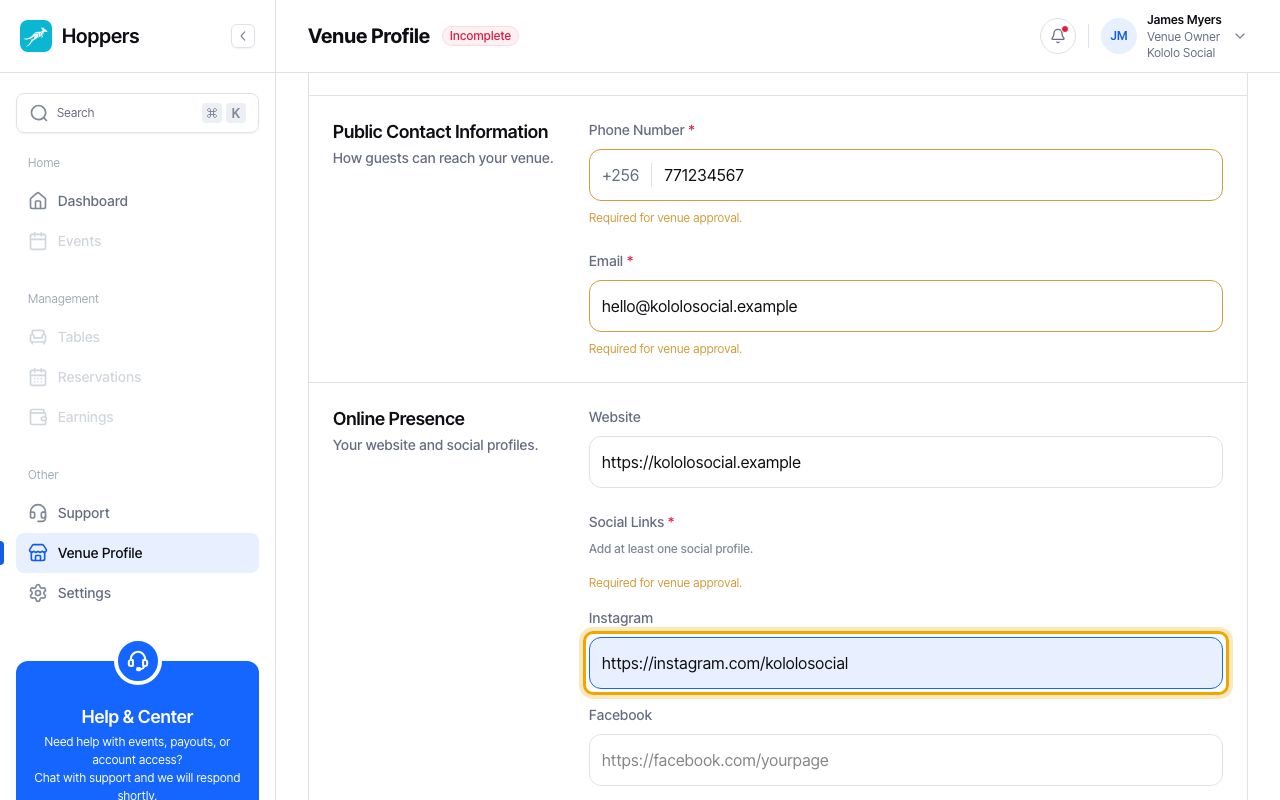
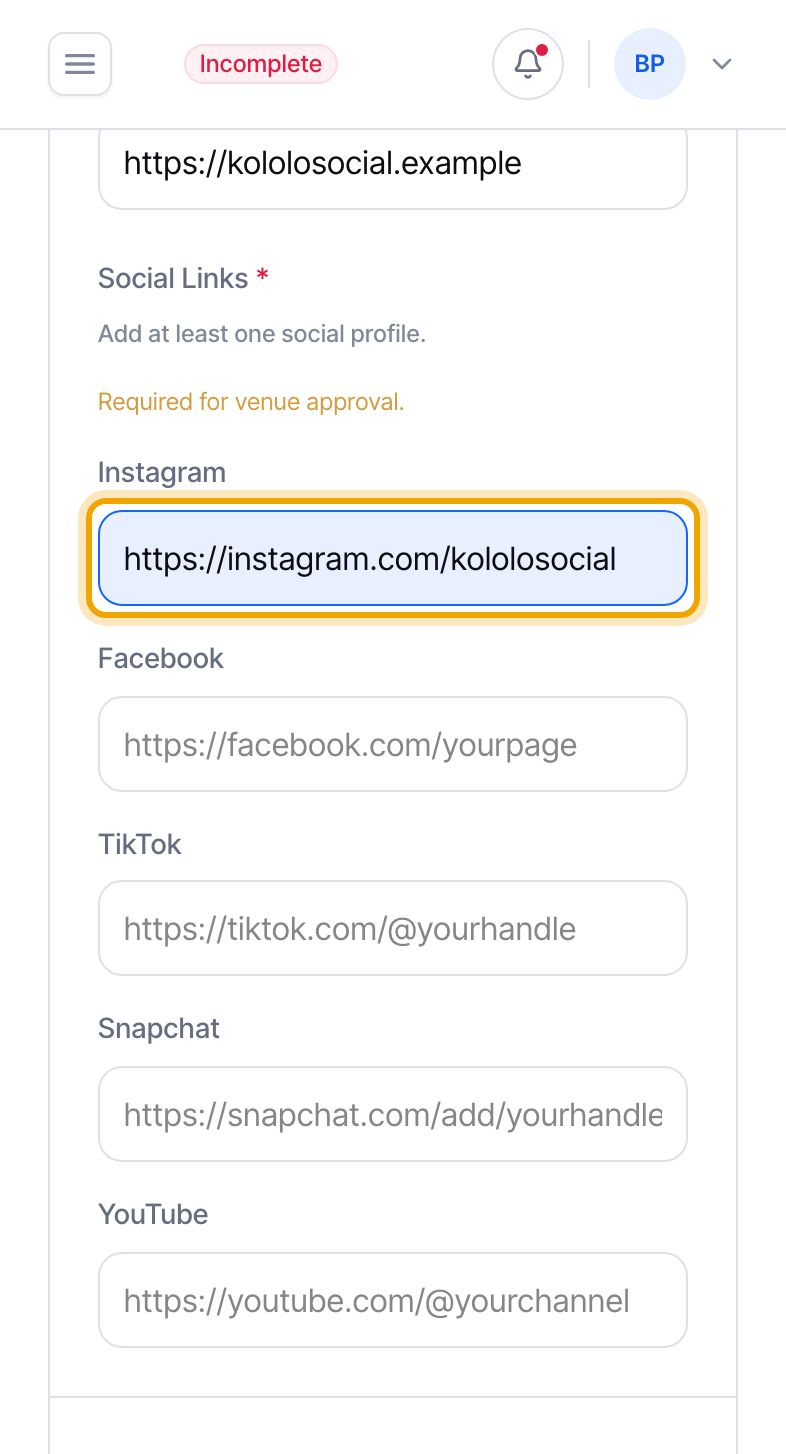
    Add your social links: Hoppers dashboard on a computer
    Add your social links: Hoppers dashboard on a phone
  7. 7

    Set your opening hours

    Tick each day you are open, then pick its opening and closing time: the hour, the minutes, and AM or PM. Days you leave unticked show as closed. Add a few tags such as “rooftop” or “karaoke” to help people discover your venue.
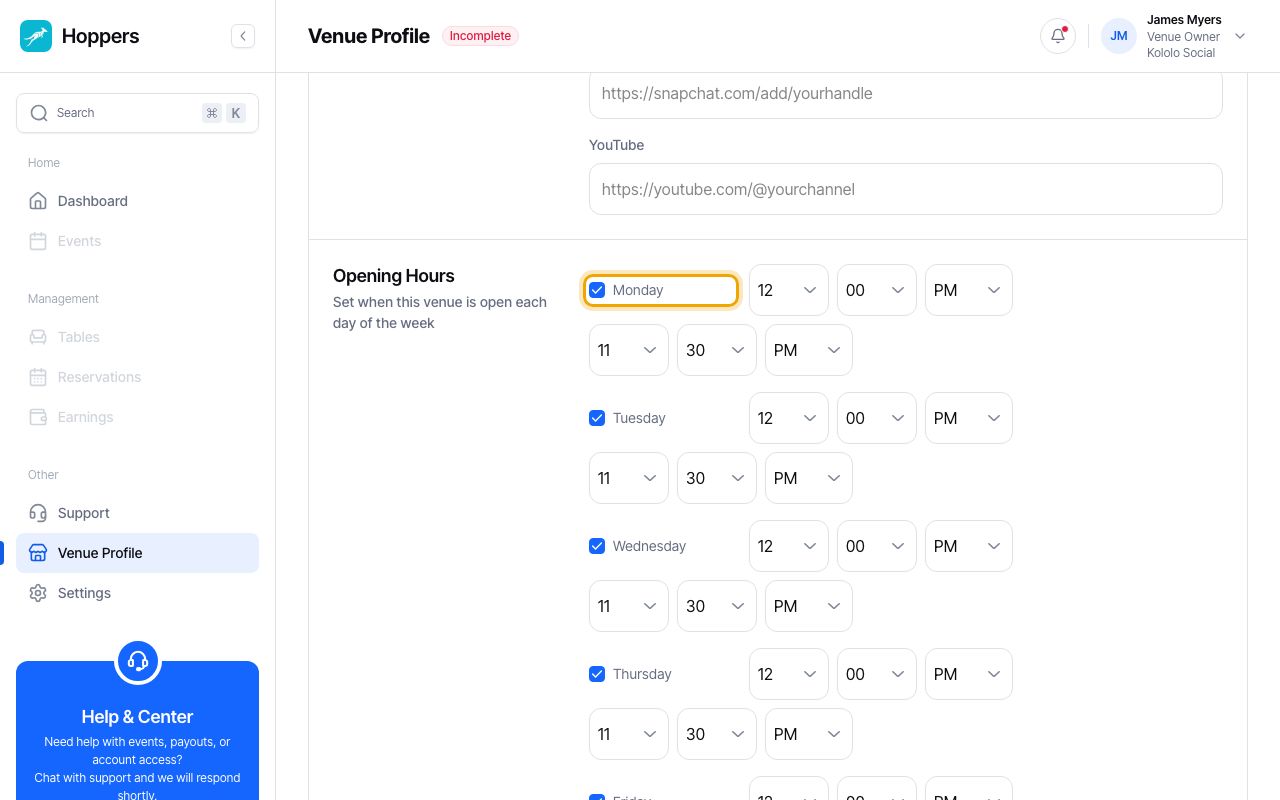
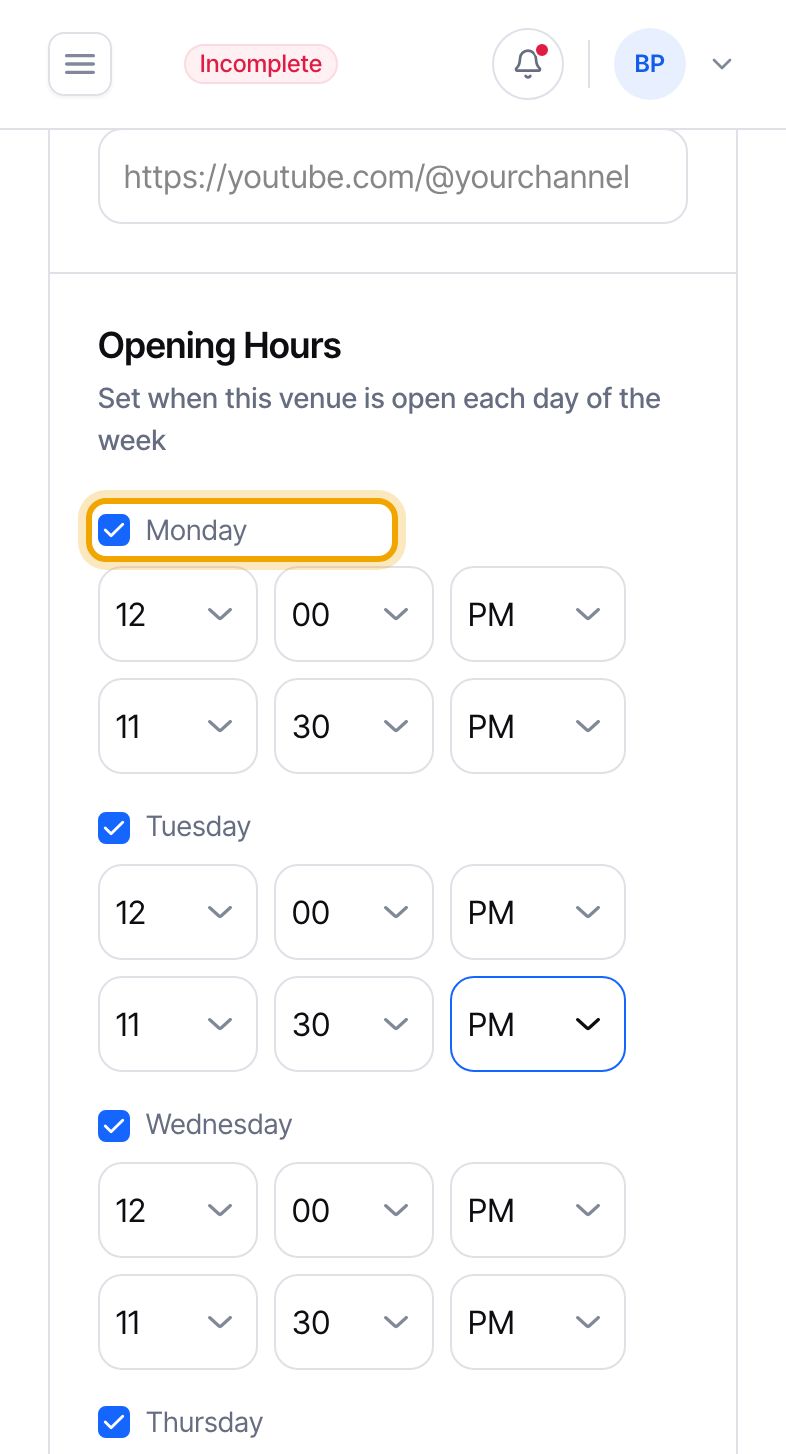
    Set your opening hours: Hoppers dashboard on a computer
    Set your opening hours: Hoppers dashboard on a phone
  8. 8

    Save your profile

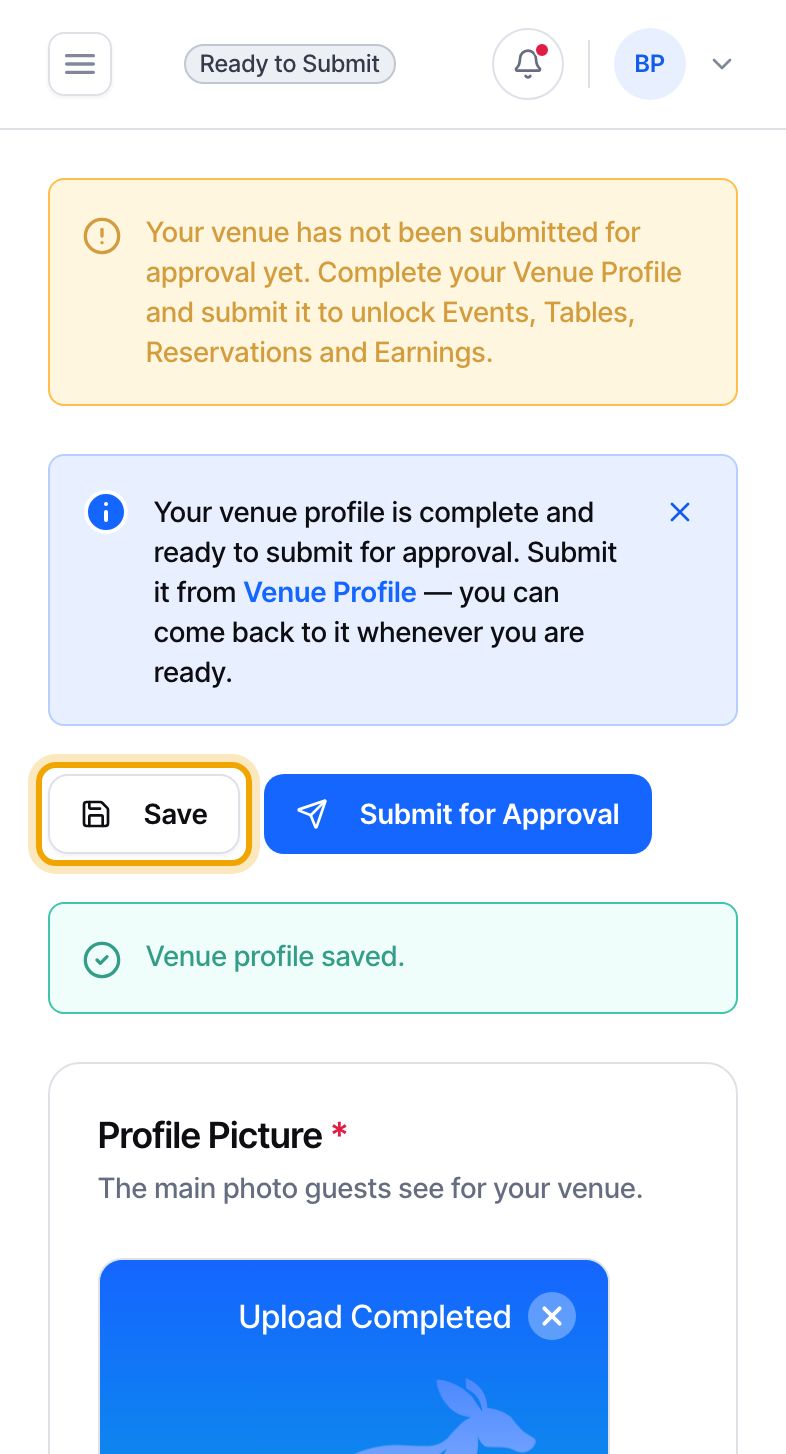
    Select “Save” at the top right. A green “Venue profile saved.” message confirms it, and the amber notes disappear from every field you have filled in.

    Save as often as you like. Nothing is shown to guests until your venue is approved.
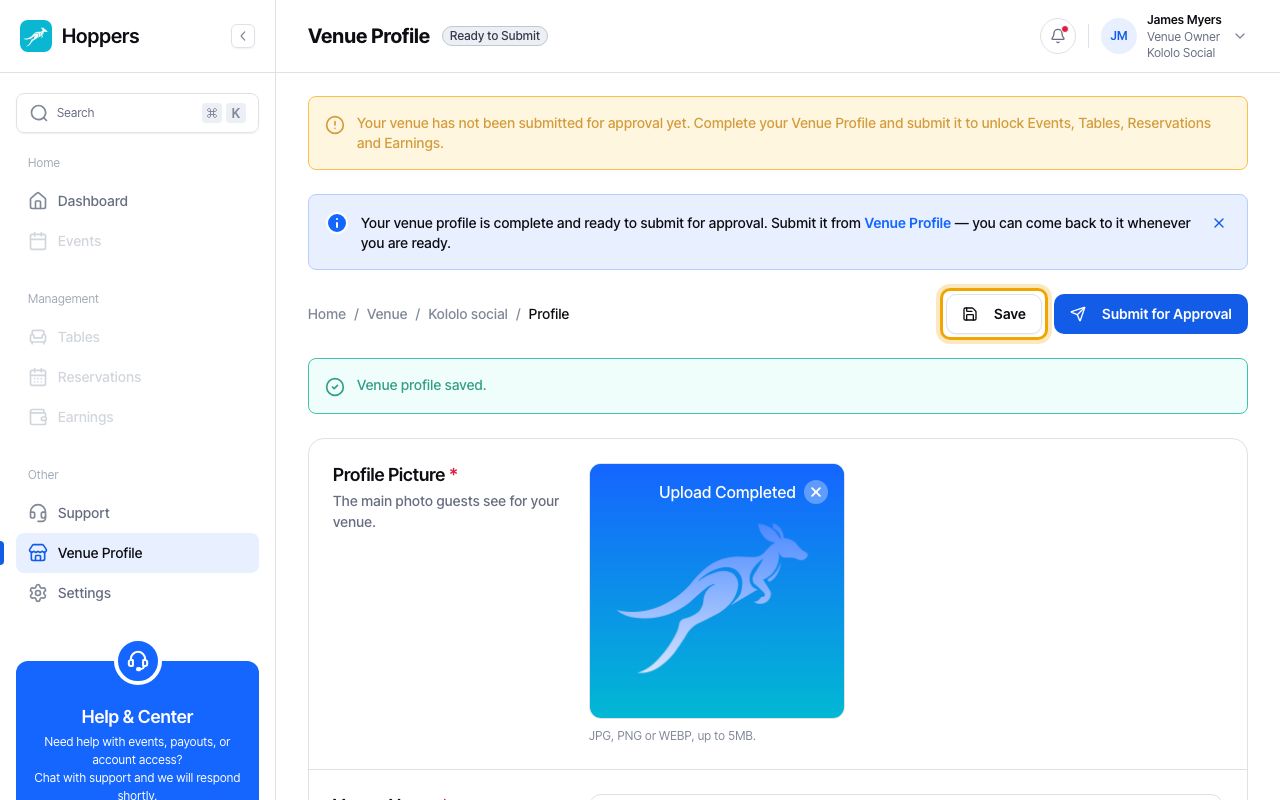
    Save your profile: Hoppers dashboard on a computer
    Save your profile: Hoppers dashboard on a phone
  9. 9

    Verify your venue and submit it

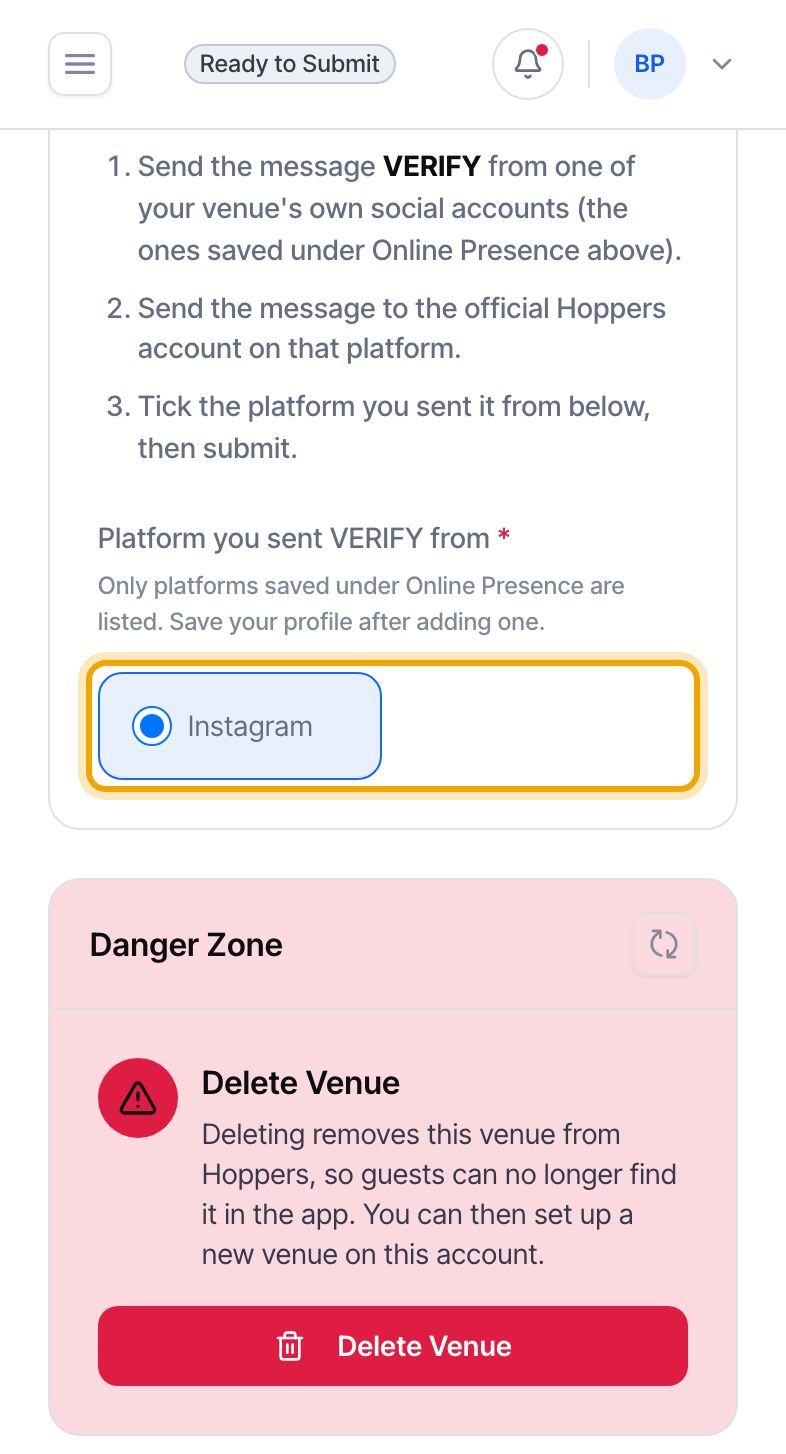
    Once every required field is filled in, the Venue Verification section unlocks. Send the message VERIFY to the Hoppers account on one of your venue’s social platforms, tick that platform, then select “Submit for Approval”. The Hoppers team reviews it and we let you know the result.
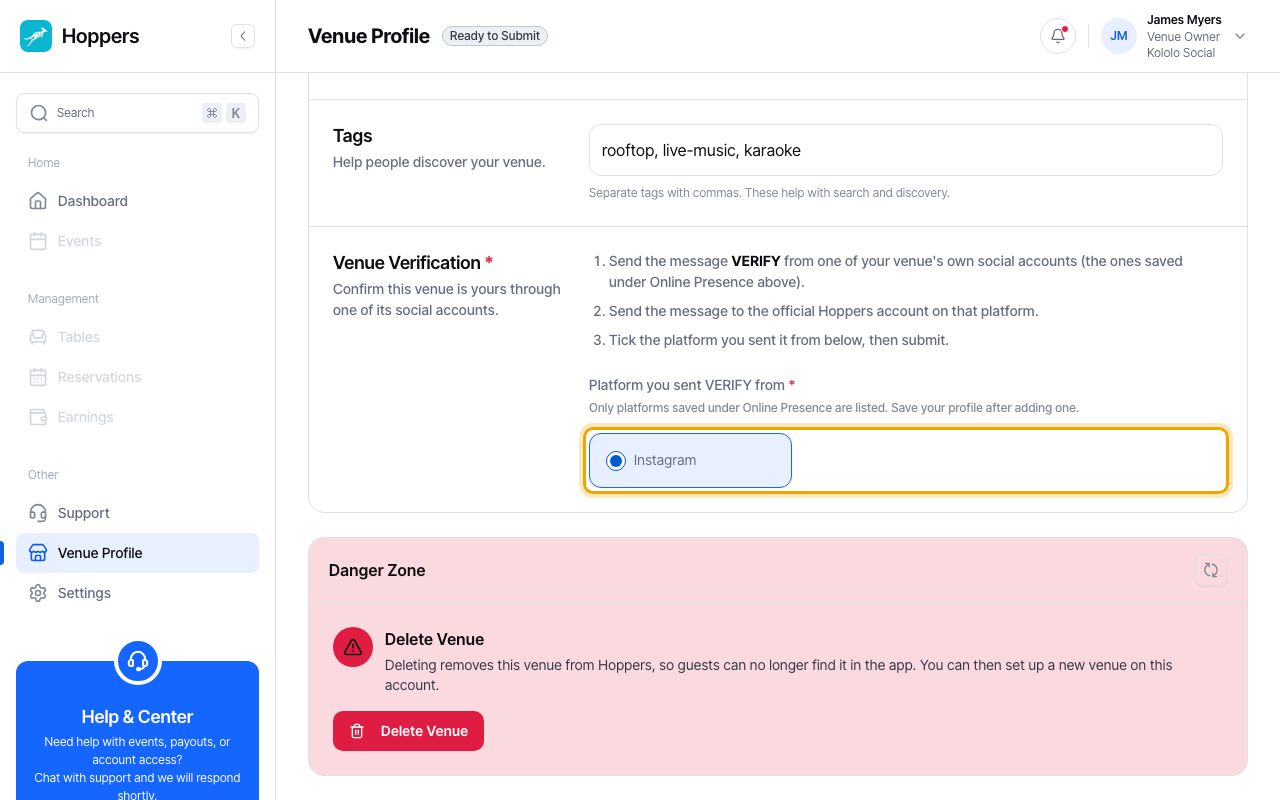
    Verify your venue and submit it: Hoppers dashboard on a computer
    Verify your venue and submit it: Hoppers dashboard on a phone

Need to change something later?

Come back to Venue Profile at any time, edit the fields and select Save. Your venue’s web address stays the same even if you rename it.

PreviousCreate your venue owner accountNext Table reservations and payments