Fill in your event’s details, pictures, venue, pricing and refund policy, and save it as a draft.
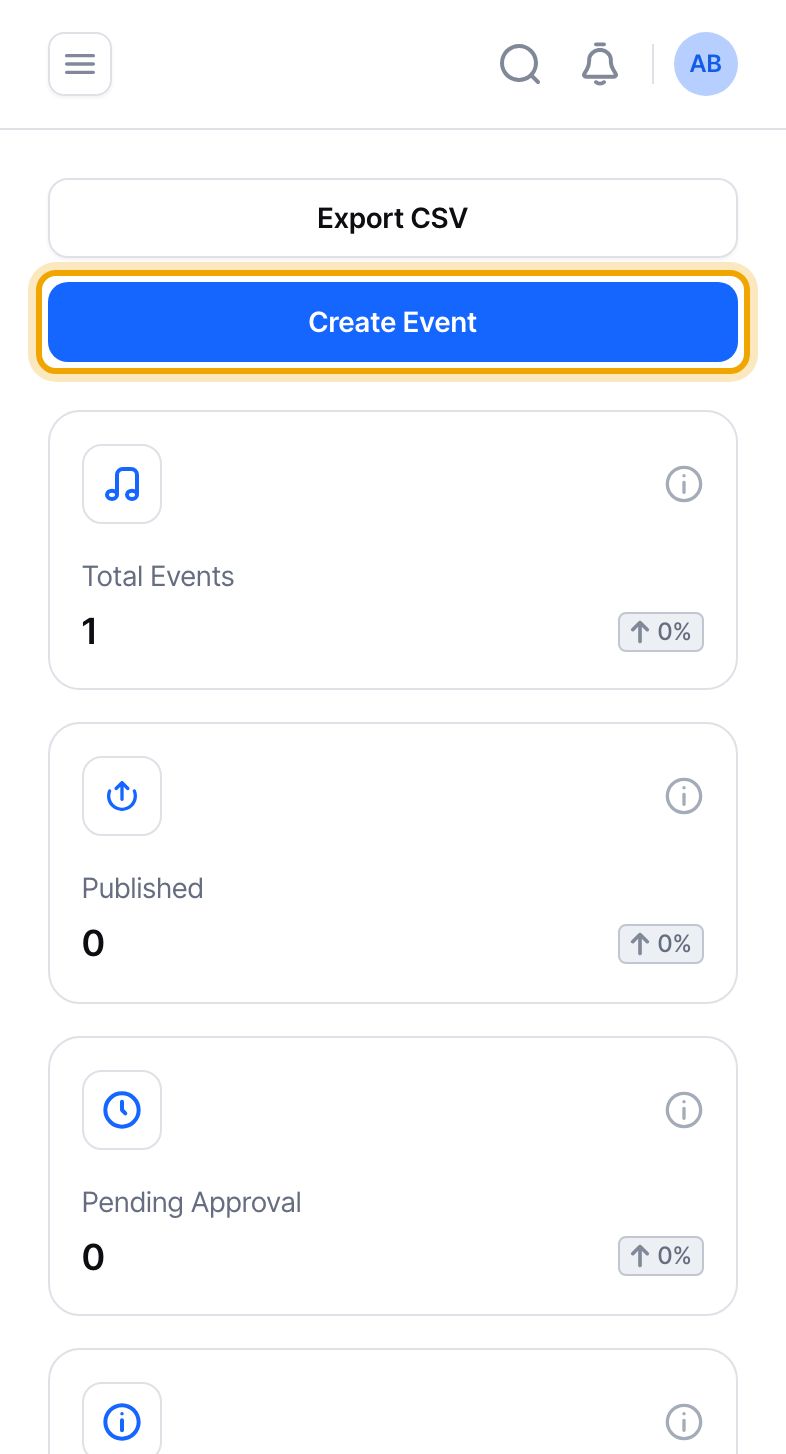
Sign in to the Hoppers dashboard and select “Events” in the menu. On a phone, tap the menu icon at the top left first. Then select “Create Event”. The form has seven tabs: Basic Info, Media, Venue, Pricing & Fees, Lineup, Tags and Policies.
Only a verified organizer account can send an event for review. If yours is not verified yet, the event page tells you.
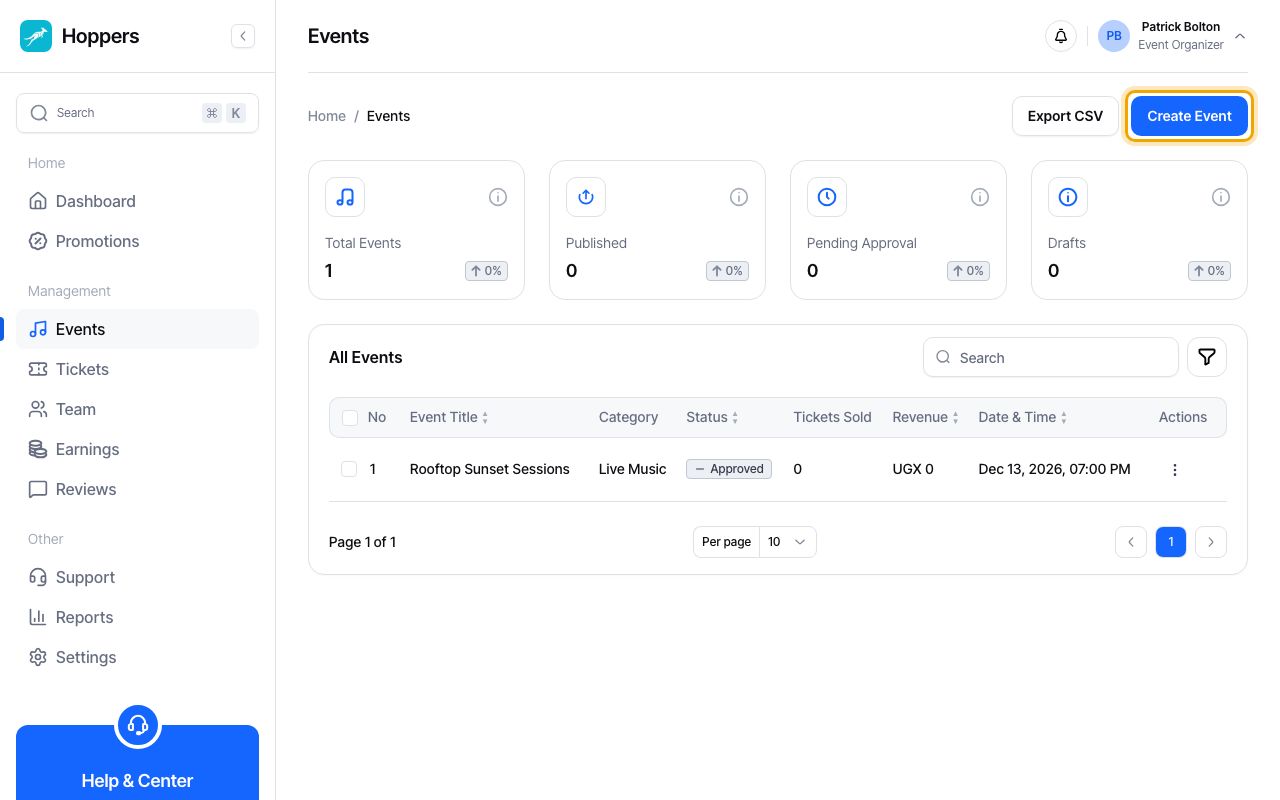
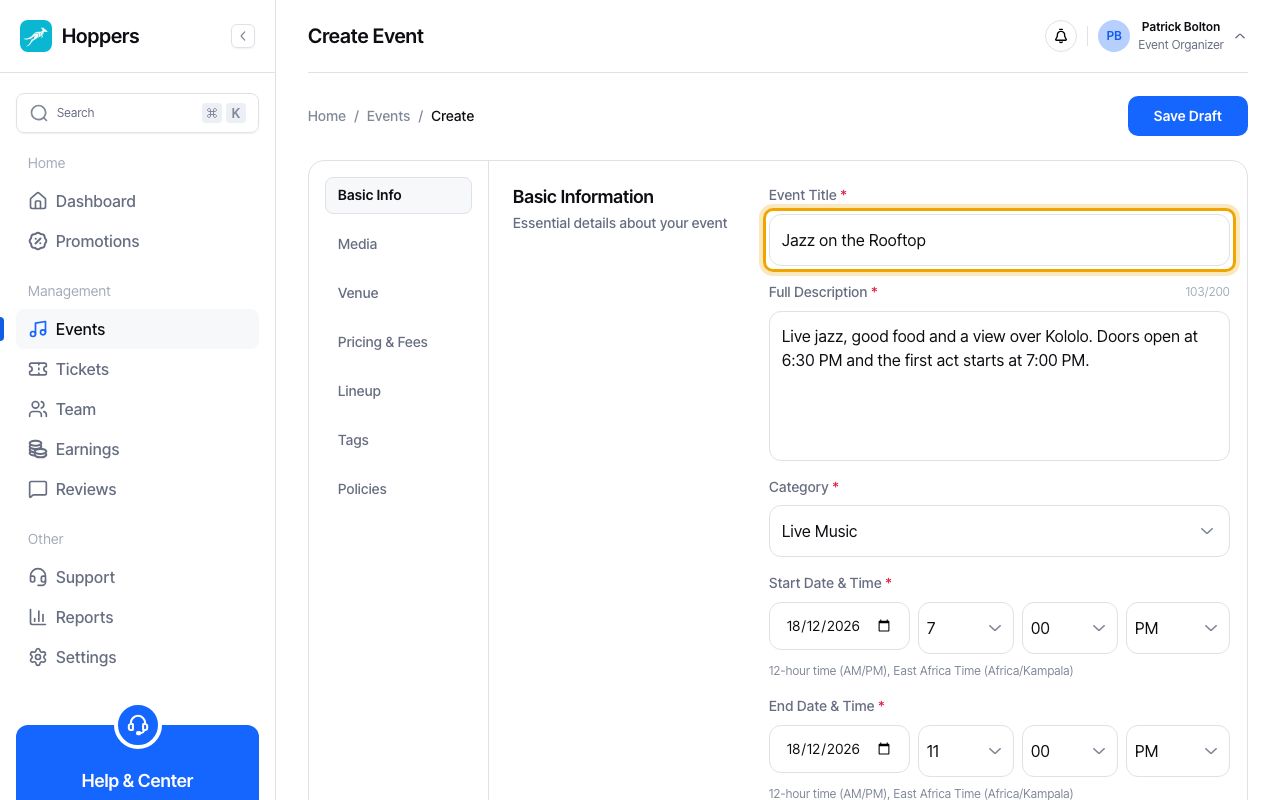
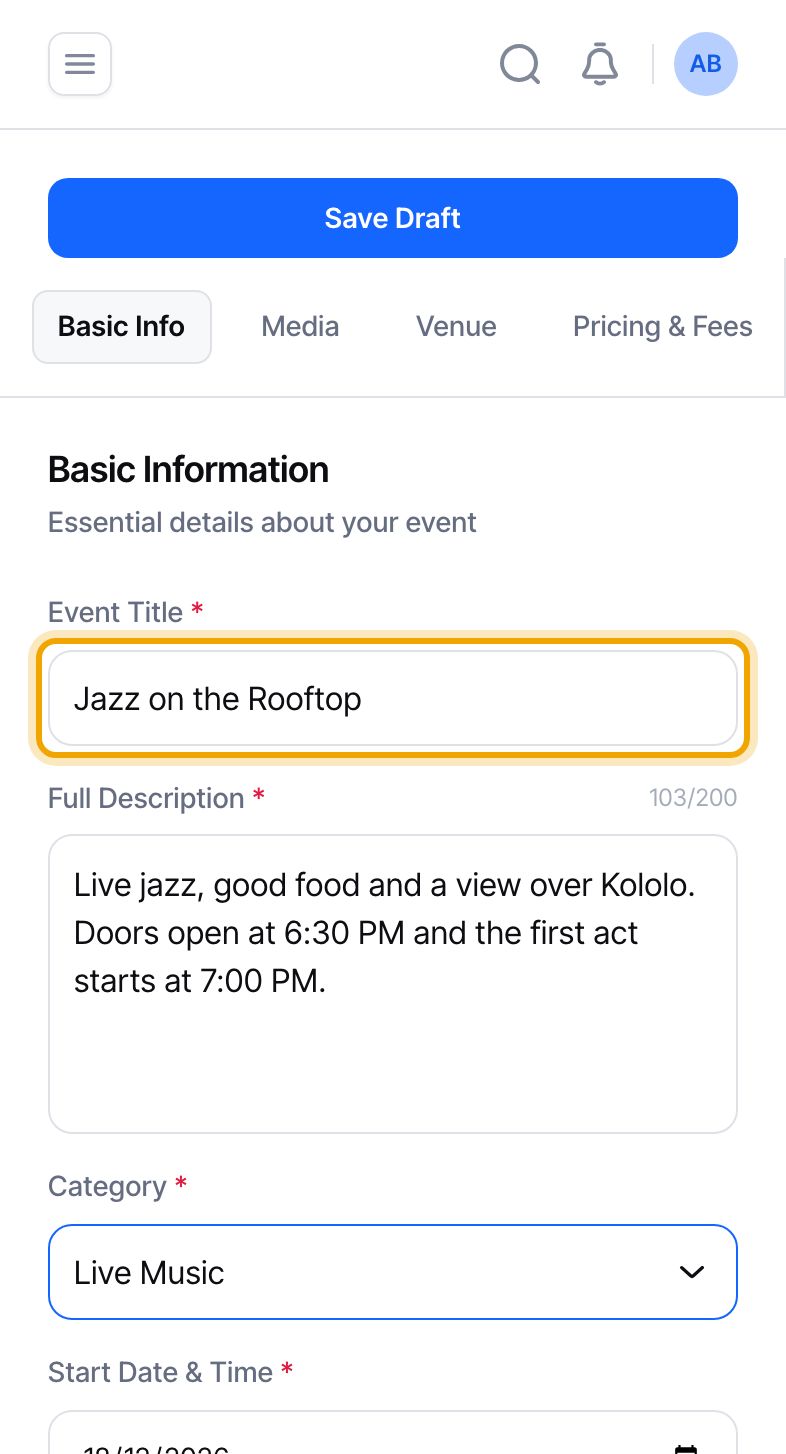
On the “Basic Info” tab, enter the “Event Title” and a “Full Description”. Choose a “Category”, then set the “Start Date & Time” and the “End Date & Time”. Times use a 12-hour clock (AM or PM) in East Africa Time. “Age Restriction” and “Dress Code” are optional.
The end time must be after the start time.
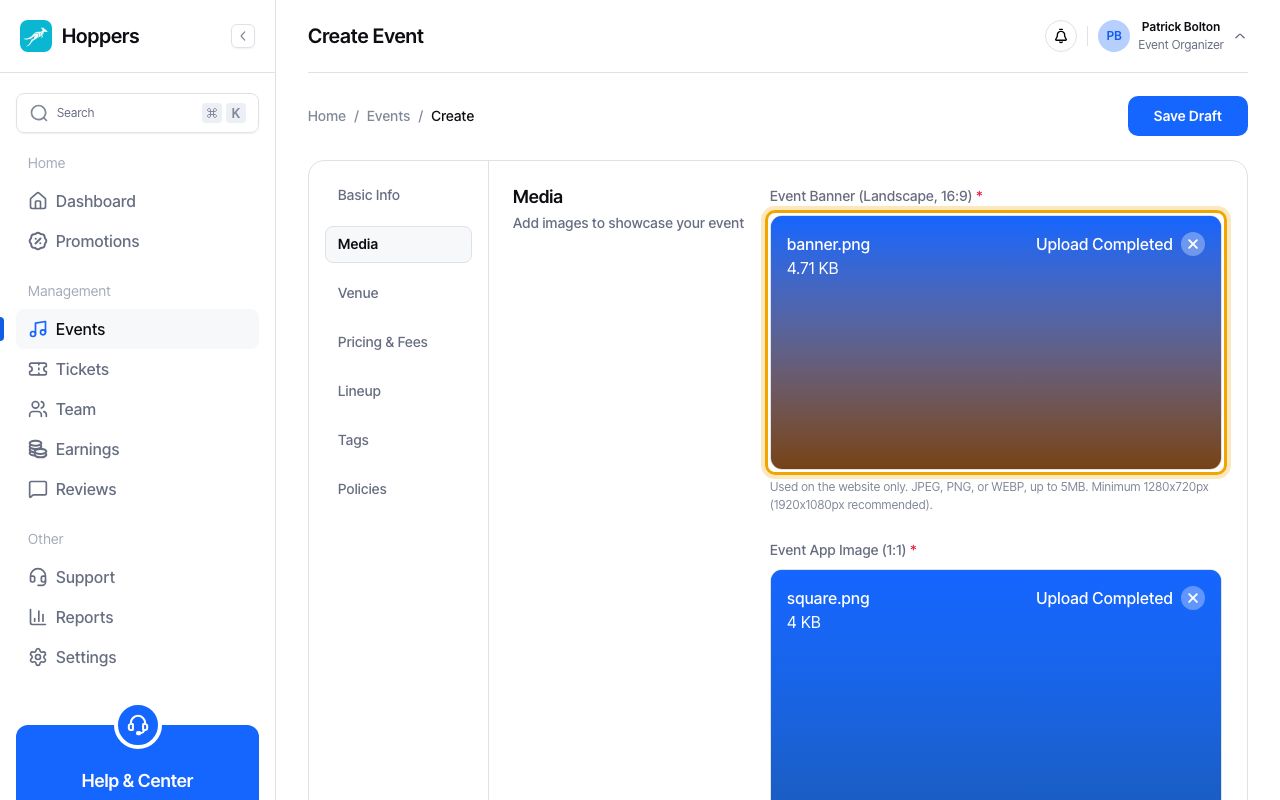
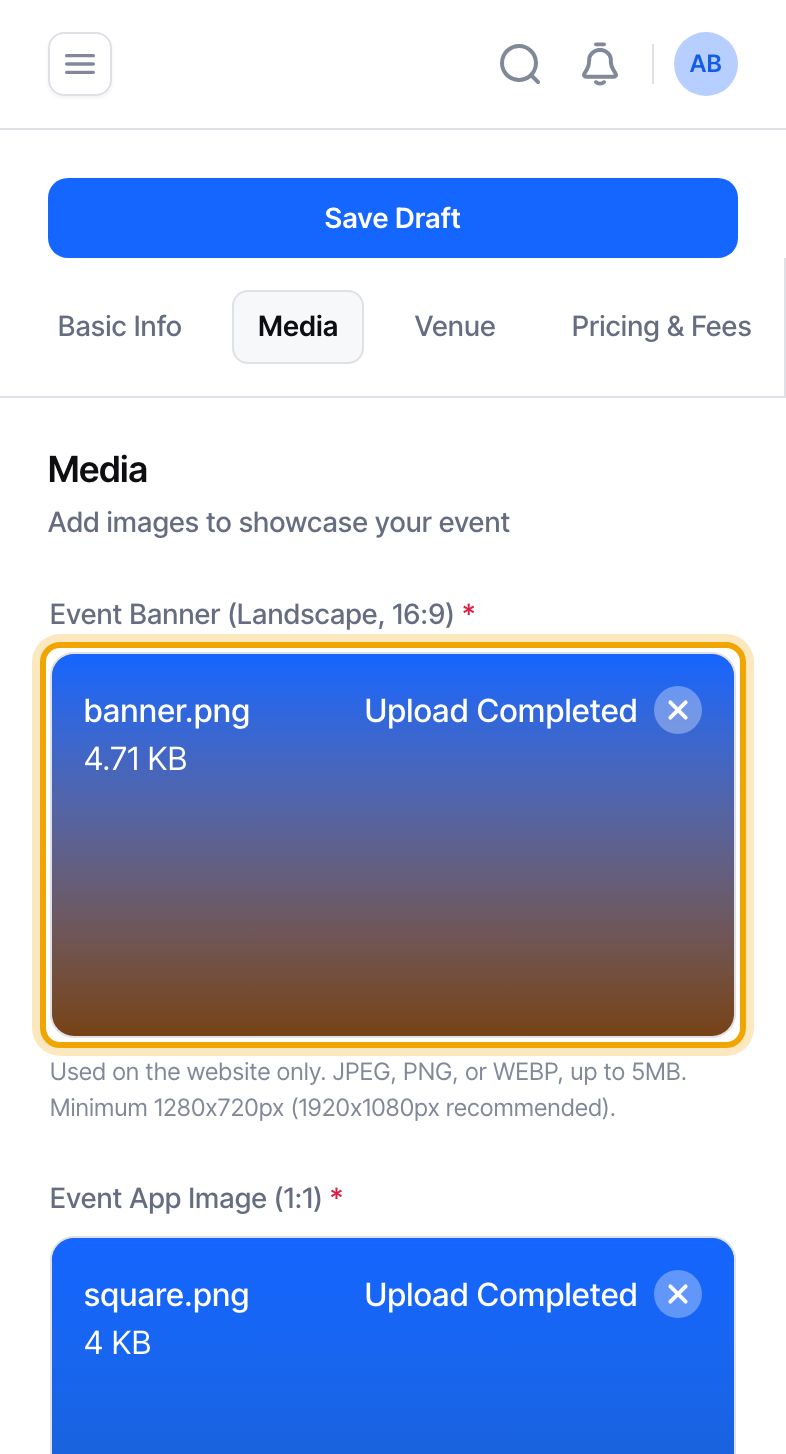
Open the “Media” tab. Add the “Event Banner (Landscape, 16:9)”, which people see on the website, and the “Event App Image (1:1)”, a square picture shown in the Hoppers app. Use JPEG, PNG or WEBP files up to 5MB. The banner must be at least 1280 by 720 pixels and the square image at least 800 by 800 pixels.
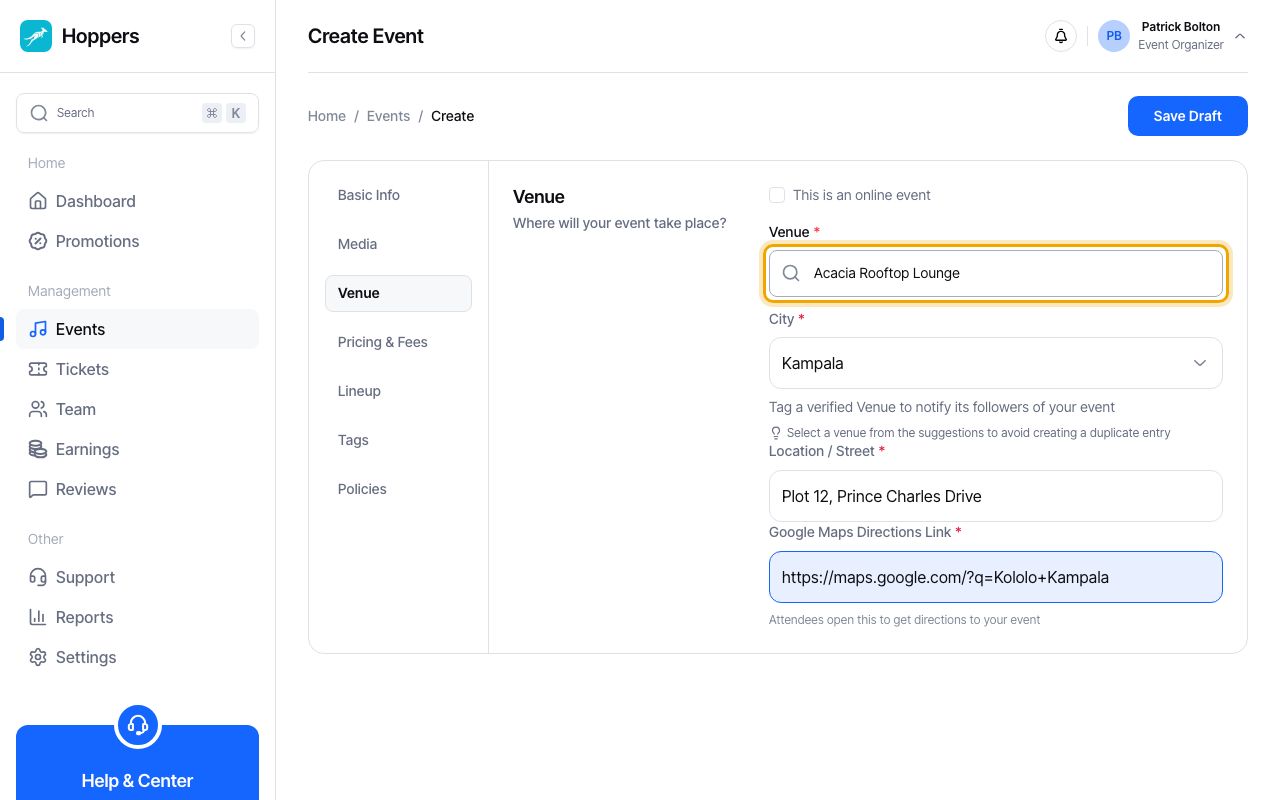
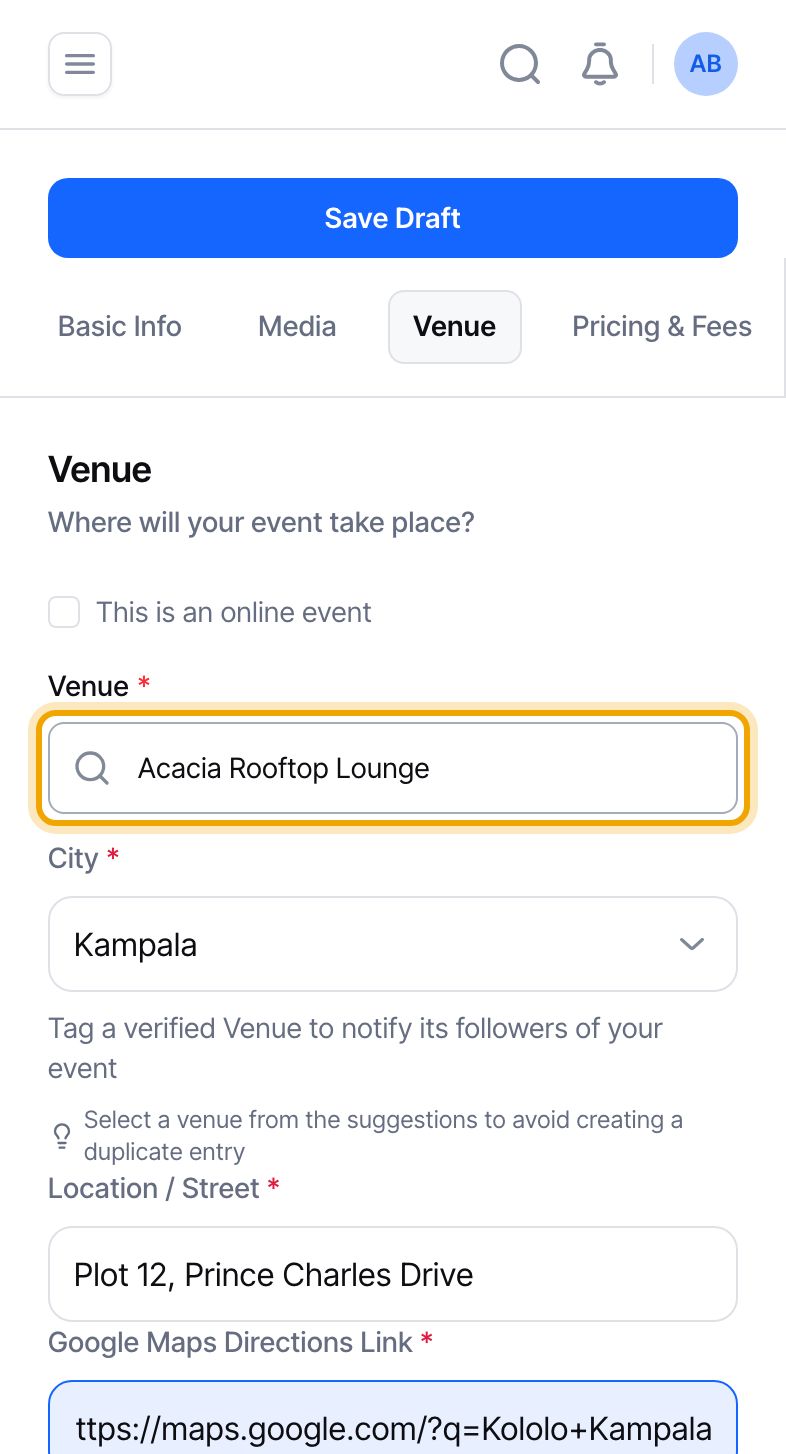
Open the “Venue” tab. Type the venue name, choose the “City”, then fill in “Location / Street” and the “Google Maps Directions Link” so guests can find you. If your venue is already on Hoppers, pick it from the list that appears as you type: its followers are told about your event and its details come from the venue’s own page. For an online event, tick “This is an online event” instead.
Online events cannot be sold through Hoppers. Make them free, or sell the tickets outside Hoppers.
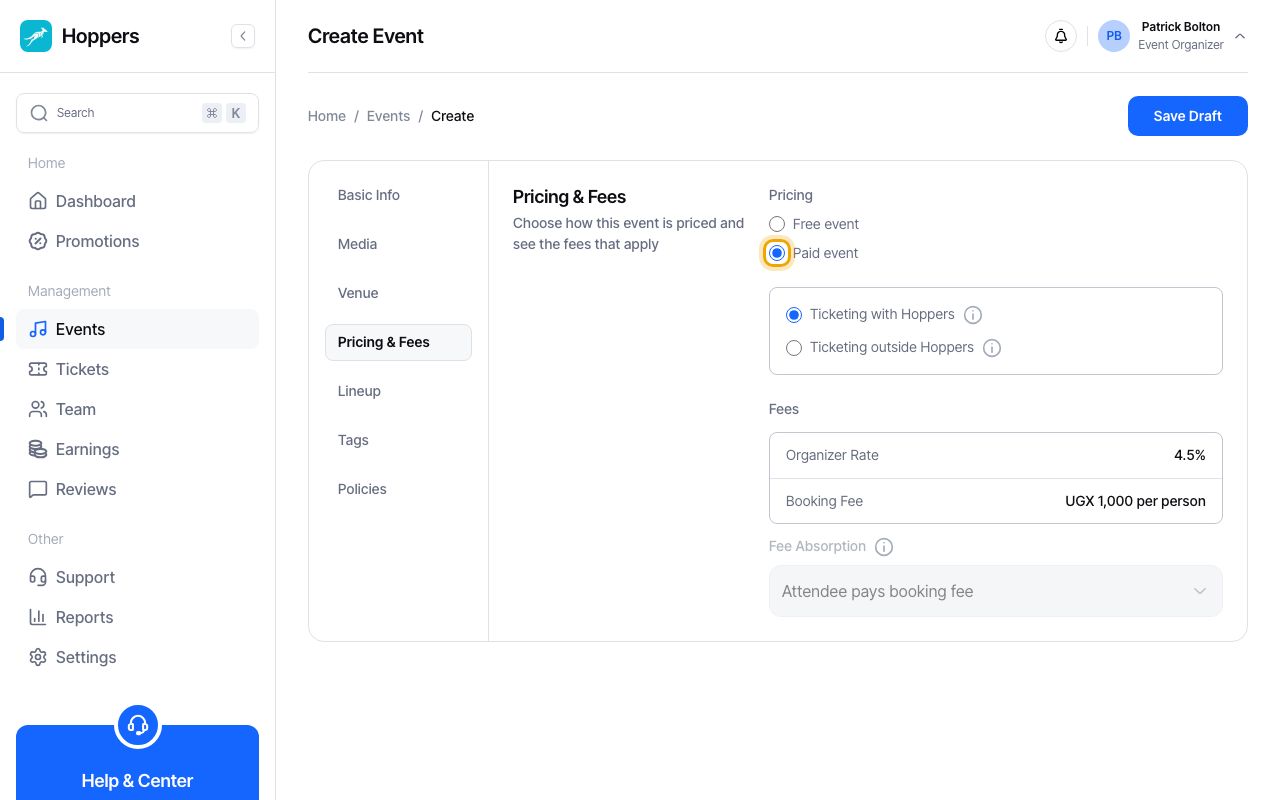
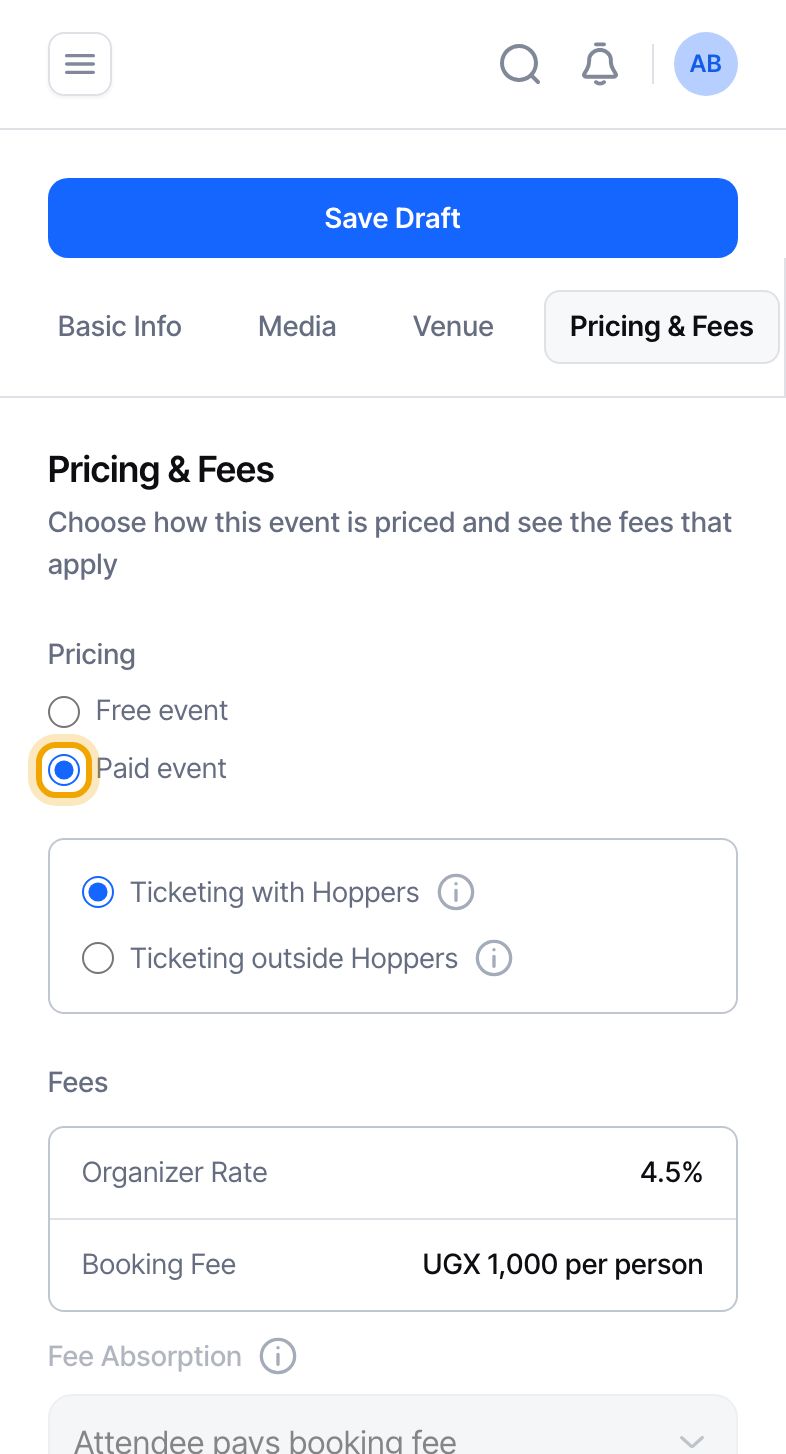
Open the “Pricing & Fees” tab. Choose “Paid event” if you sell tickets, or “Free event” if not. For a paid event, keep “Ticketing with Hoppers” so buyers pay through Hoppers, or choose “Ticketing outside Hoppers” if you sell tickets somewhere else. The fees that apply are shown on this tab. Our guide “How organizer fees work” explains how they are worked out.
Hoppers only charges fees when it sells the tickets. Free events and events sold outside Hoppers pay none.
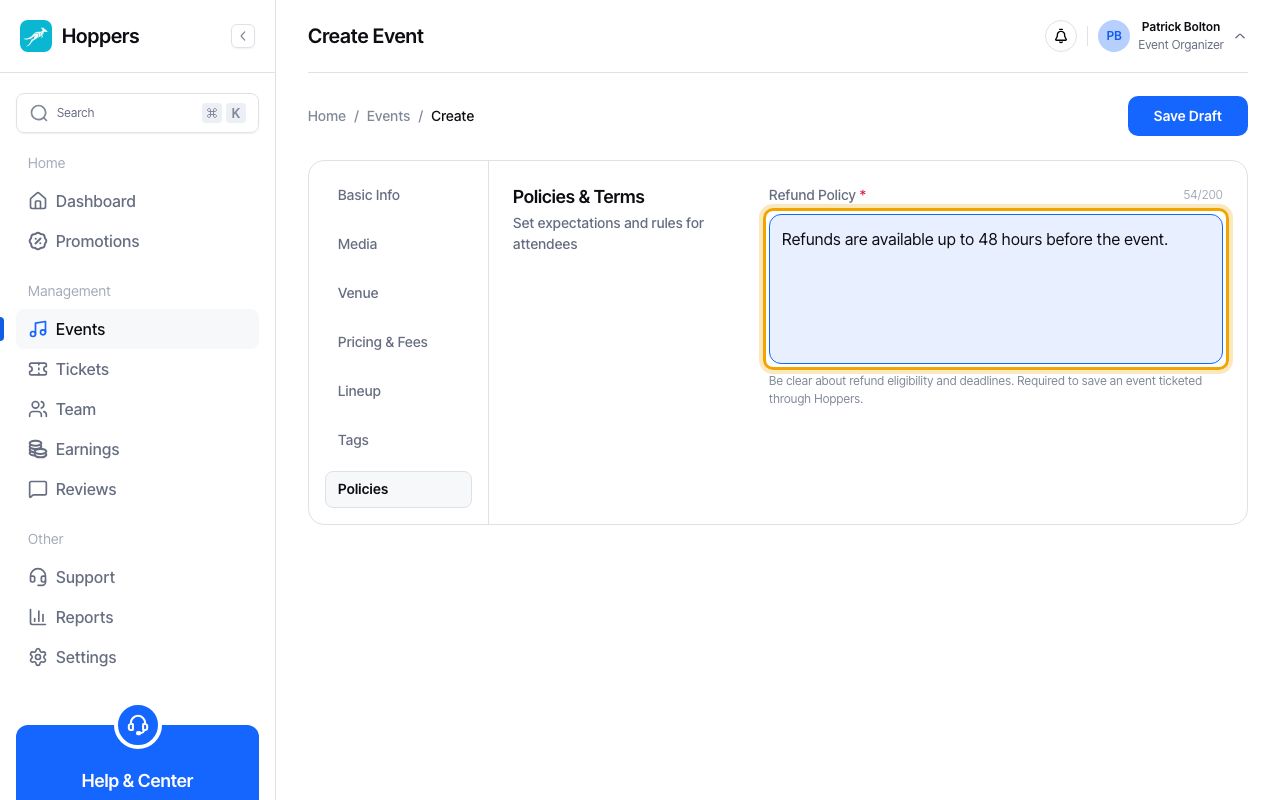
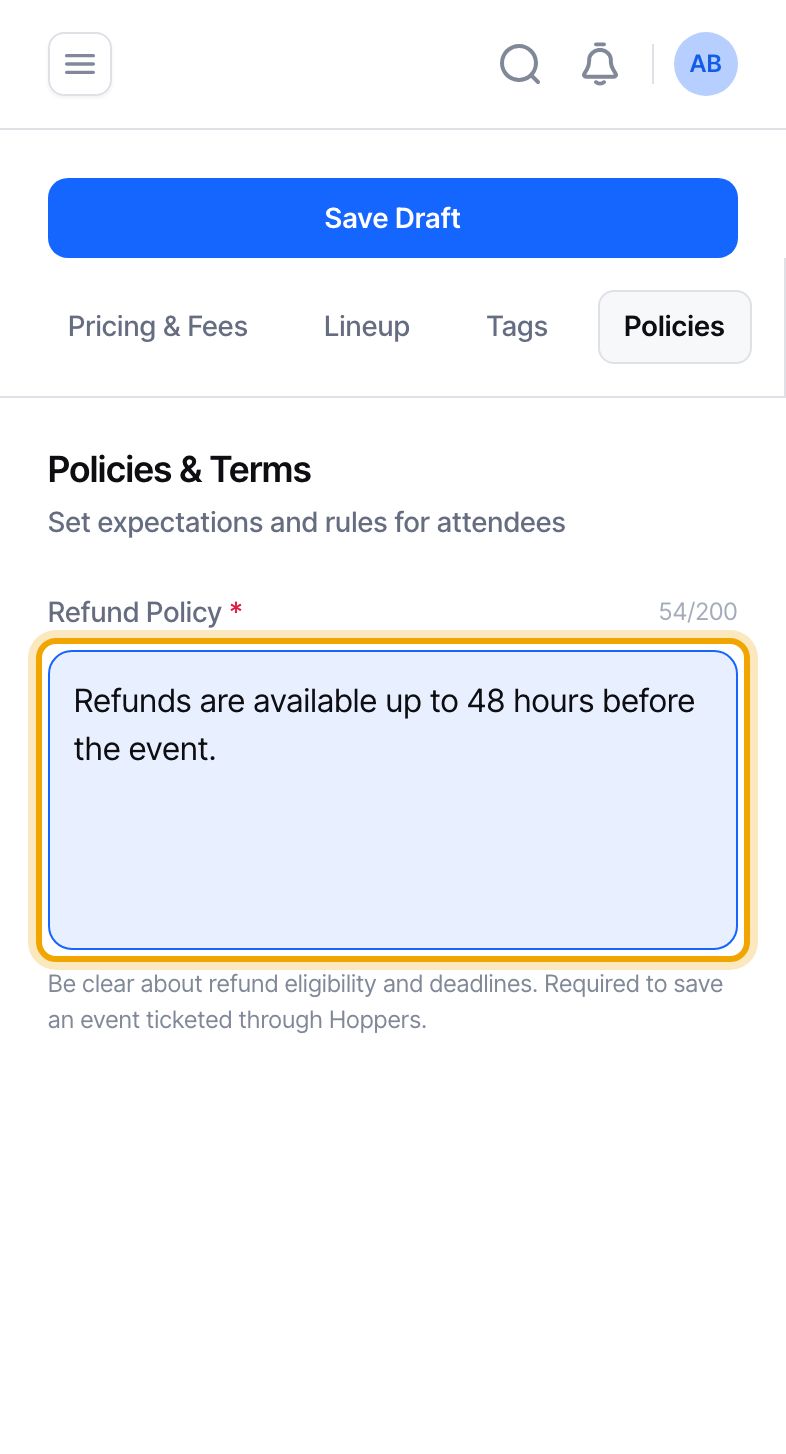
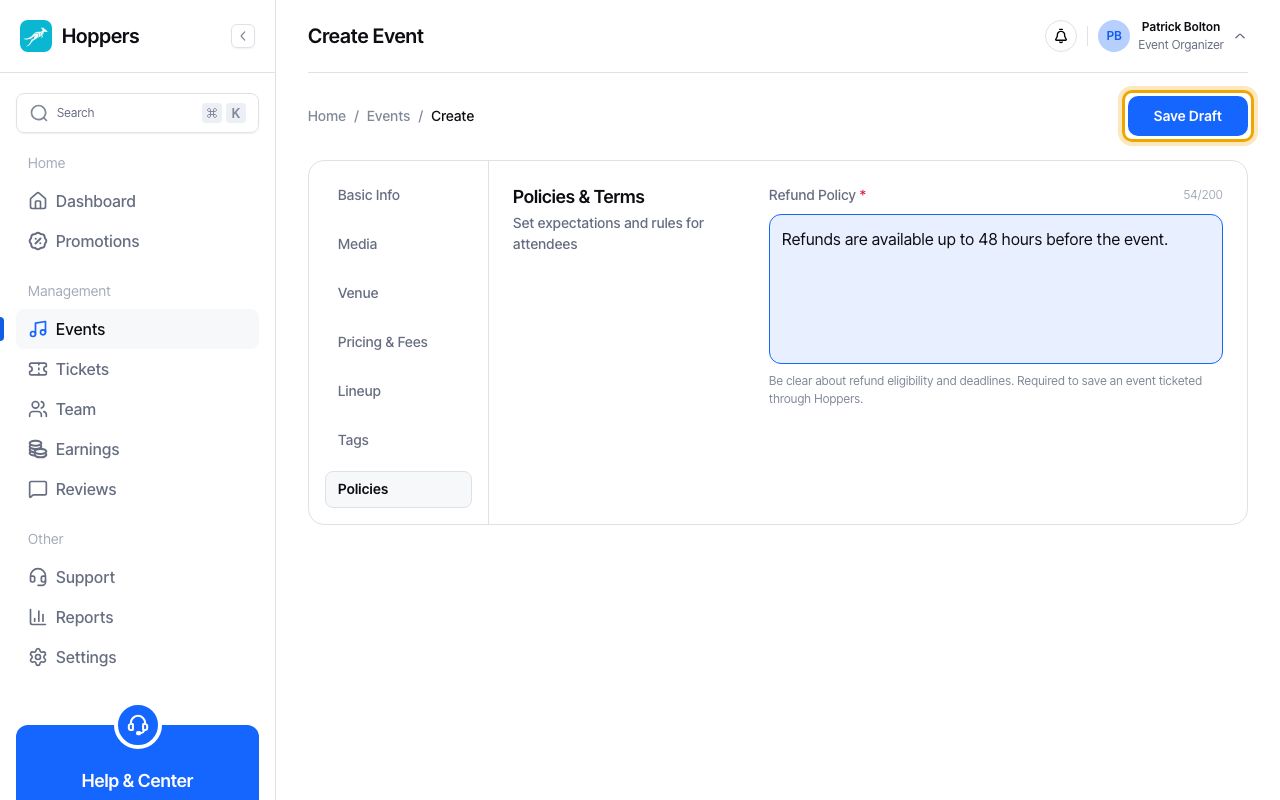
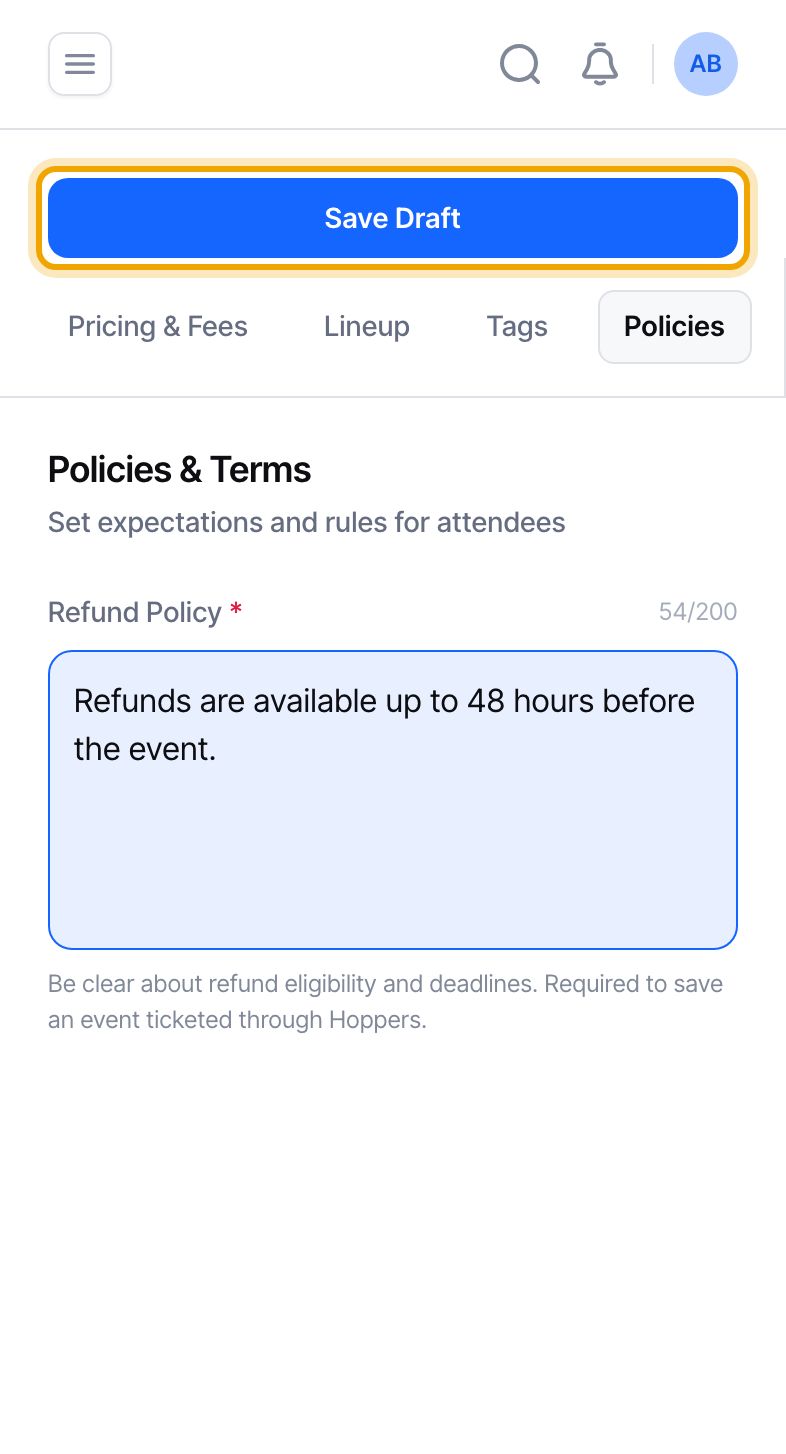
Open the “Policies” tab and write your “Refund Policy”: who can get a refund, and until when. For an event sold through Hoppers you cannot save the draft without one. Our guide “Refunds and cancellations” shows how refunds work for you.
Be clear about deadlines. A clear policy saves you arguments later.
Select “Save Draft” at the top right. A green “Event created successfully.” message appears and you are taken to the event page, where the badge says “Draft”. Nothing is public yet. If something is missing, a red message at the top lists it and the tab that needs attention turns red.
Next, add your tickets. Our guide “Set up tickets and prices” shows how.
You can still edit a published event, but the venue and location are locked, and ticket prices and sale dates lock once a ticket has sold. If you change the refund policy, the change waits for the Hoppers team to approve it and your current policy stays in force until then.
