Complete your profile and account details, confirm your private email, and ask the Hoppers team to verify your organisation.
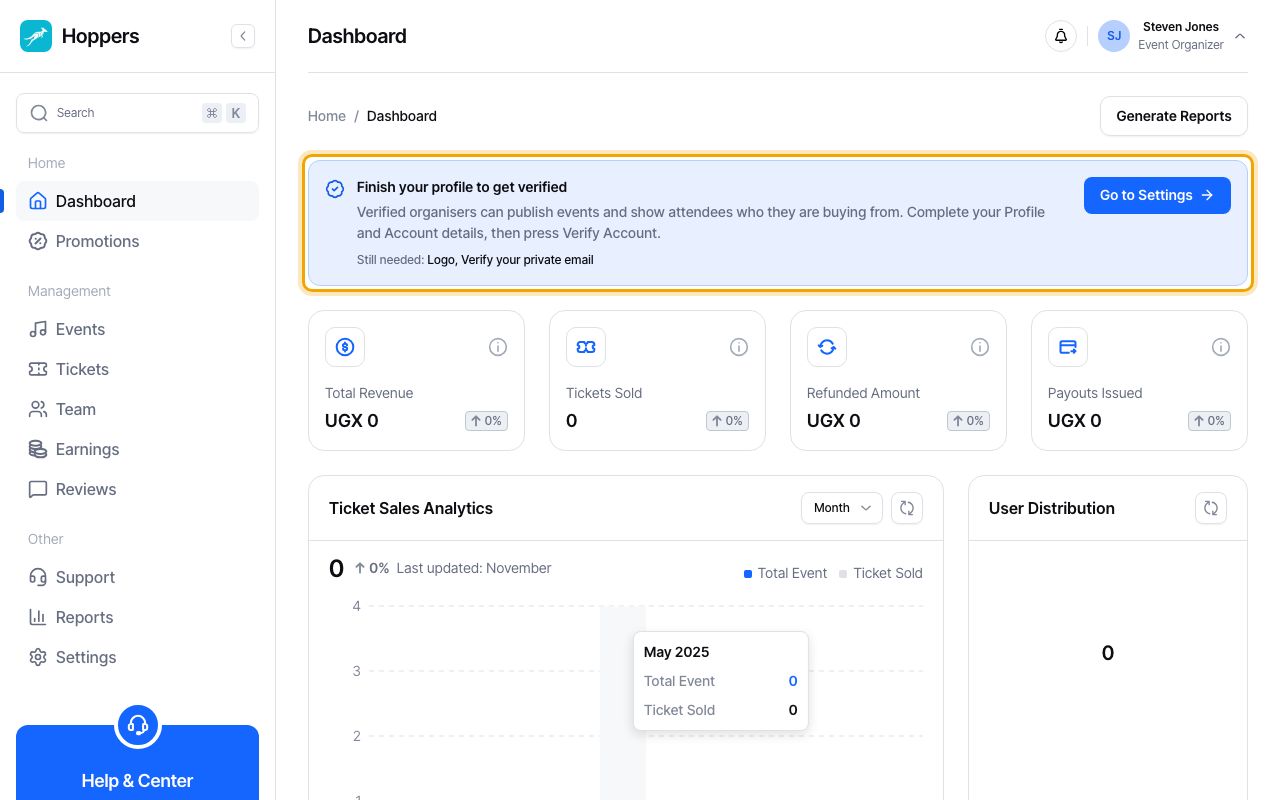
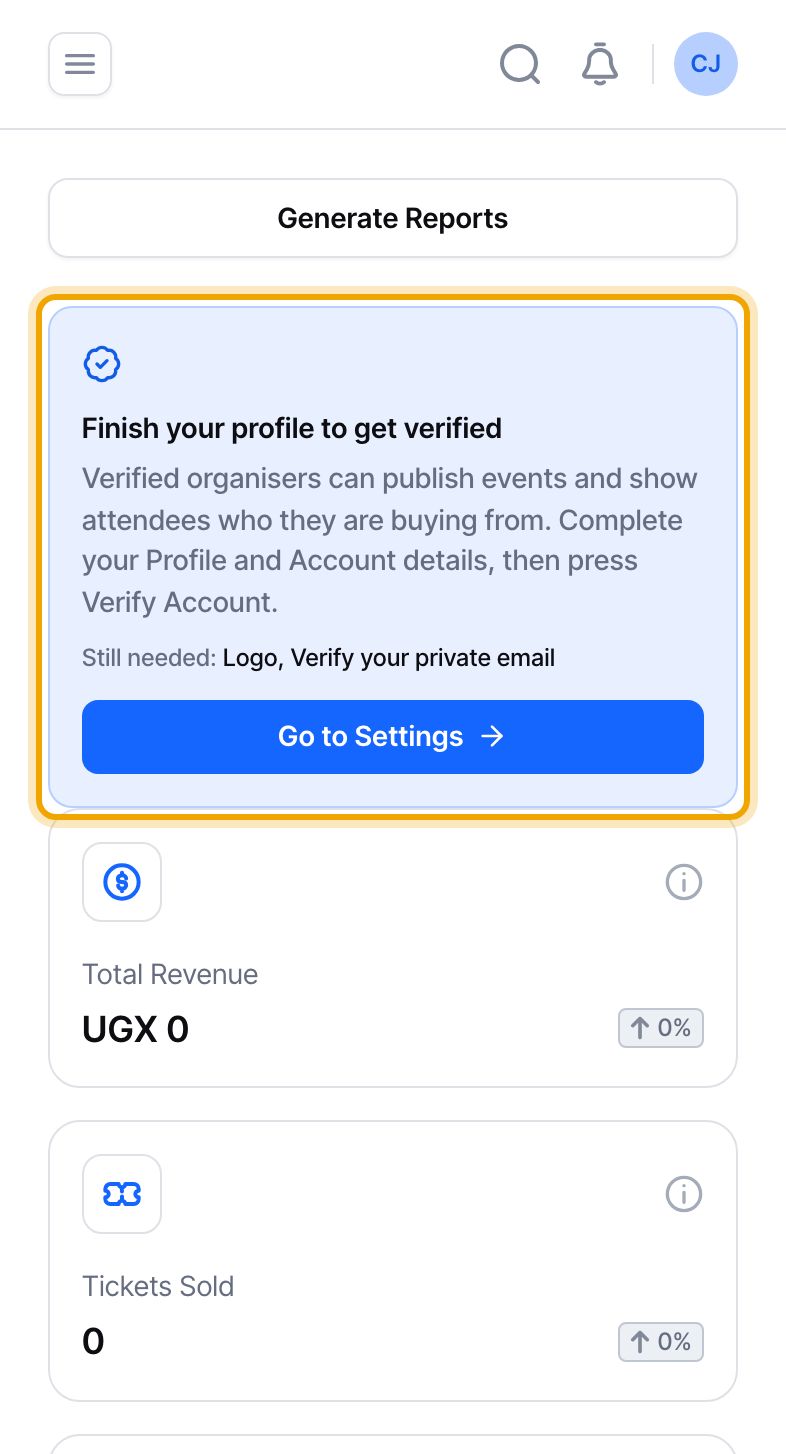
Your dashboard shows “Finish your profile to get verified”, with what is “Still needed”. Select “Go to Settings”.
Verified organisers can publish events, and attendees can see who they are buying from.
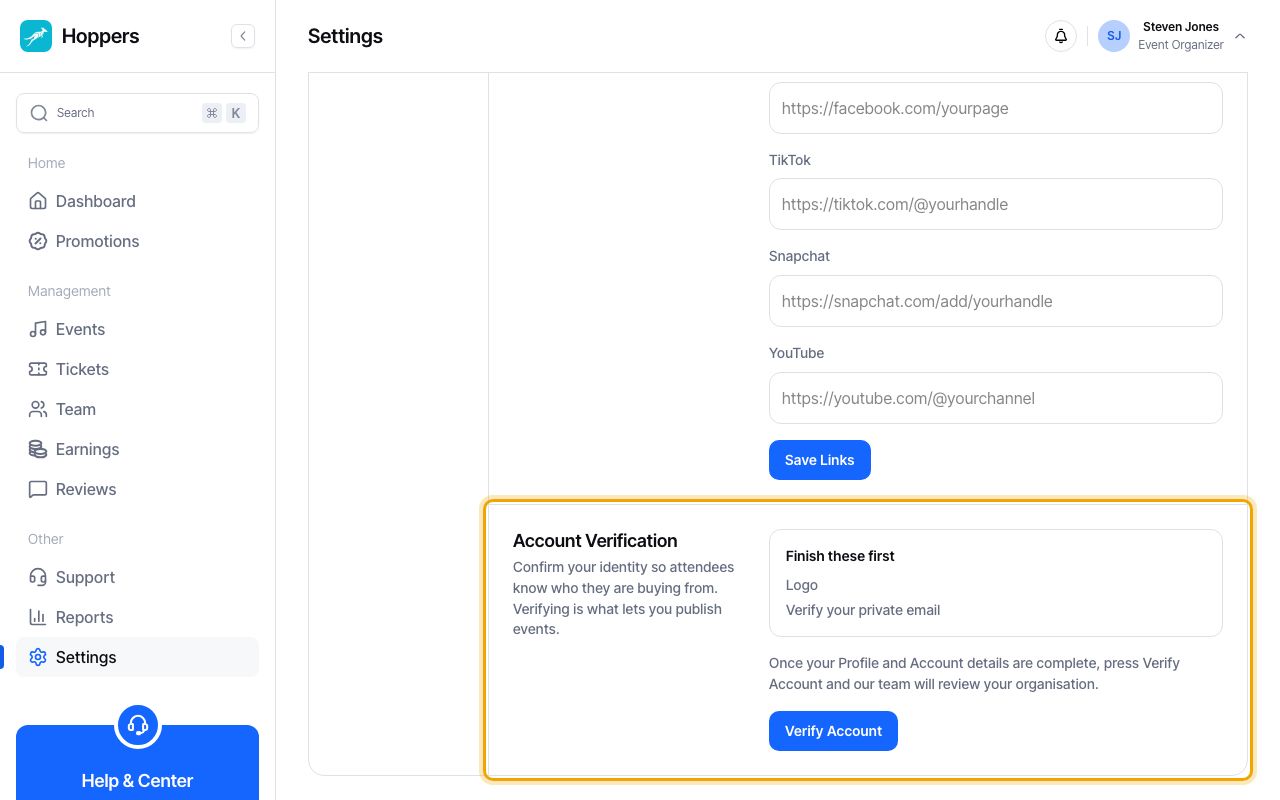
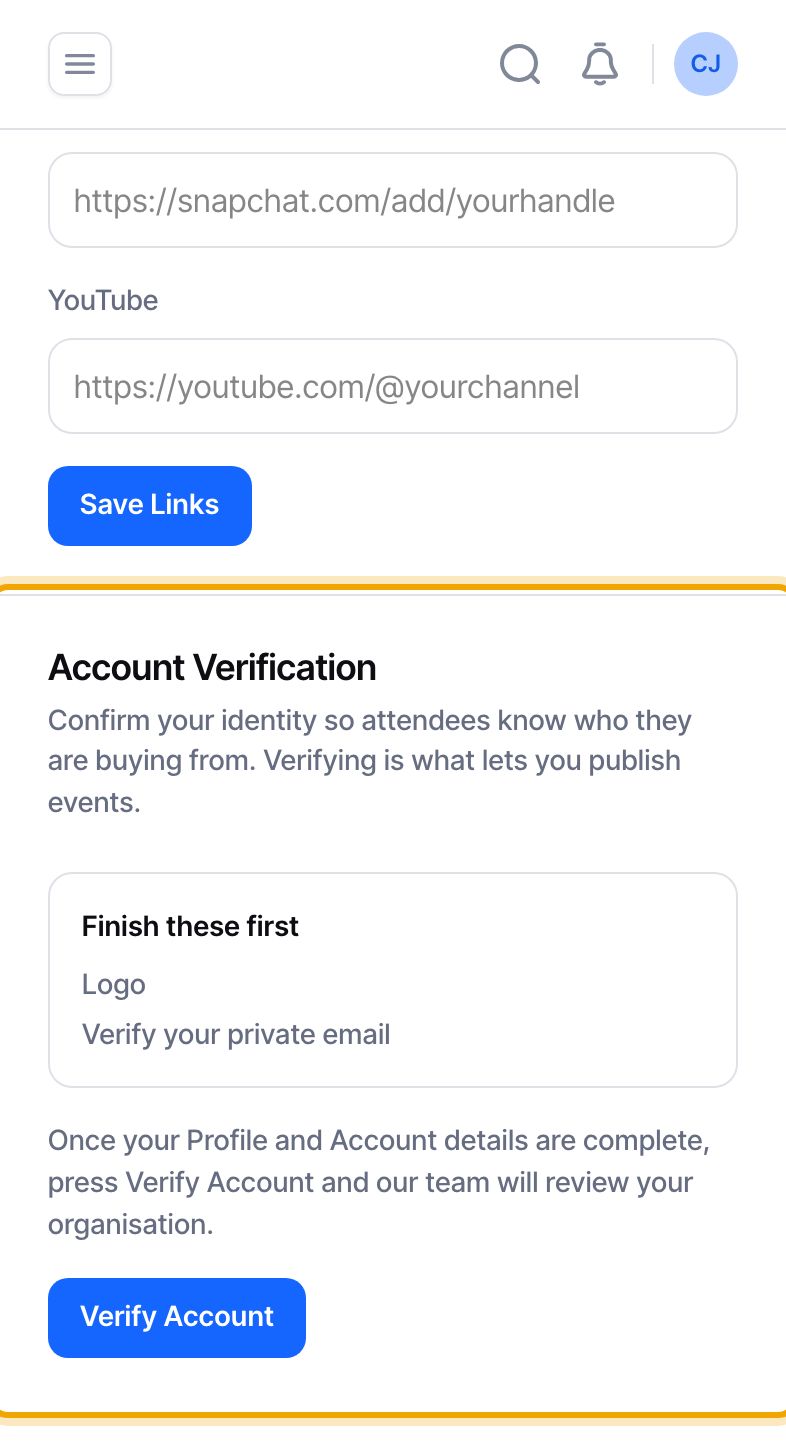
Settings opens on the “Profile” tab. Scroll to “Account Verification” at the bottom. Under “Finish these first” is everything left to do. The “Verify Account” button stays greyed out until the list is empty.
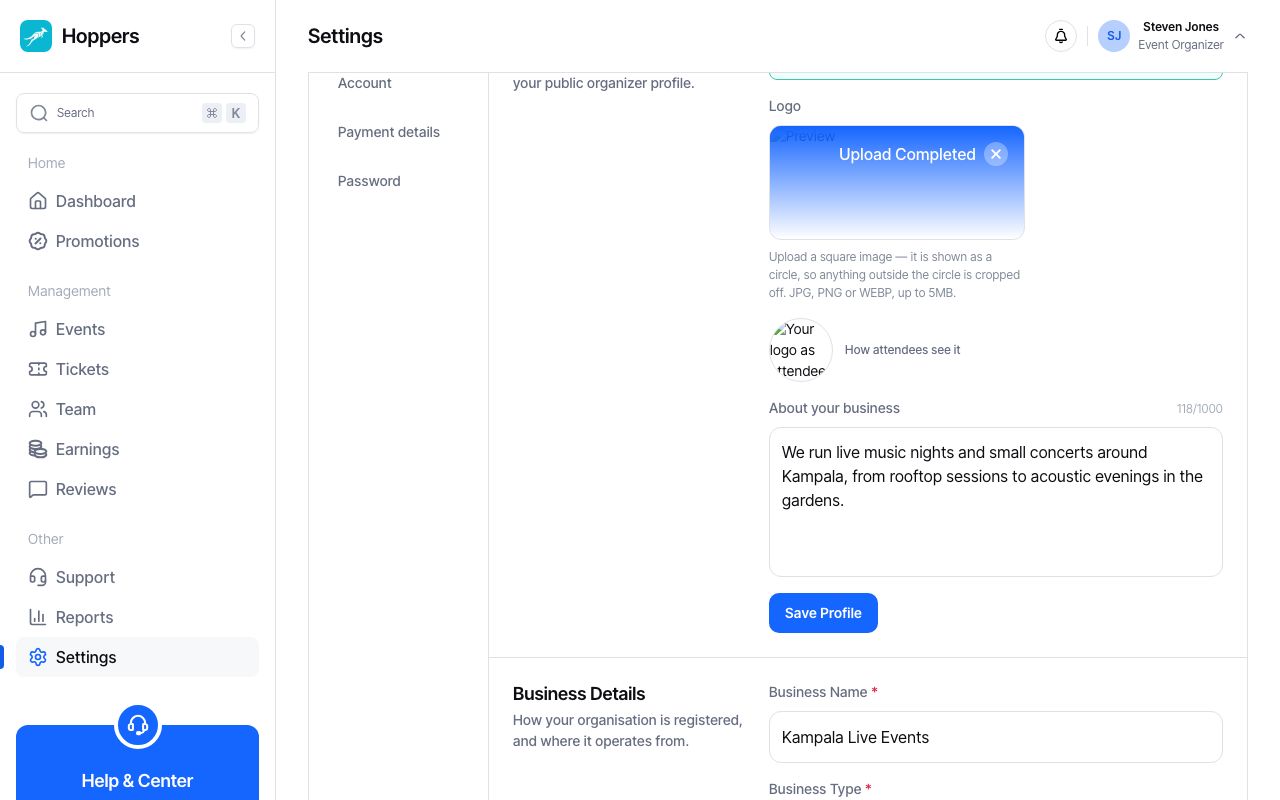
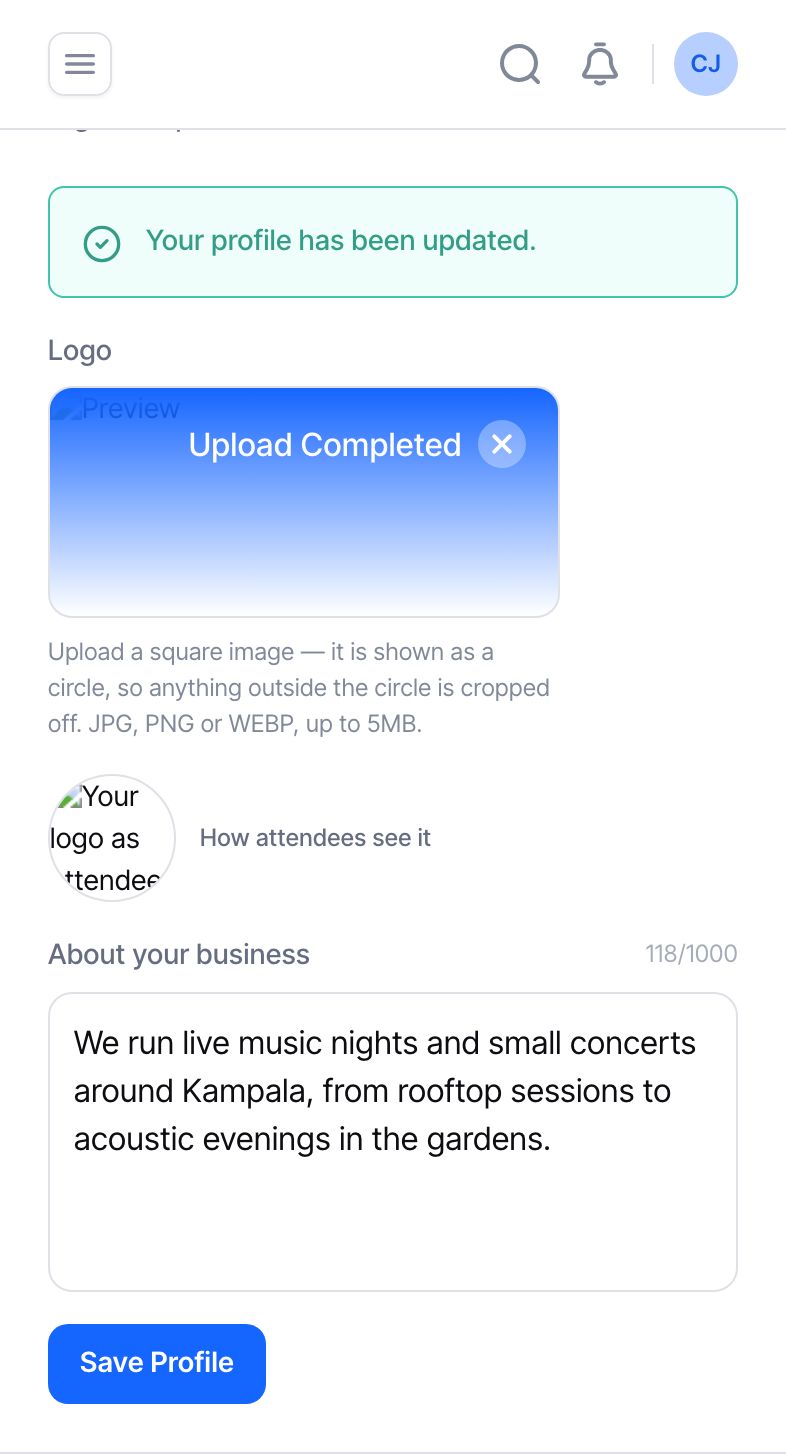
In the “Profile” section at the top, add your “Logo”, a square JPG, PNG or WEBP up to 5MB. It is shown as a circle. Write a few sentences under “About your business”, then select “Save Profile”.
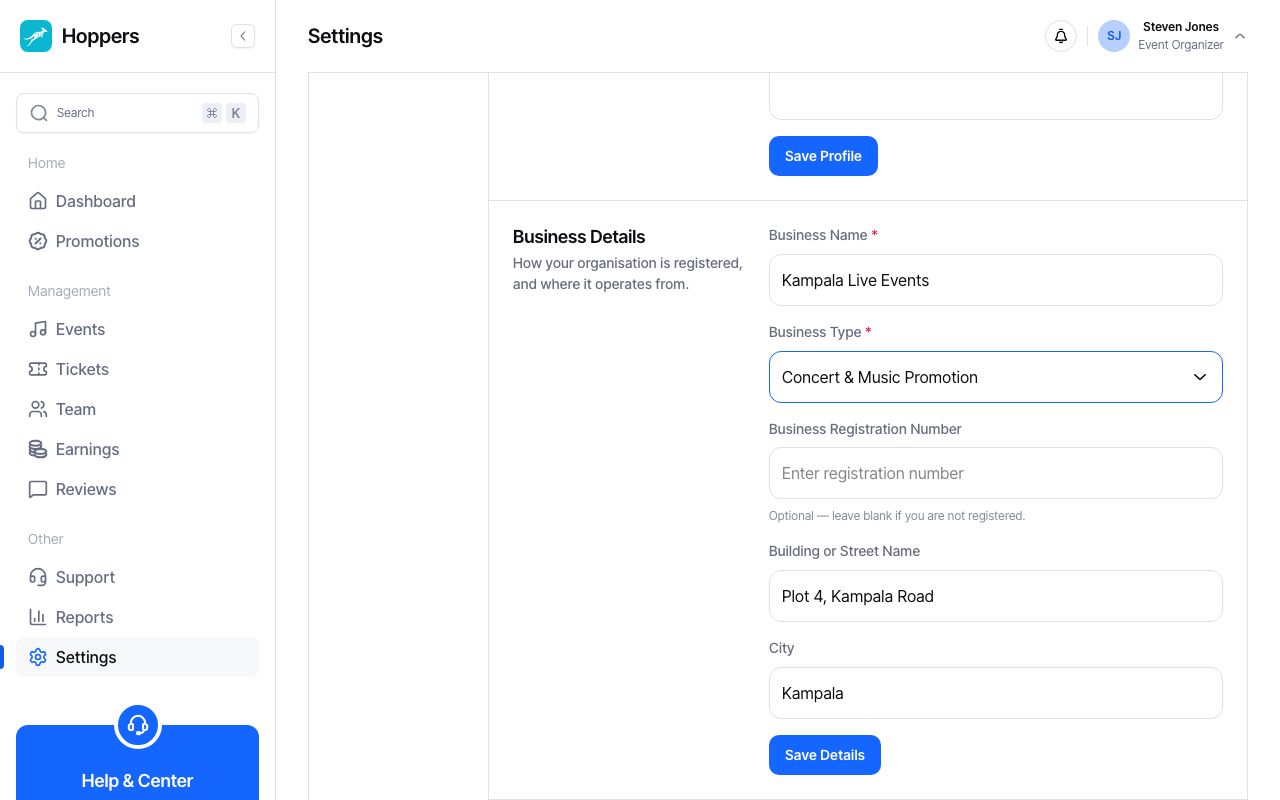
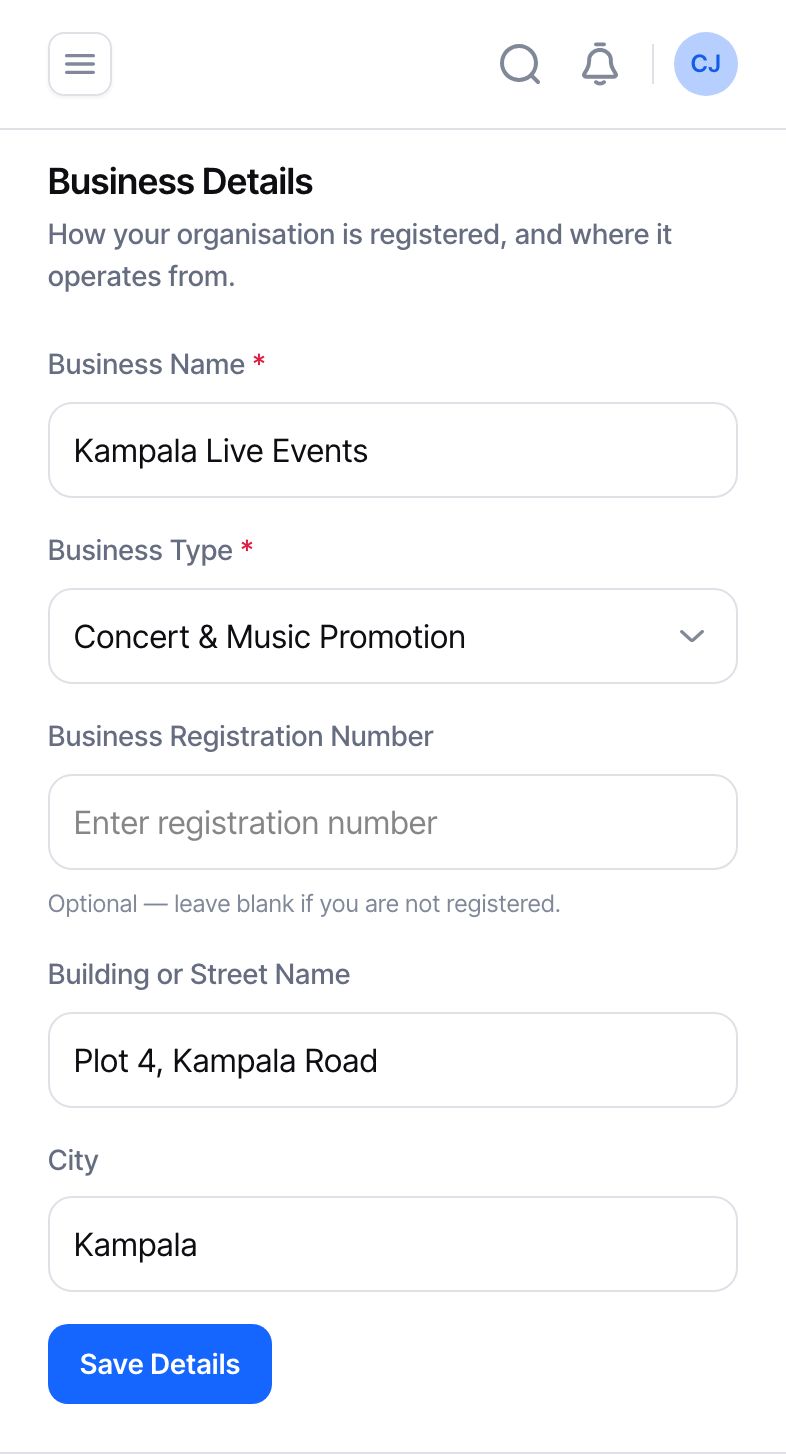
Under “Business Details”, check your “Business Name”, choose a “Business Type” and enter your “City”. The “Business Registration Number” is optional. Select “Save Details”.
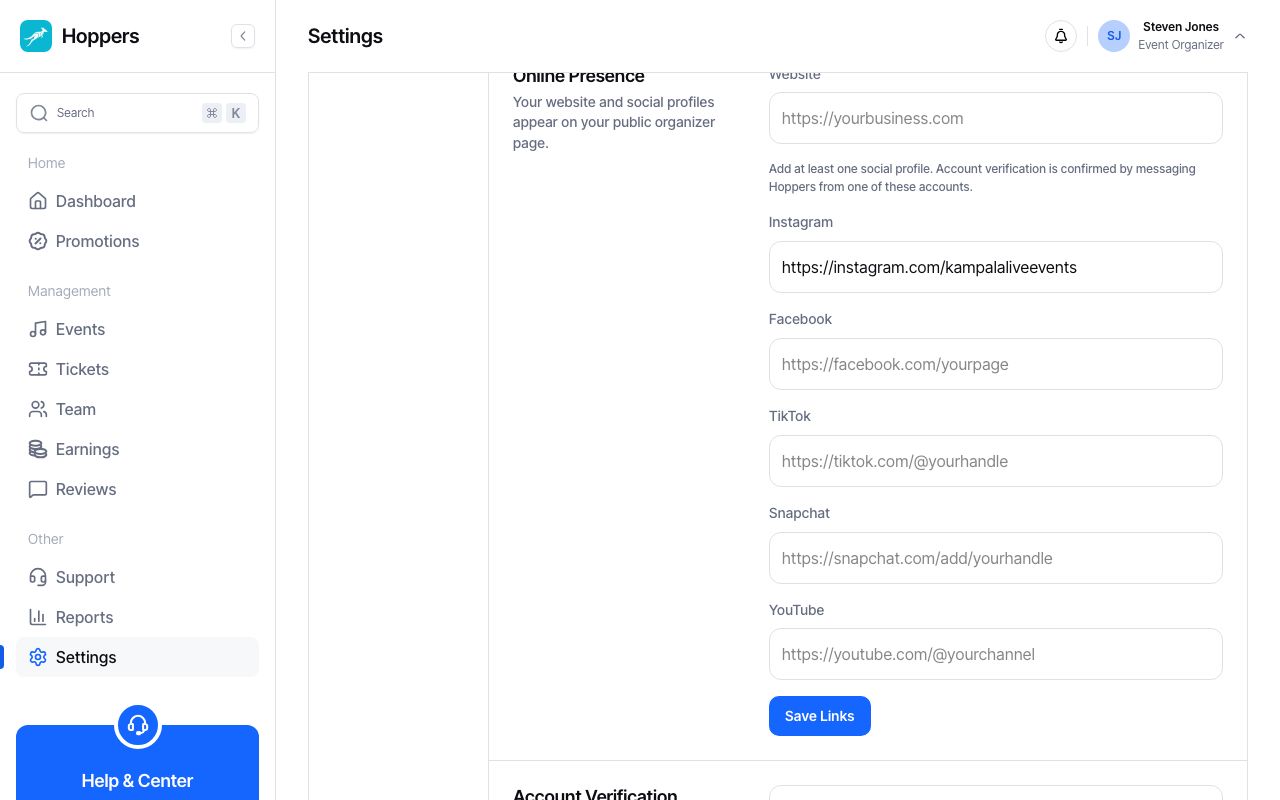
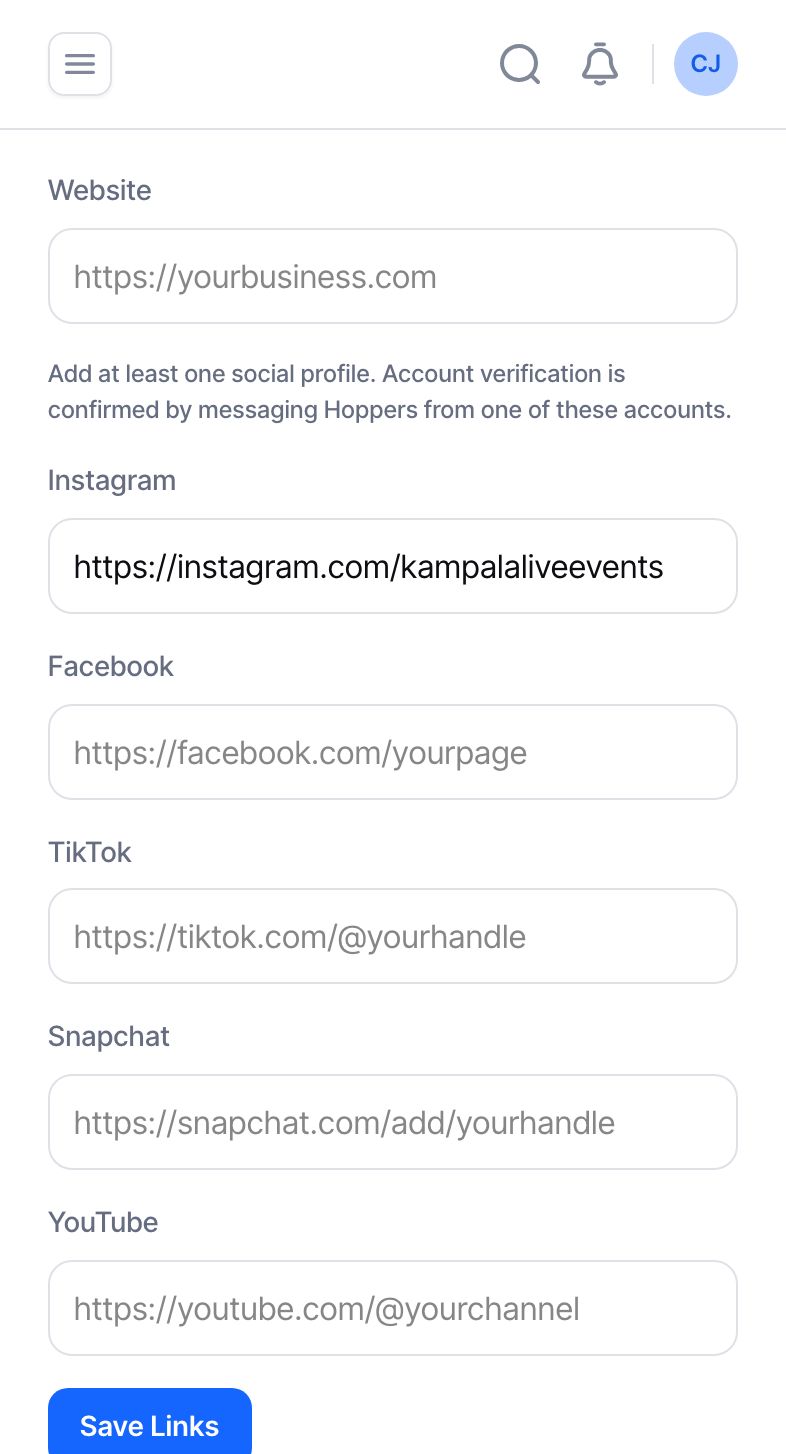
Under “Online Presence”, add at least one social profile, such as Instagram or Facebook, then select “Save Links”. Your verification is confirmed through one of these accounts.
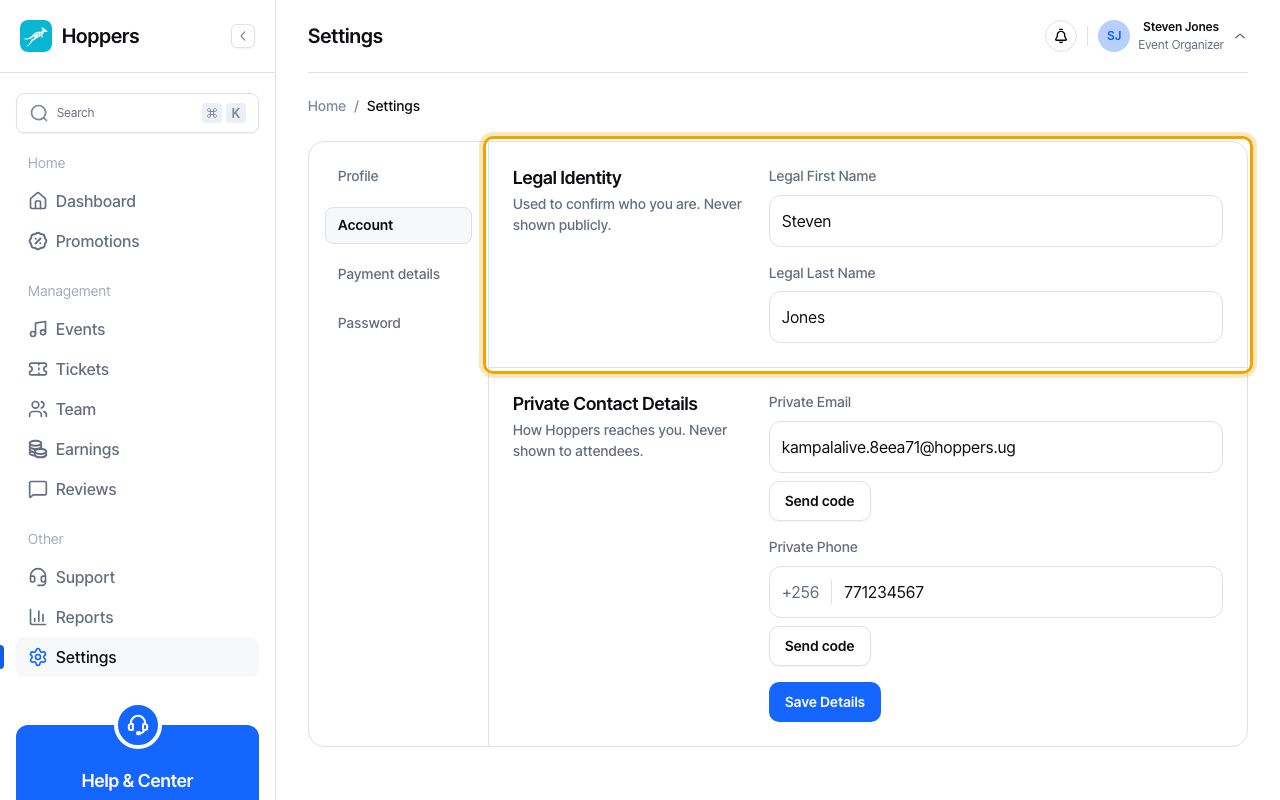
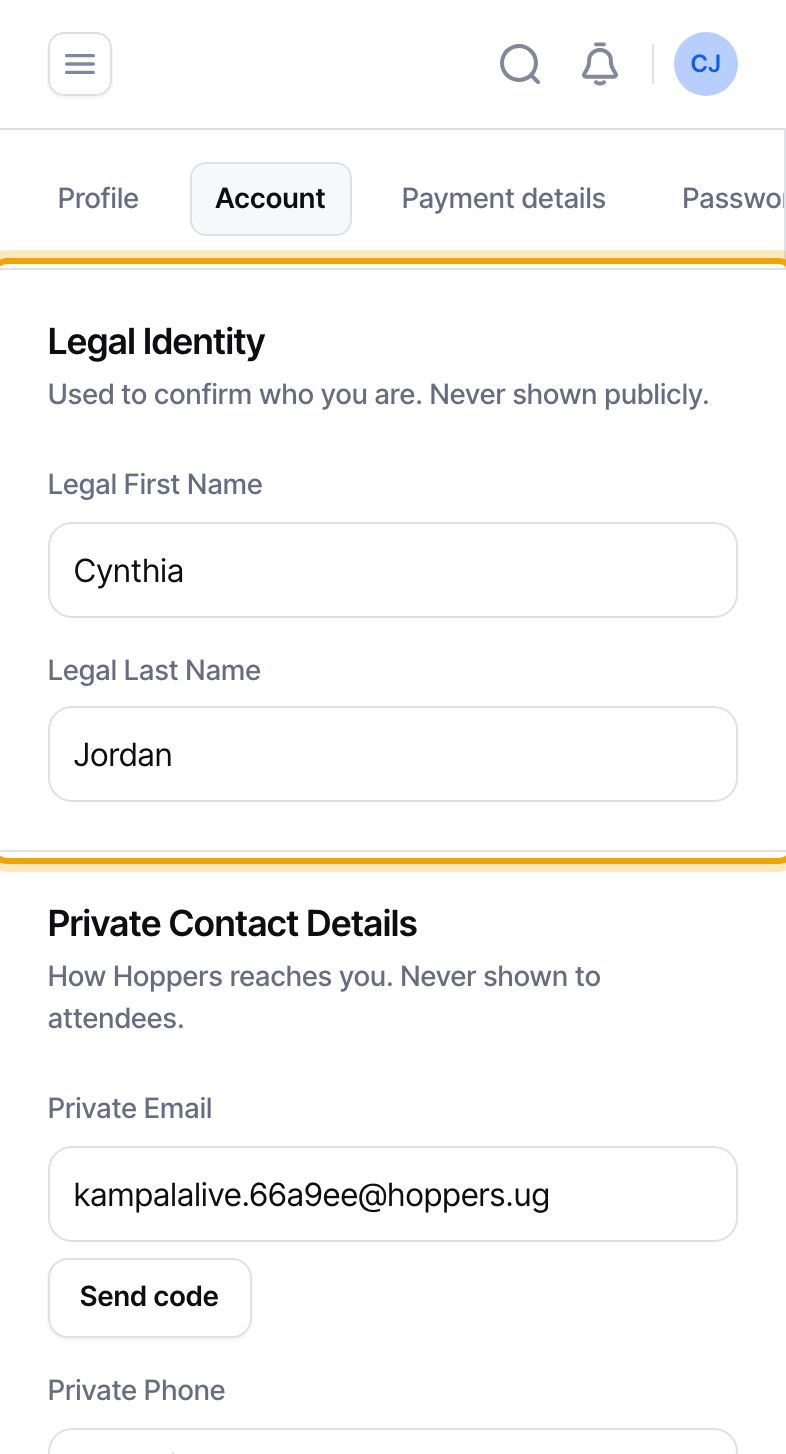
Open the “Account” tab. Enter your “Legal First Name” and “Legal Last Name” as they appear on your ID, and your “Private Email” and “Private Phone”, where Hoppers can reach you. Attendees never see these. Select “Save Details”.
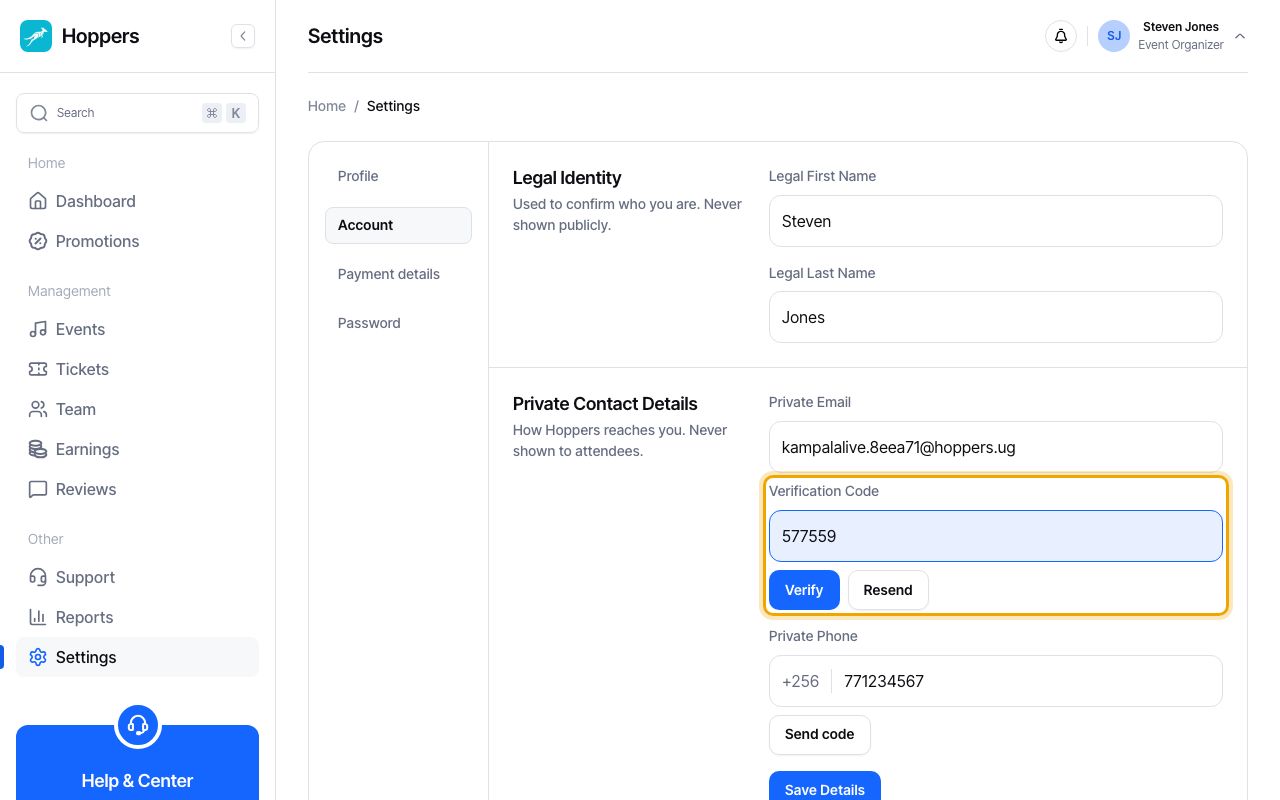
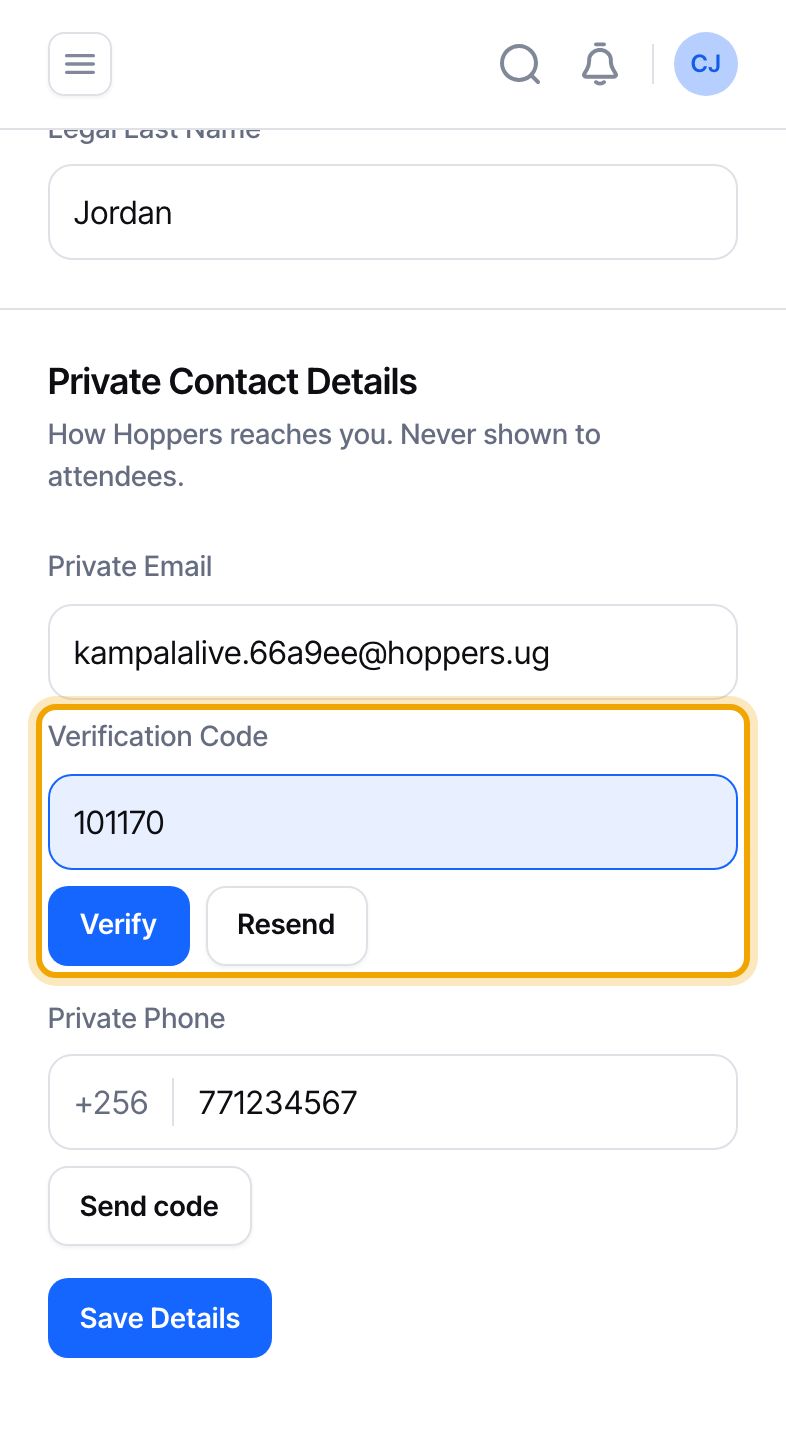
Under your private email, select “Send code”. We email a 6-digit code to that address. Type it into “Verification Code” and select “Verify”. A green “Verified” mark appears under the email.
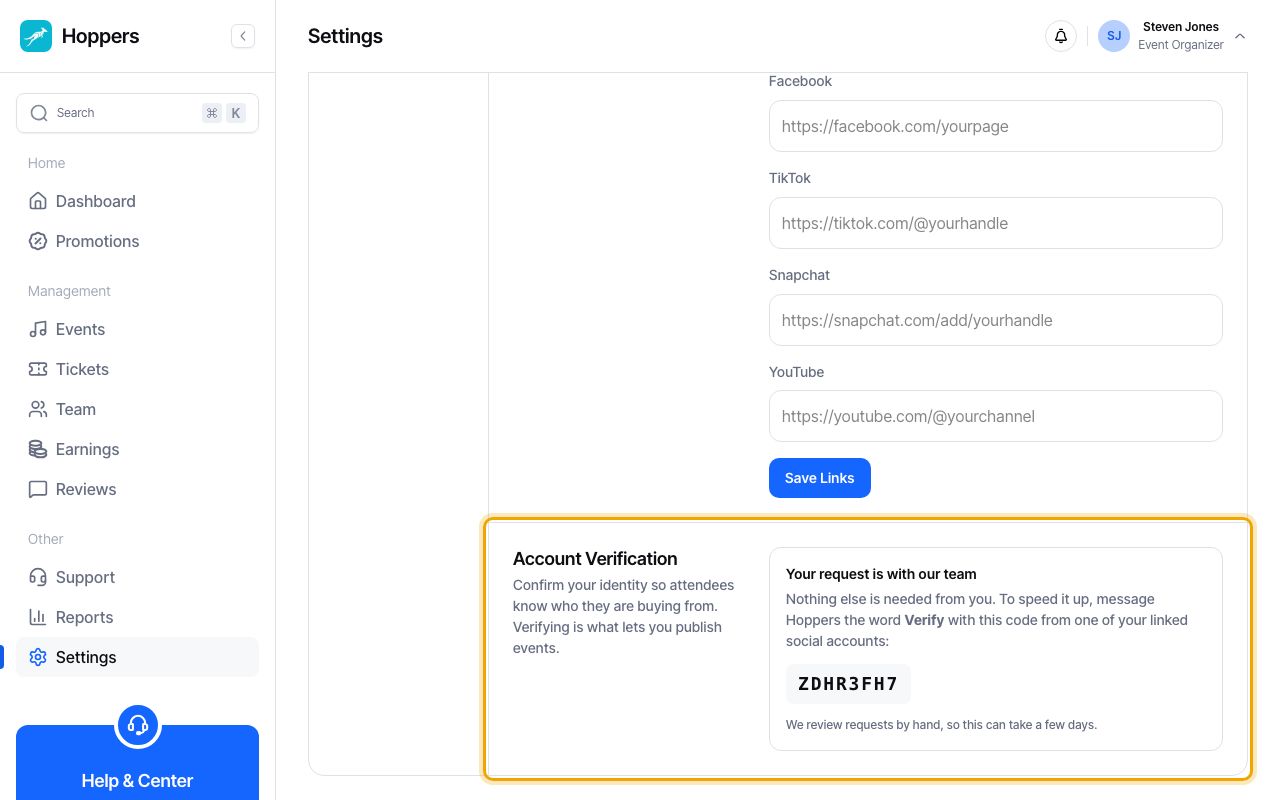
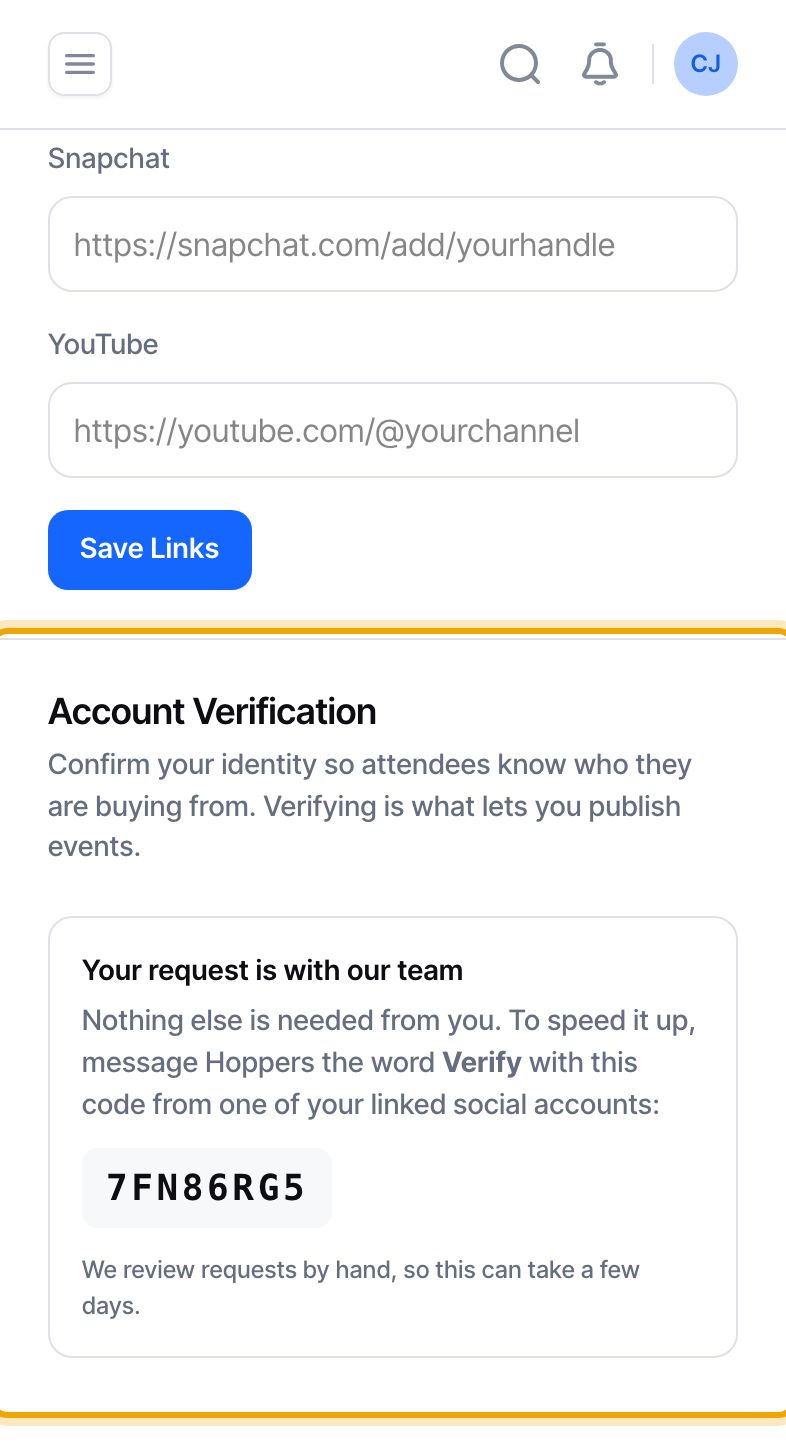
Go back to the “Profile” tab. The checklist is gone and “Verify Account” is ready. Select it. You will see “Your request is with our team” and a short code. To speed things up, message Hoppers the word Verify with that code from one of your linked social accounts.
We review requests by hand, so this can take a few days.
“Account Verification” then says “Your organisation is verified.”, and “Submit for Review” and “Publish Event” work on your events. If a request is declined, the reason is shown at the top of “Account Verification”. Fix what it asks and select “Verify Account” again.
