Send your event to the Hoppers team, follow its review, fix anything they ask for, and publish it once it is approved.
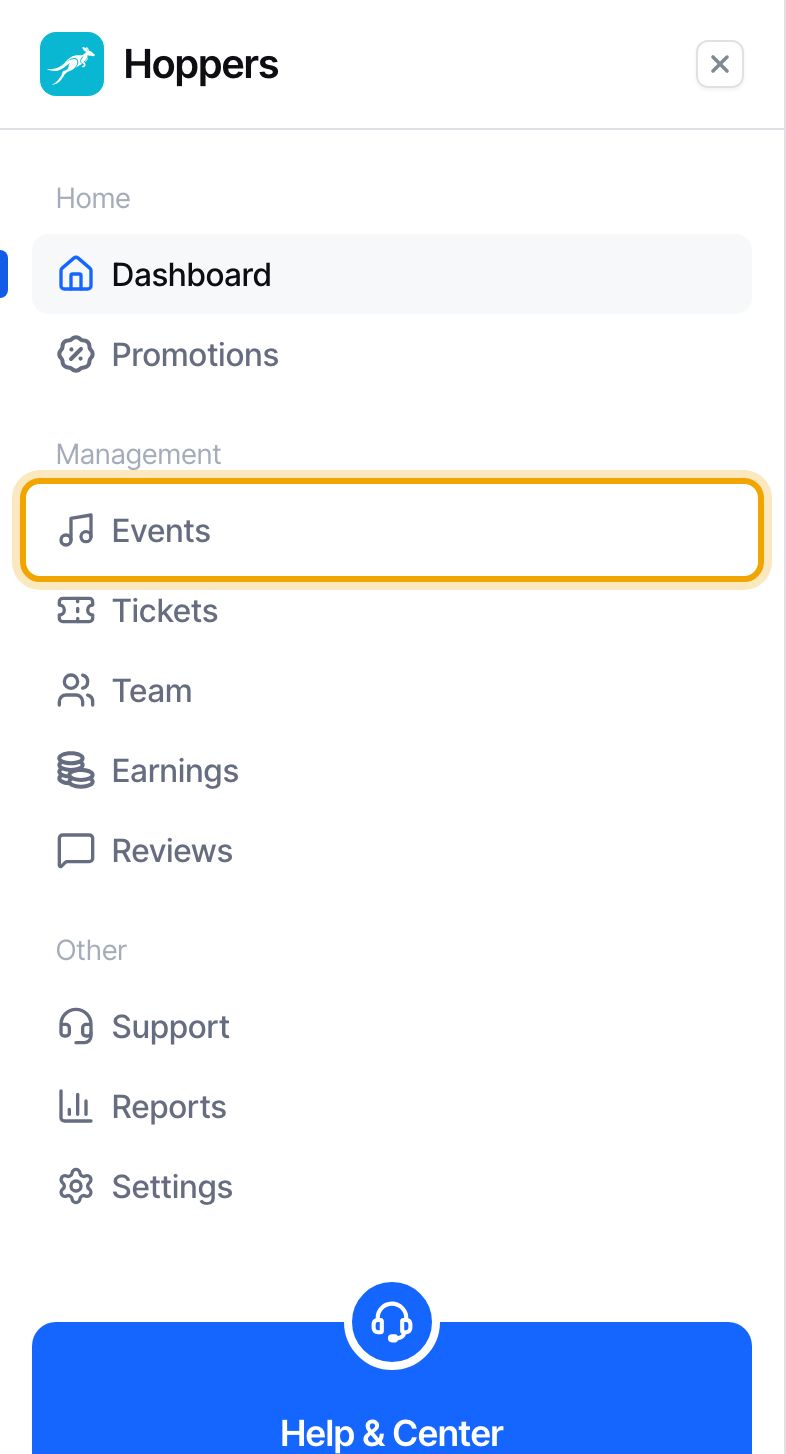
Select “Events” in the menu, then open your event. On a phone, tap the menu icon at the top left first. The badge at the top says “Draft”. Check that the details are right and that the event has at least one ticket type.
Only the Hoppers team can see a draft, and only after you send it.
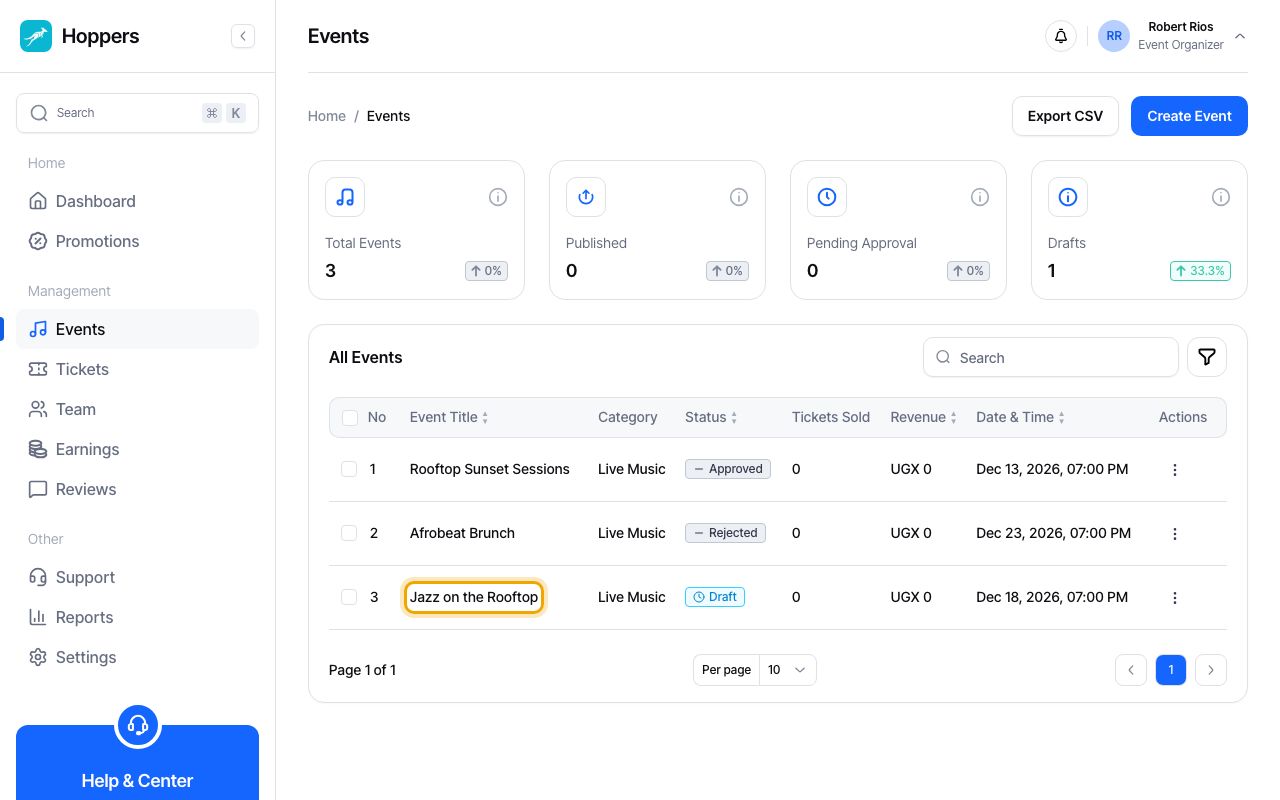
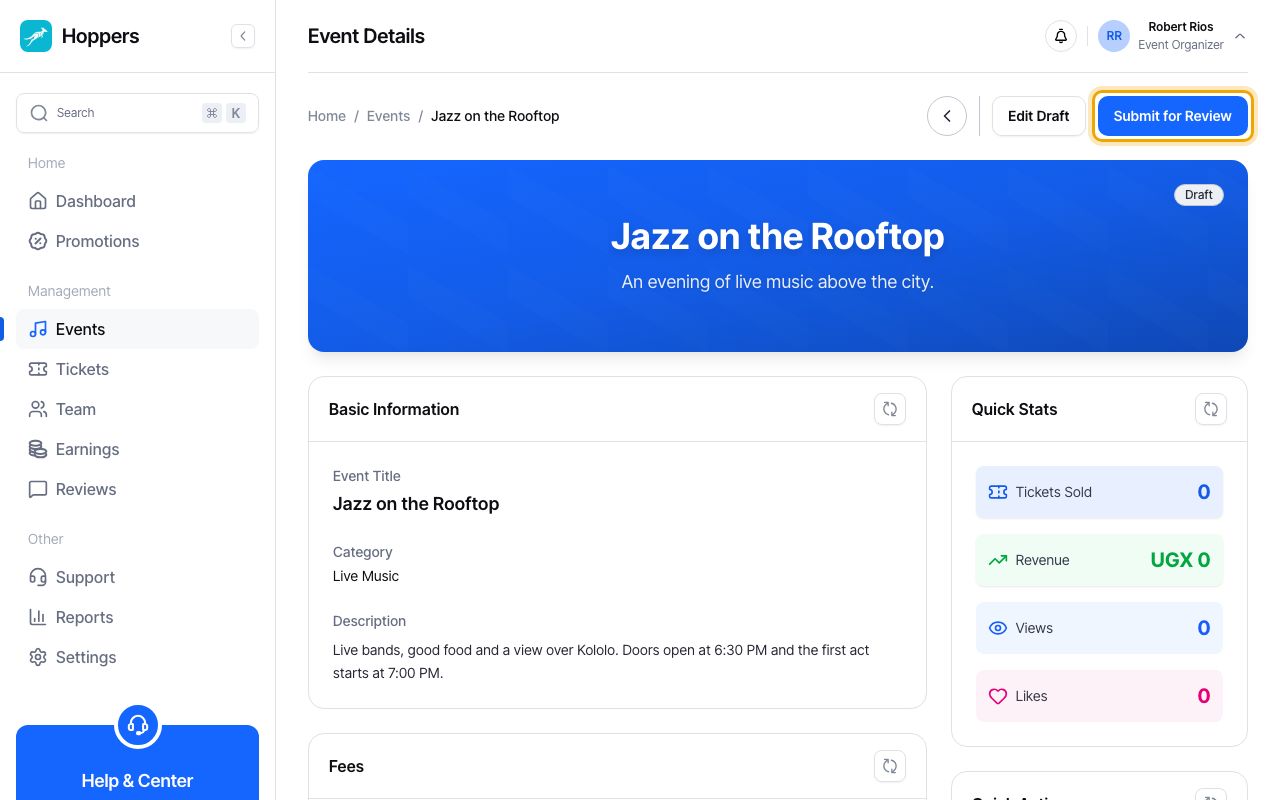
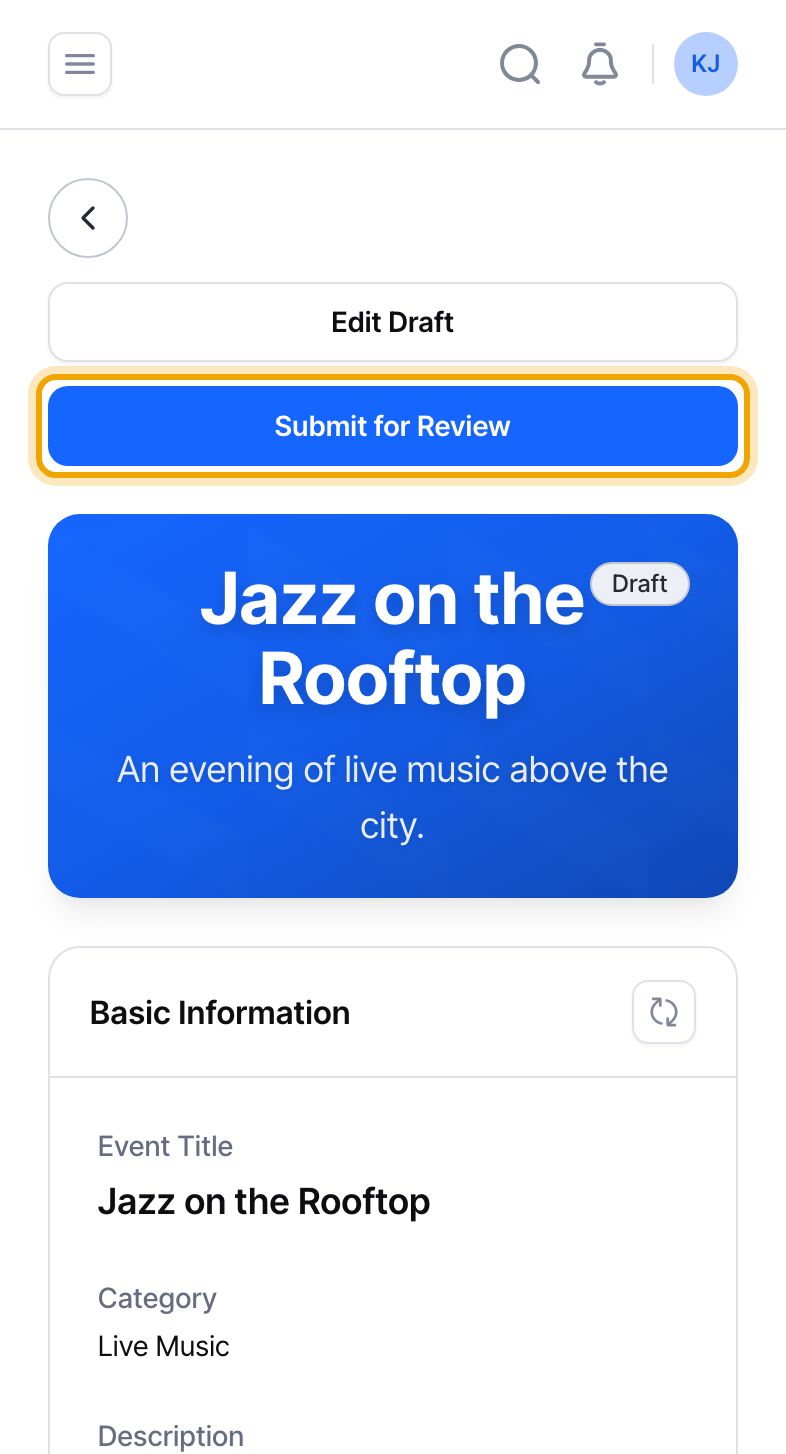
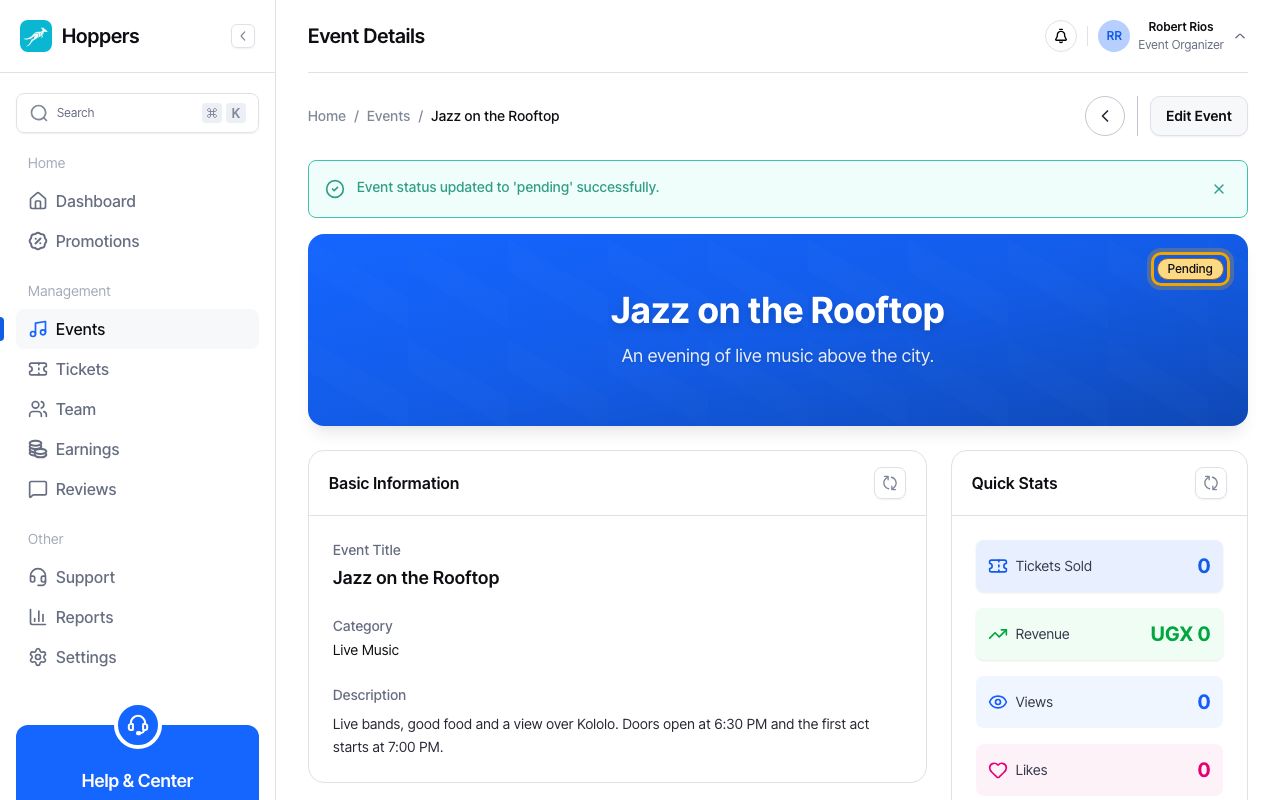
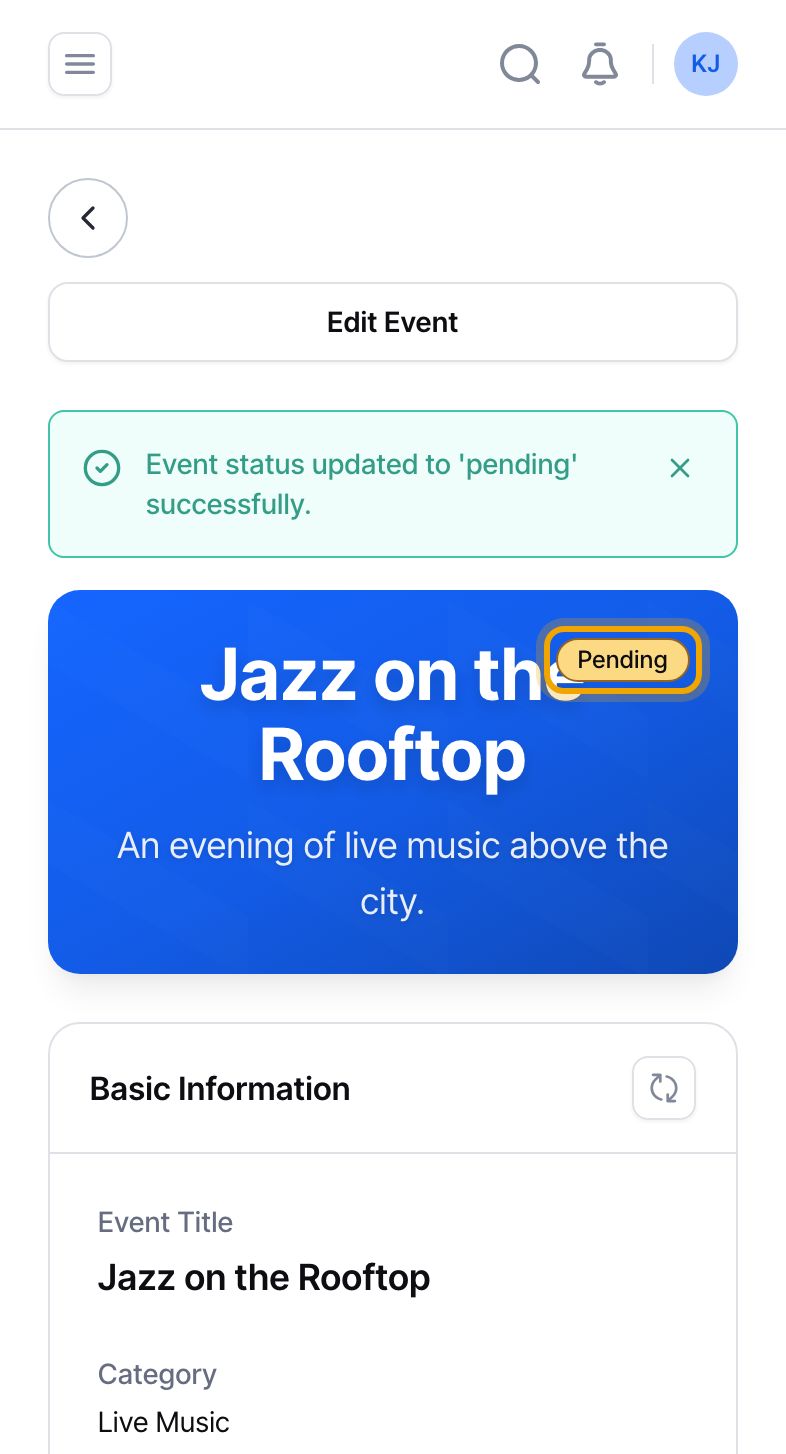
Select “Submit for Review” at the top of the event page. Your event goes to the Hoppers team, who check it before it can go live. You will see “Event status updated to 'pending' successfully.”
If the button is greyed out, hover over it or tap it to see why.
The badge now says “Pending”. The Hoppers team has your event and is checking it. We tell you the result by email and in your dashboard notifications. You can still select “Edit Event” while you wait.
Pending is not live. People cannot see or buy your event yet.
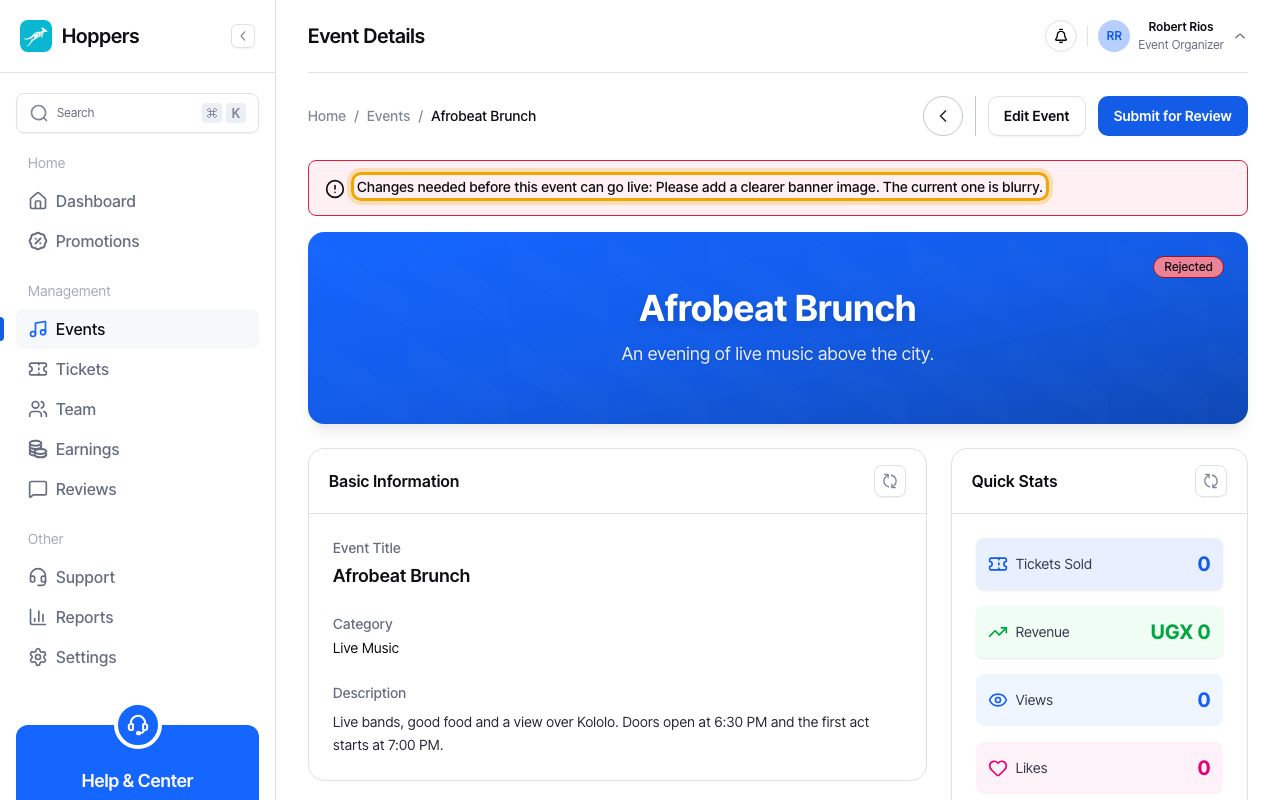
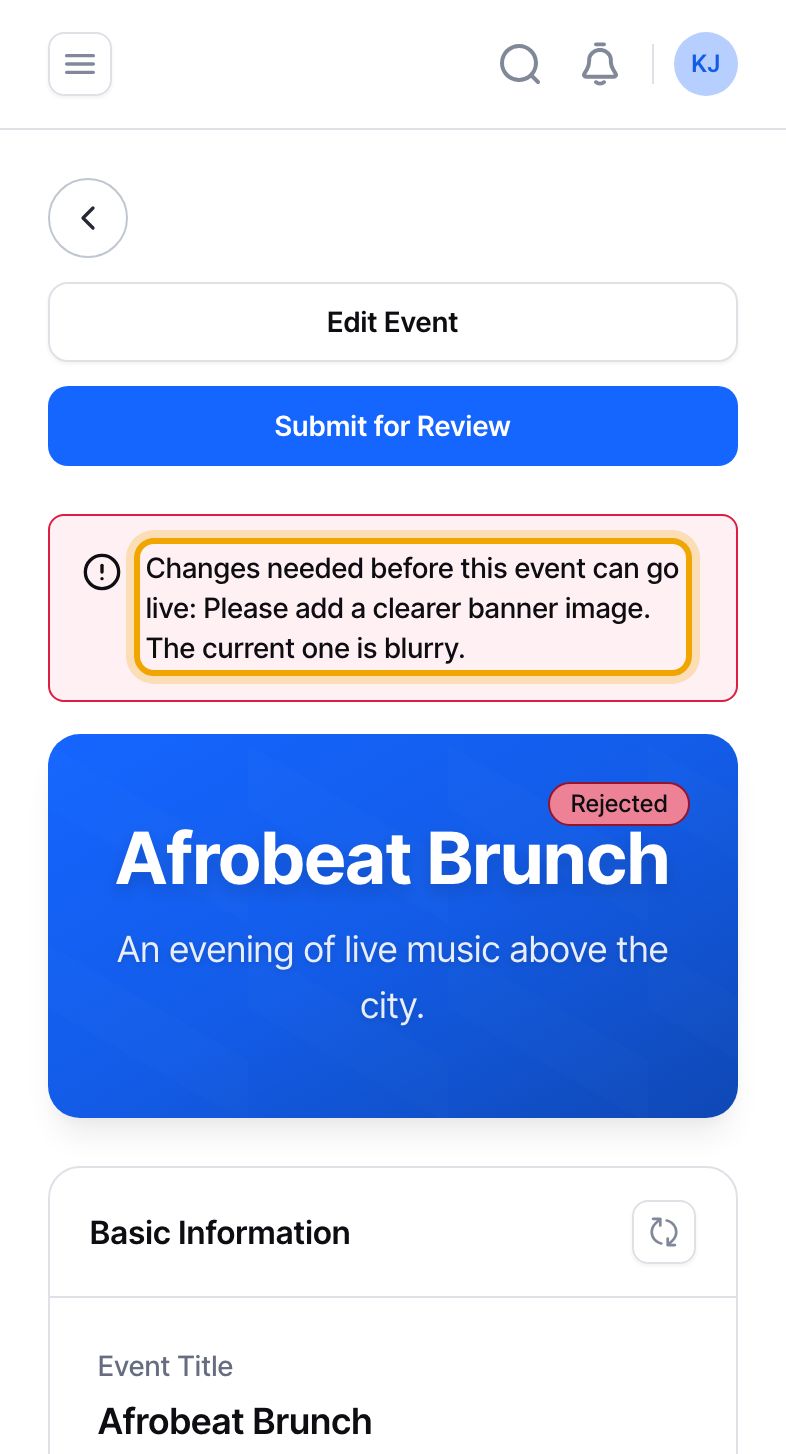
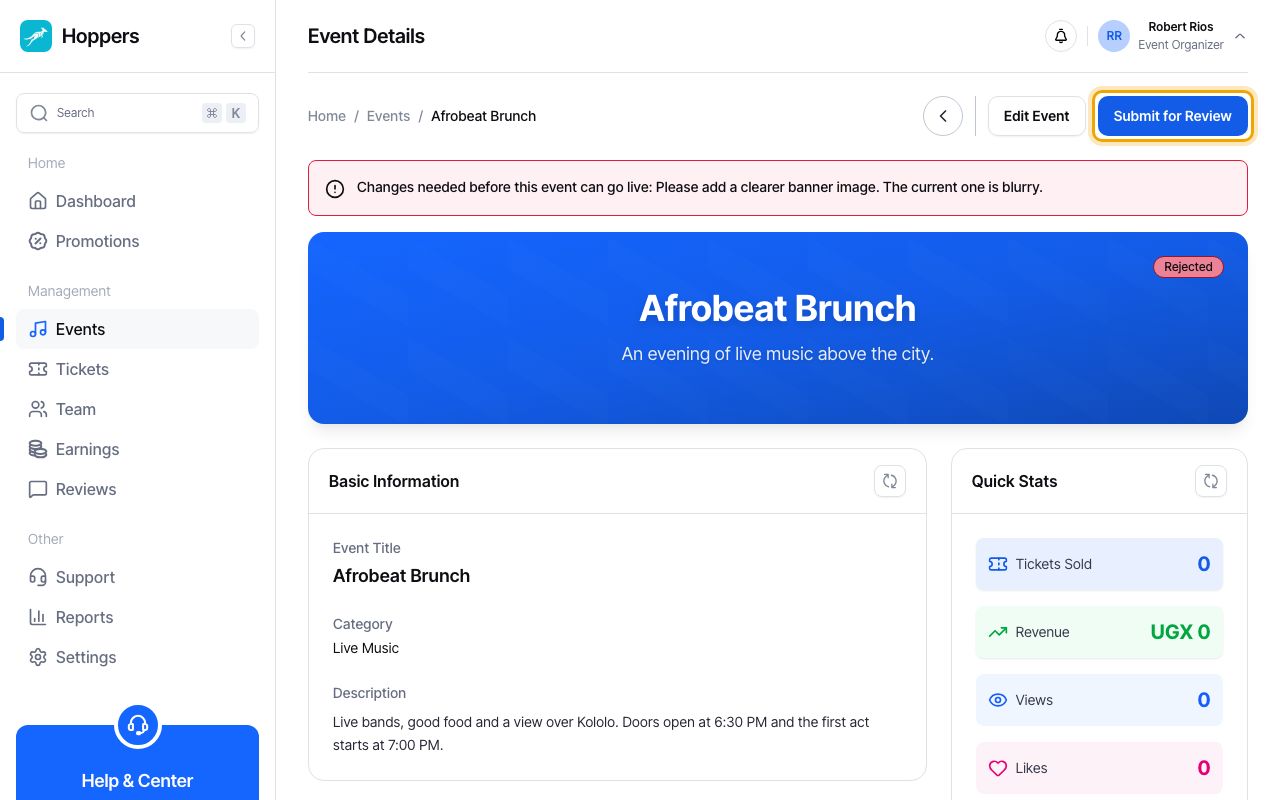
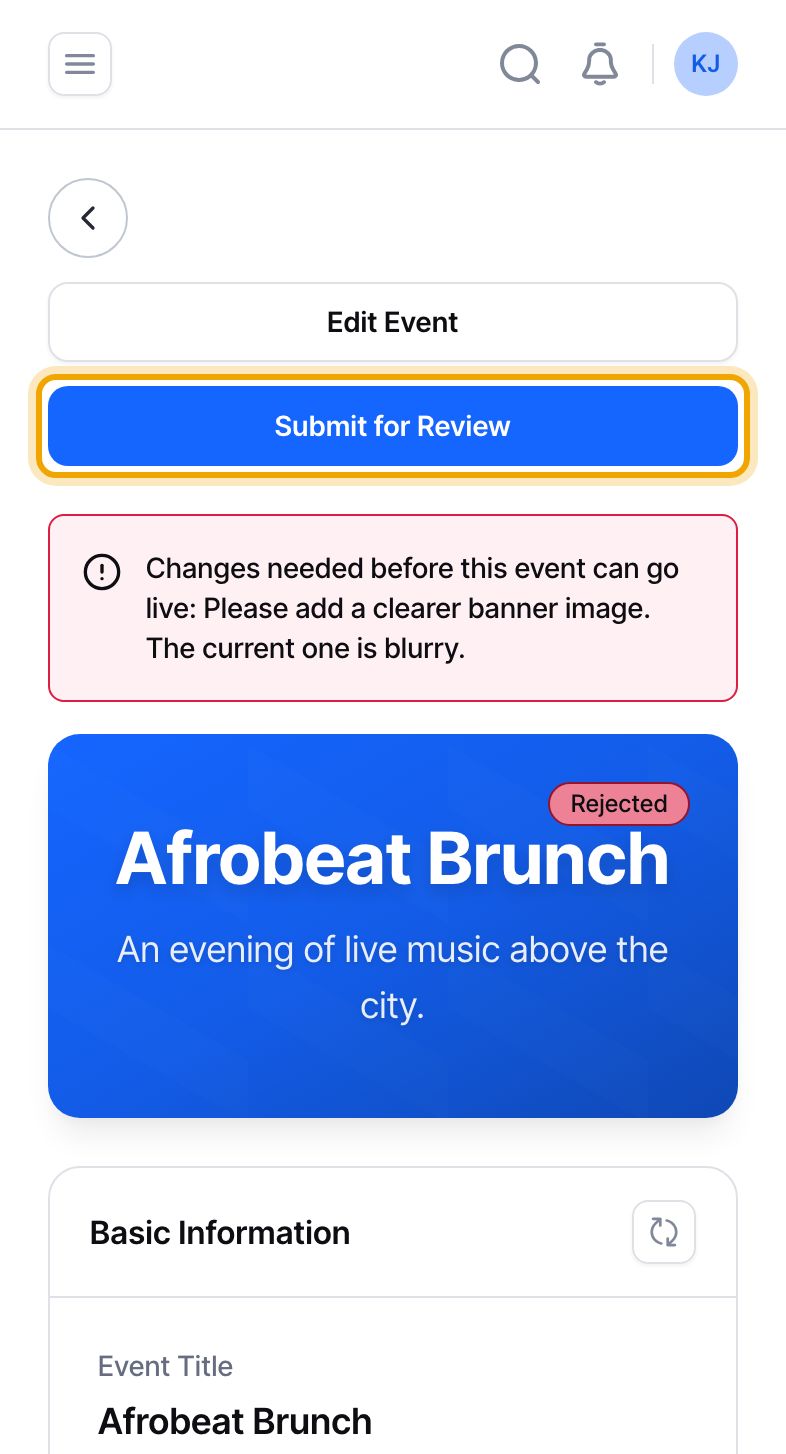
If something needs fixing, the badge changes to “Rejected” and a red note at the top of the event page starts with “Changes needed before this event can go live:”, followed by what the team asked for. Select “Edit Event”, make the changes and save them.
Back on the event page, select “Submit for Review” again. The badge goes back to “Pending” and the team takes another look.
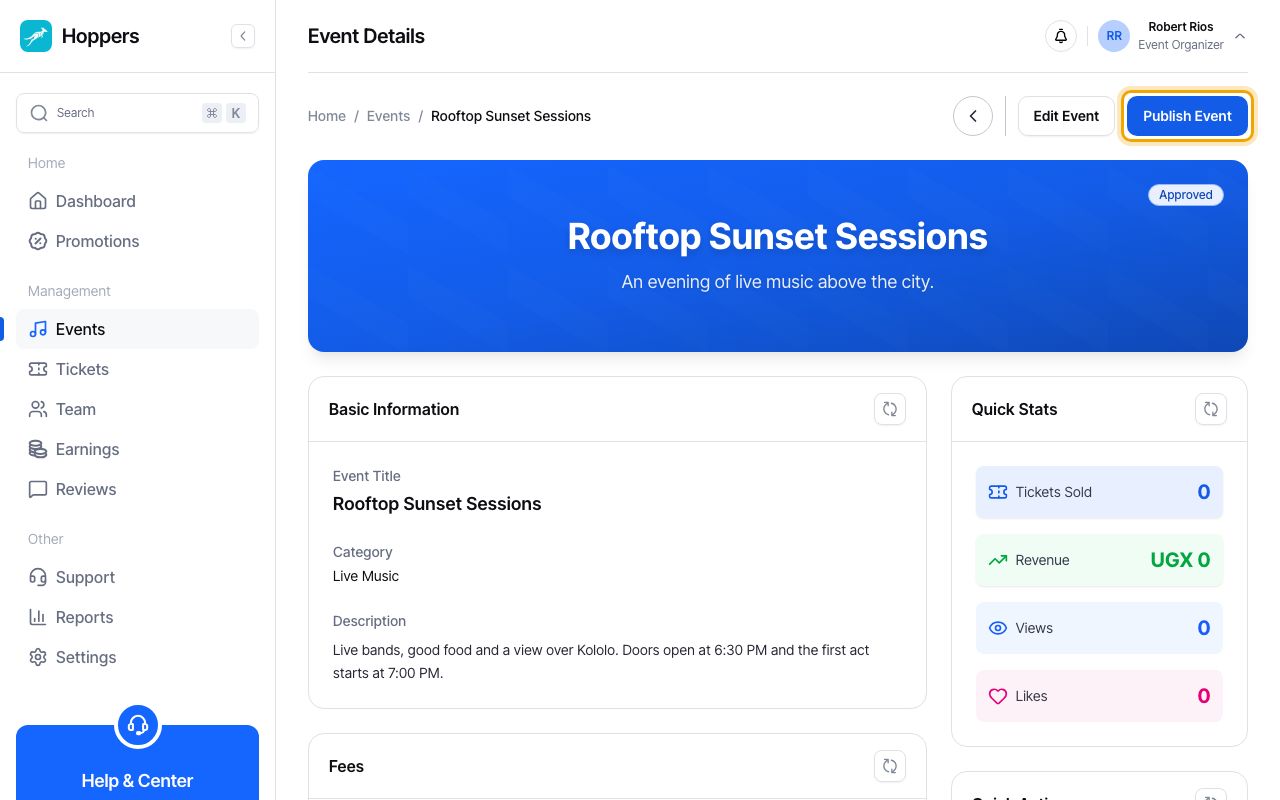
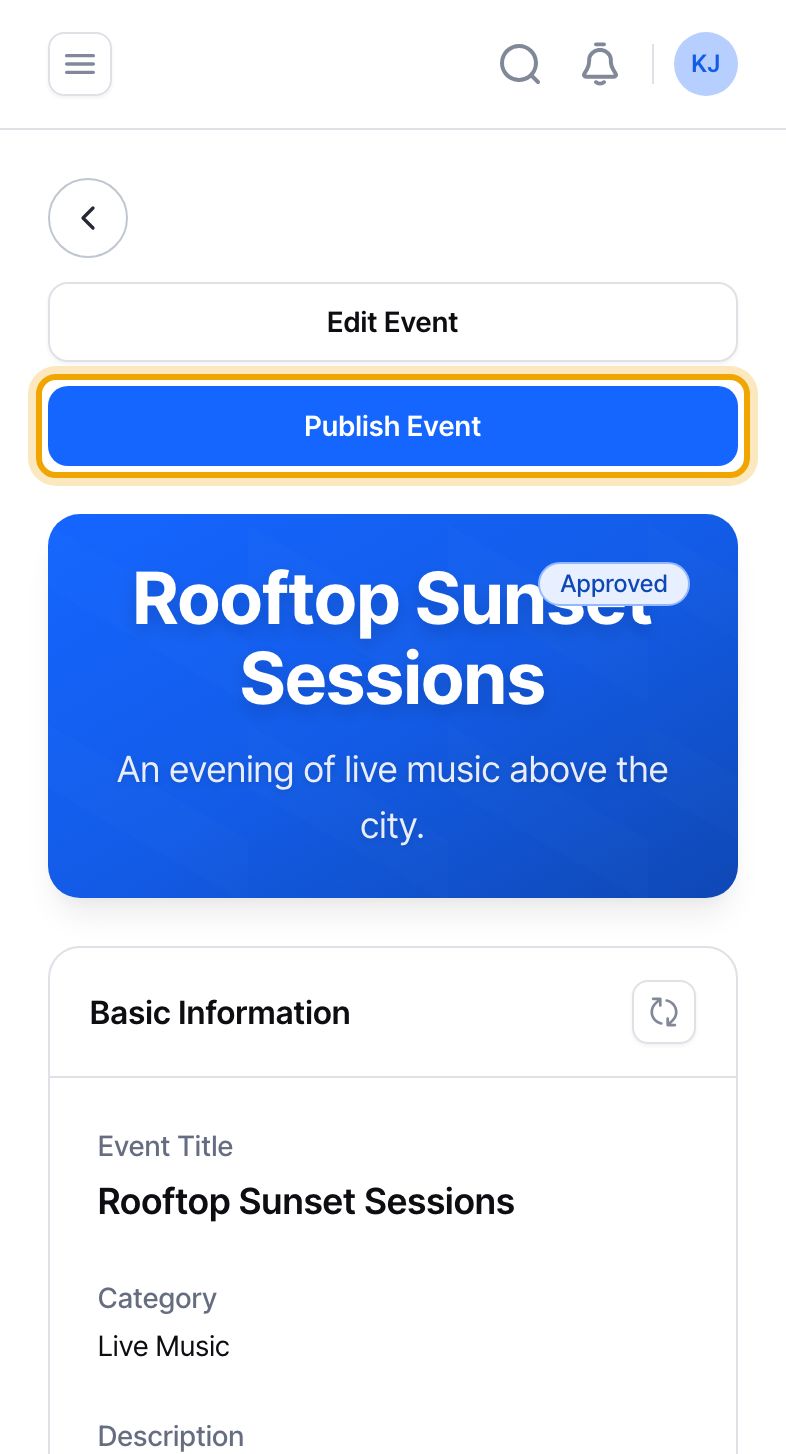
When the team approves your event, the badge changes to “Approved” and you get an email and a notification. Open the event and select “Publish Event”.
Approved is not the same as live. The event only goes public when you select “Publish Event”.
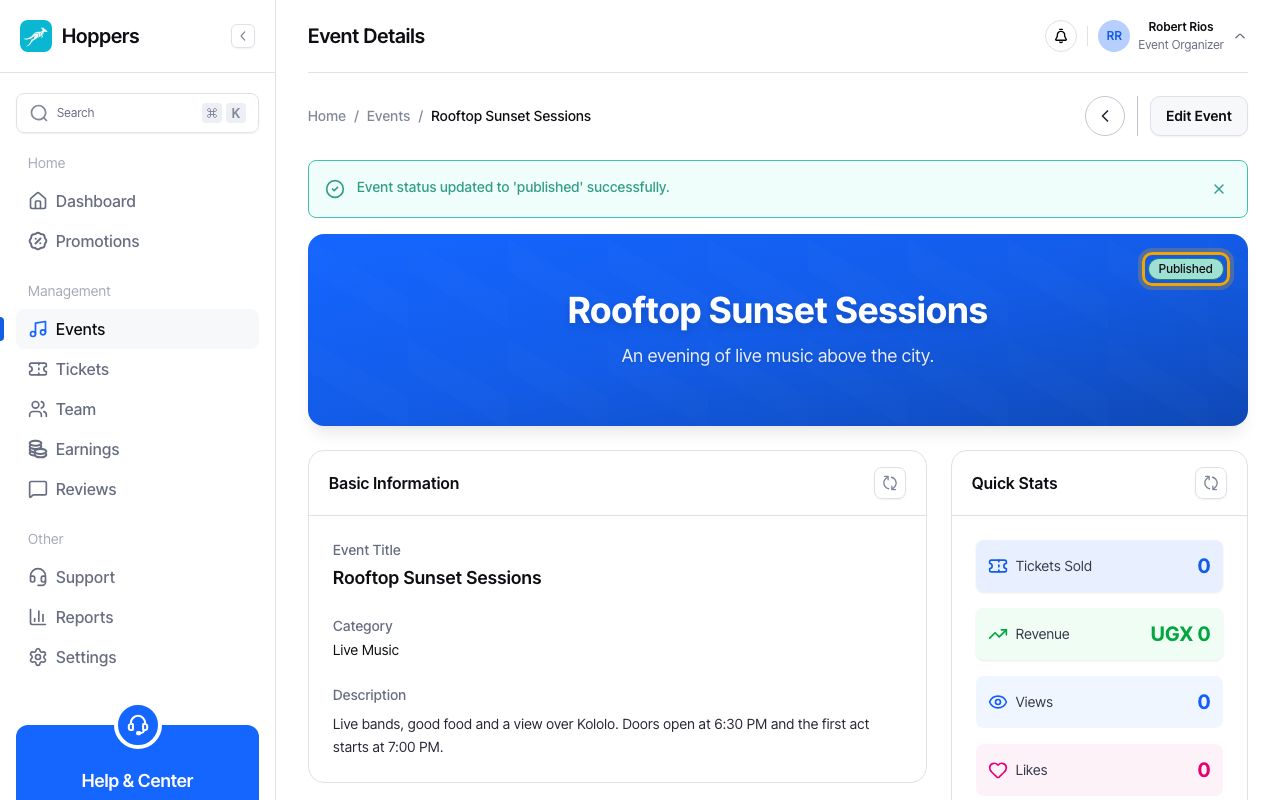
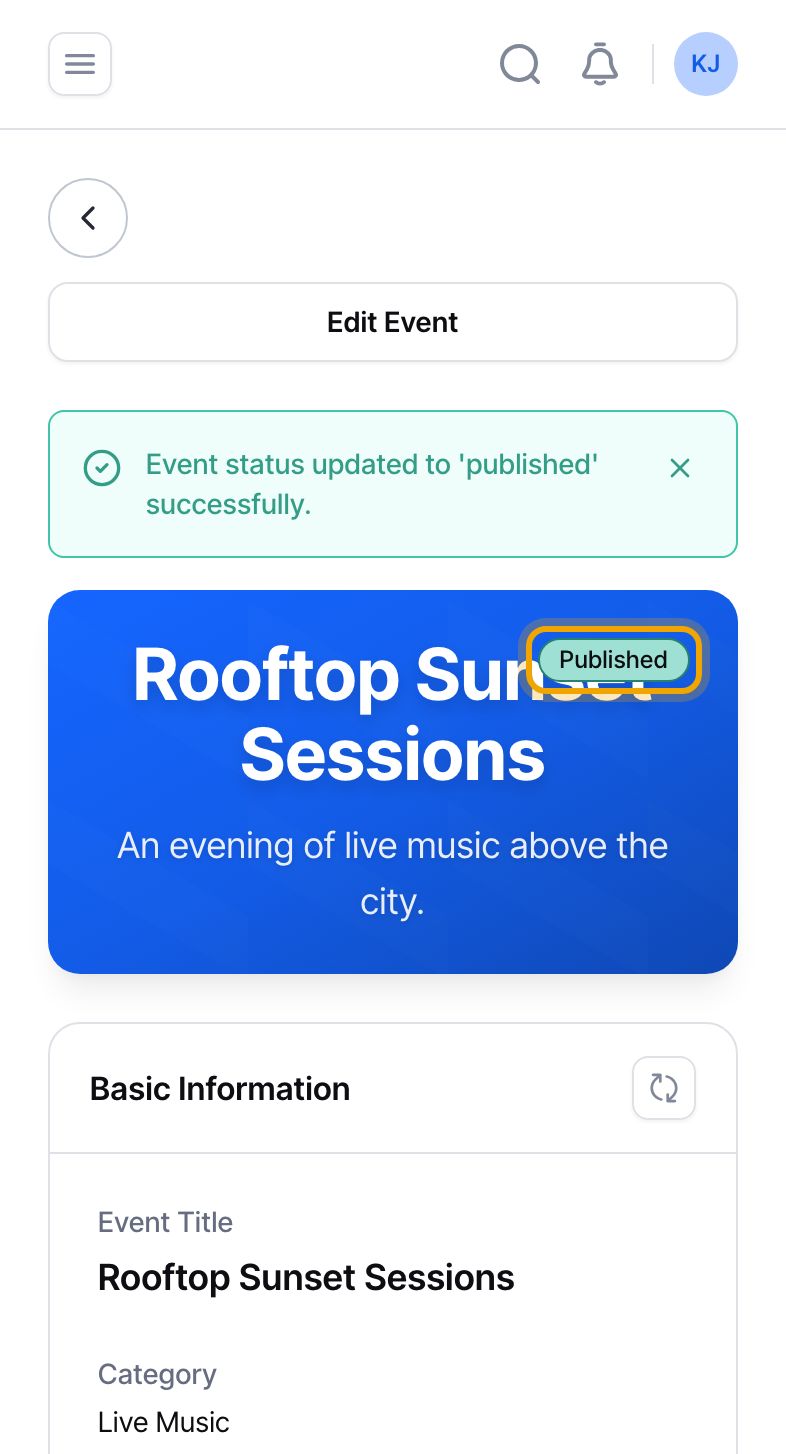
The badge changes to “Published” and everyone can now find your event and buy tickets on Hoppers.
Two things can hold it back: your organizer account is not verified yet, or a paid event sold through Hoppers has no ticket type yet. Our guides “Get your organizer profile verified” and “Set up tickets and prices” show how to fix each one.
